While we’ve enjoyed all of our improvements to Project Diesel Chase [1] thus far, and are looking forward to transforming our Dodge even further, we decided to focus on reliability for this installation. The 2008 6.7-liter Cummins motor utilizes what is known as a regeneration cycle to clean the Diesel Particulate Filter (DPF). When the vehicle senses that the DPF needs to be cleaned, fuel is sprayed into the exhaust pipe just before the DPF which creates a very high temperature to cleanly burn off trapped particulates. While this helps to keep the air cleaner, it can generate some extremely high Exhaust Gas Temperatures (EGTs) during the regeneration cycle.
 [2]
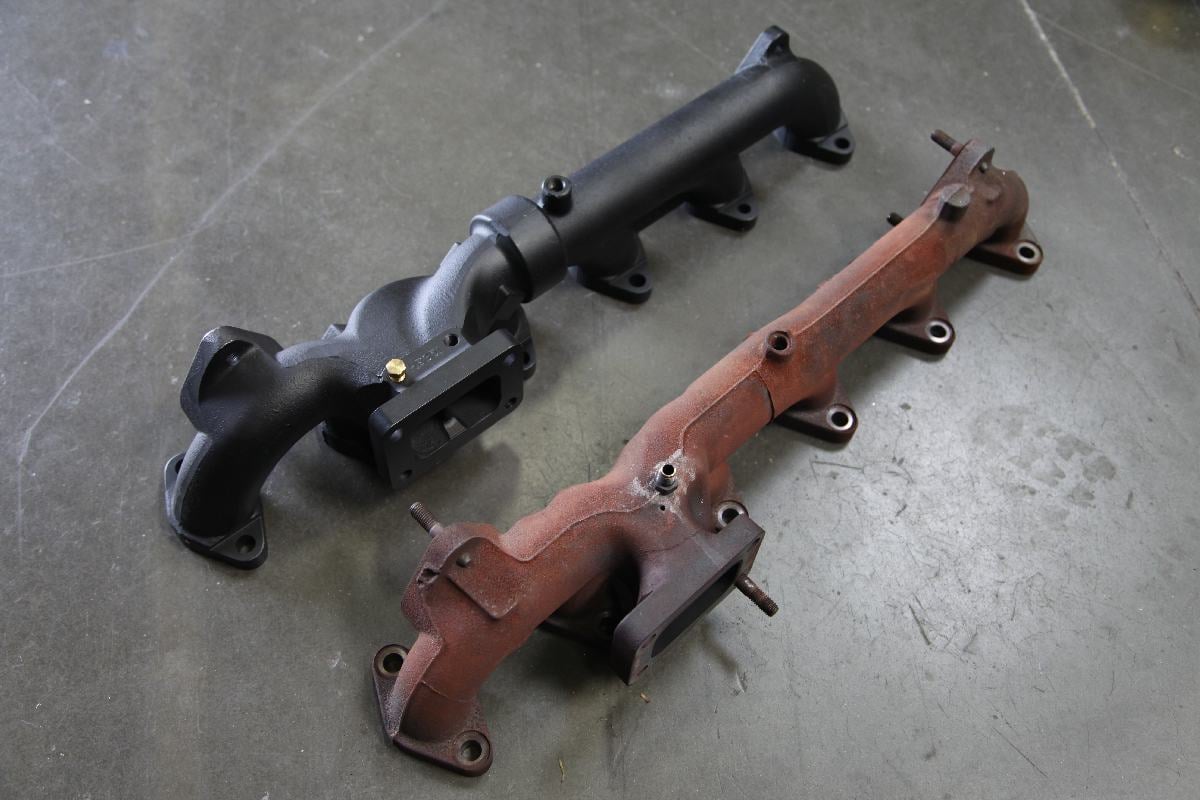
[2]The quality of the BD Diesel exhaust manifold over the OE piece is readily apparent.
Project Diesel Chase has an EGT probe located in the exhaust manifold, which is hooked to our touchscreen monitor inside the cab. During a regeneration cycle, it is not uncommon for the EGTs to bounce between 1,300 and 1,450 degrees Fahrenheit. When metal is subjected to temperatures ranging from ambient air temperature and those approaching 1,500 degrees, expansion and contraction take place. Over time, this can cause the factory exhaust manifolds to crack. Even if your truck’s manifold has not yet cracked, we have received reports of people not being able to reinstall their factory manifolds after removing them for service.
Fortunately, our friends at BD Diesel [3] manufacture two different manifolds for the 6.7-liter Cummins. The first is a stock replacement to be used with the factory Holeset HE351 turbocharger. The other manifold was designed to accept the T4 turbocharger for those looking to change the stock turbo for an aftermarket variety.
 [4]
[4]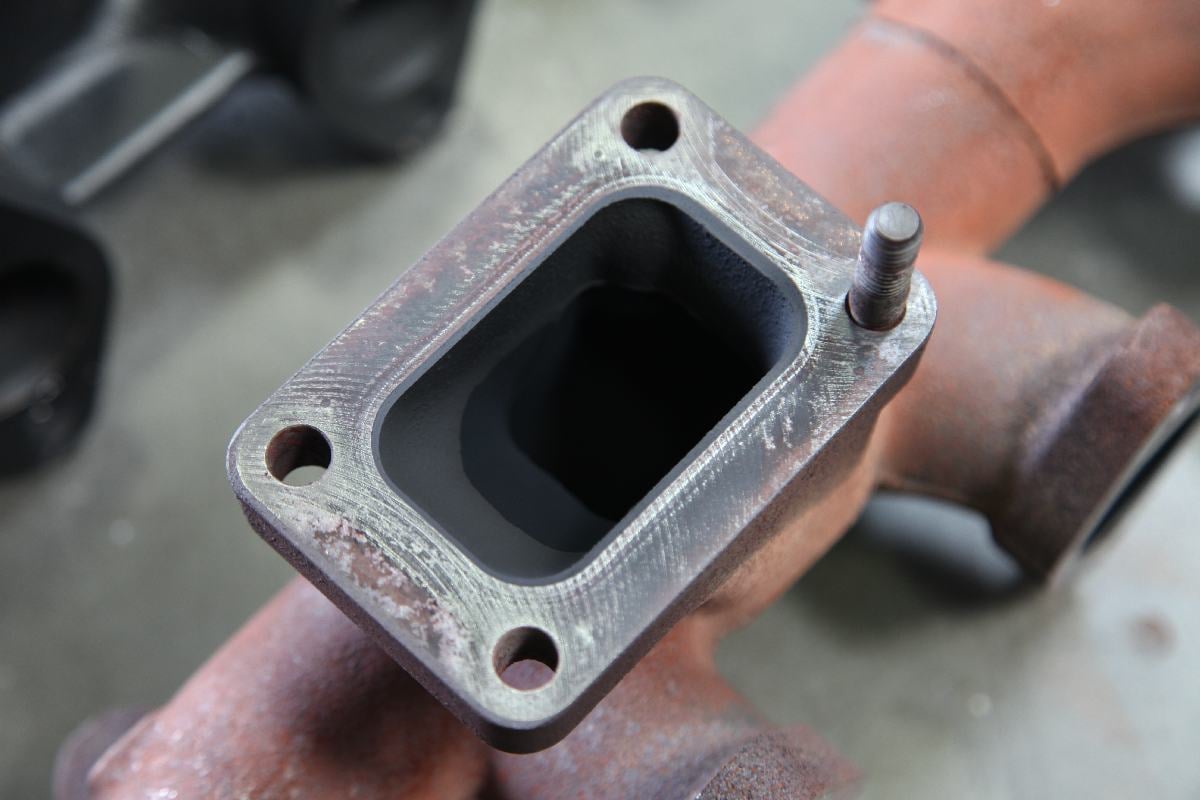 [5]
[5]
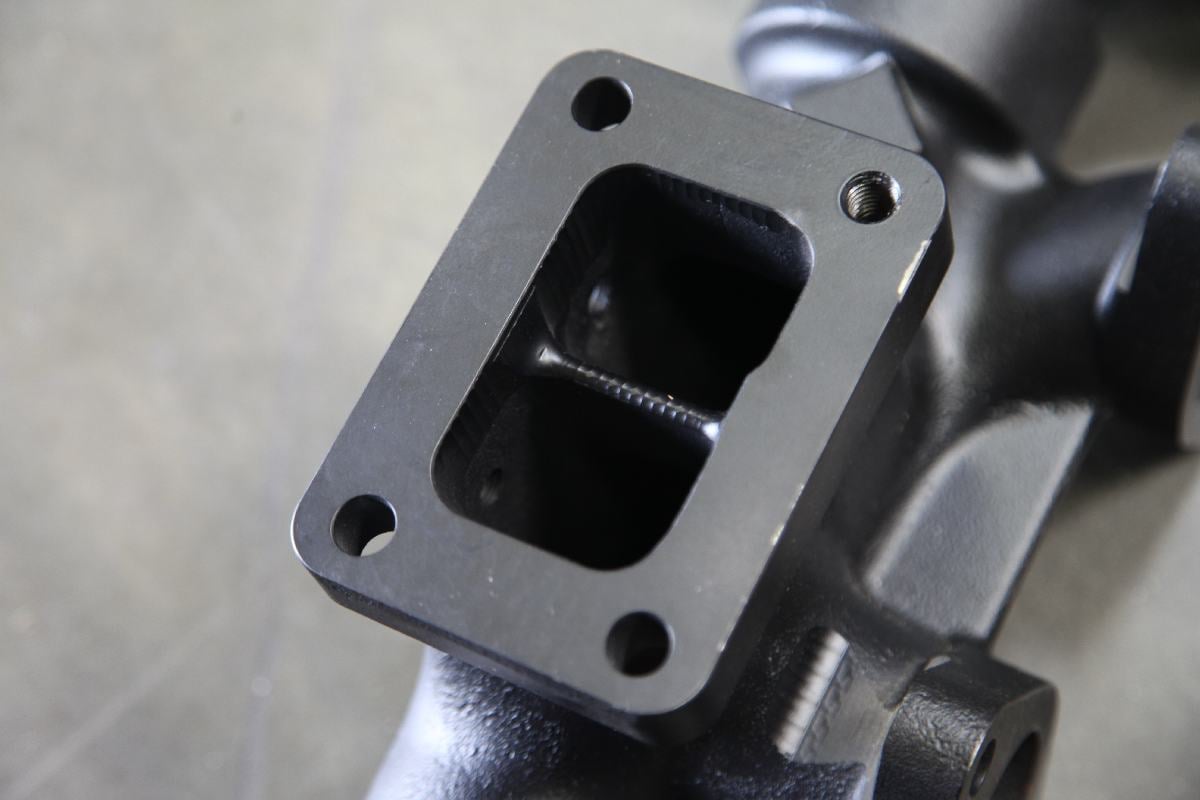
The open throat outlet flange outperforms the stock manifold and is fully EGR compatible.
We spoke to Brian Roth at BD Diesel who explained, “Our new 6.7-liter Cummins replacement exhaust manifold is constructed of high-silicon ductile iron to withstand extreme-temperature cycling caused during DPF regeneration and in high-performance applications. A larger porting design will handle any increase in power while the thick-walled casting and integral slip joint prevents cracking and exhaust leaks.”
“The HE351 version has an open throat outlet flange which outperforms the stock manifold, and the T4 model has a fully divided pulse design,” Roth said. “Experience quick spool times and low drive pressures with an overall increase in performance. Both the HE351 and T4 units are fully Exhaust Gas Recirculation (EGR) compatible.”
 [6]
[6]
Currently, the exhaust manifold retails for about $570 with an optional gasket set sold separately for $65. We highly recommend purchasing the gaskets along with a new manifold to ensure a perfect seal and peace of mind – especially on a truck approaching the 100,000-mile mark, such as ours.
The Installation Process Of The BD Diesel Exhaust Manifold
The installation process of the BD Diesel exhaust manifold is quite simple and straightforward, though it does take a handful of hours to remove all of the necessary components, swap manifolds, then reattach the components. Due to the fact that you have to remove half of the EGR system, we figured that this would be a great time to also perform the EGR delete in addition to any others you’d like to do. However, Project Diesel Chase is maintaining all of the factory smog equipment to comply with the California regulations so we reinstalled all components. Check your local and state laws before permanently removing any smog components.
We started our installation first thing in the morning, after our truck had fully cooled down overnight. BD Diesel is always great about supplying detailed instructions and this install was no different. When starting any wrench session, lay out all your parts before you start working. That way you are more likely to notice something is missing or damaged before you tear apart your truck. There is nothing worse than getting your truck torn down on the weekend, only to discover you are missing a vital part, especially if it is something proprietary to the kit manufacturer and they aren’t open on the weekends.
 [7]
[7] [8]
[8]
Before getting started with the install of the BD Diesel exhaust manifold, it isn’t a bad idea to take some general pictures all around the engine bay, paying particular attention to the areas where you’ll be working. That way, in the off chance you forget where something goes, or how a specific line was routed, you can refer back to the saved images and know exactly where it goes. This has the potential to save a lot of grief.
As with just about any upgrade install, the first step is to make sure the truck is stable and secure. You don’t want to have to deal with a truck moving around on you as you are trying to work. Once you are happy with where you are going to do your work, disconnect the battery. Next, drain the coolant and dispose of it safely and legally.
 [9]
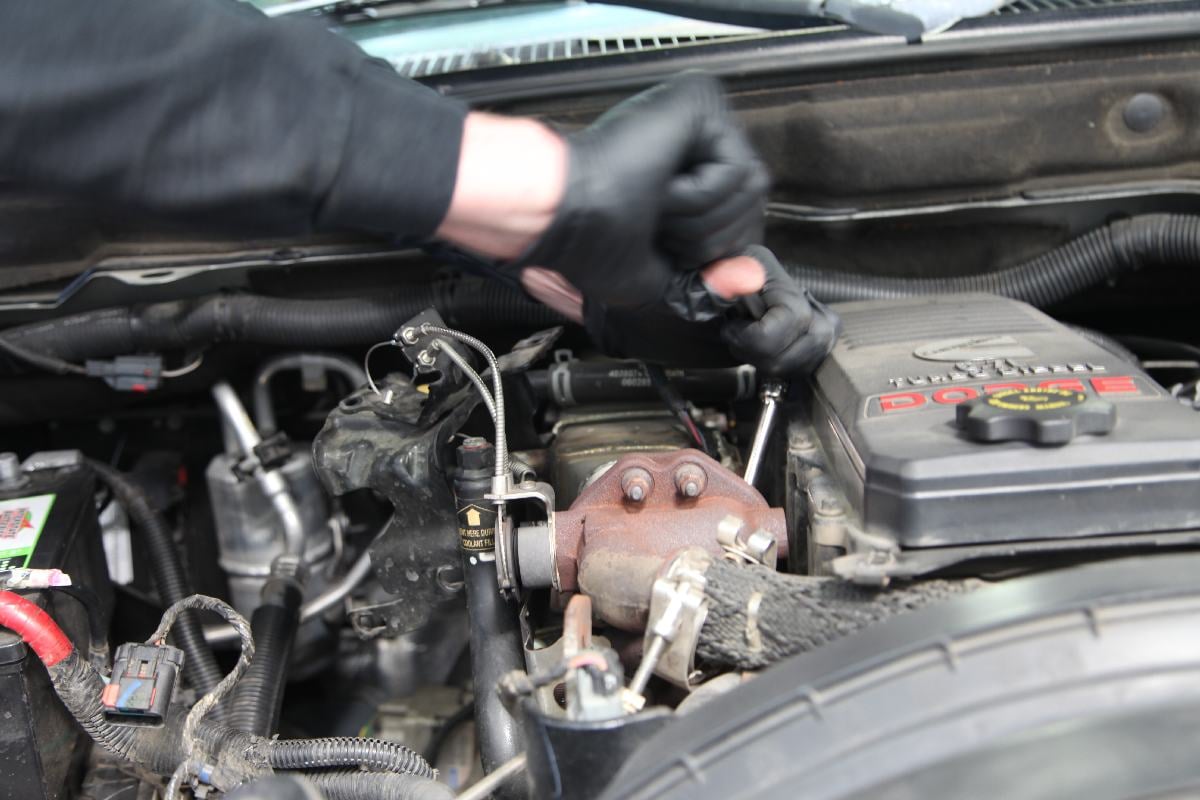
[9]The stepper motor comes off next.
A lot Of Stuff To Remove
Unplug and unbolt the stepper motor. You’ll then be able to release the cable and remove the motor from the vehicle entirely. Now is a good time to unbolt the plastic shield from the top of the motor. Next, loosen the two nuts holding the top heat shield in place. The air box needs to be removed. Disconnect all connectors and push the wiring aside. The air inlet hose needs to be removed from the turbo inlet as well.
 [10]
[10]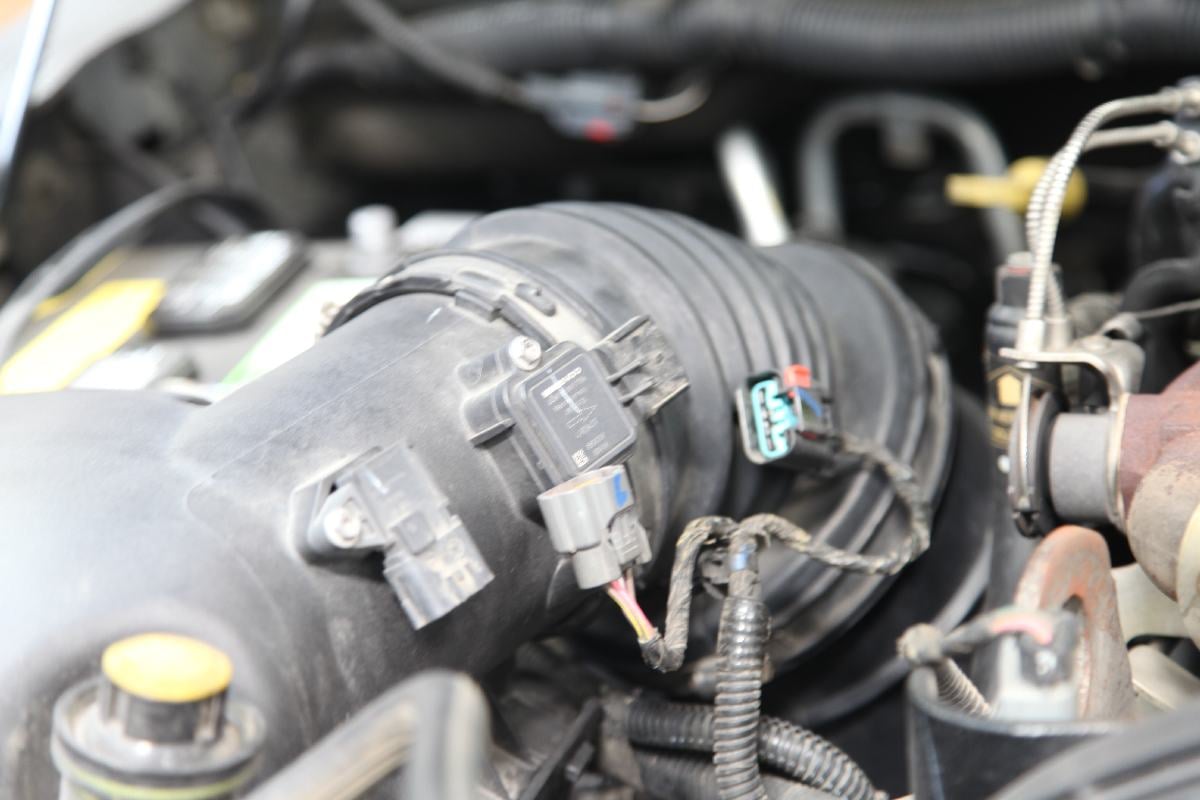 [11]
[11]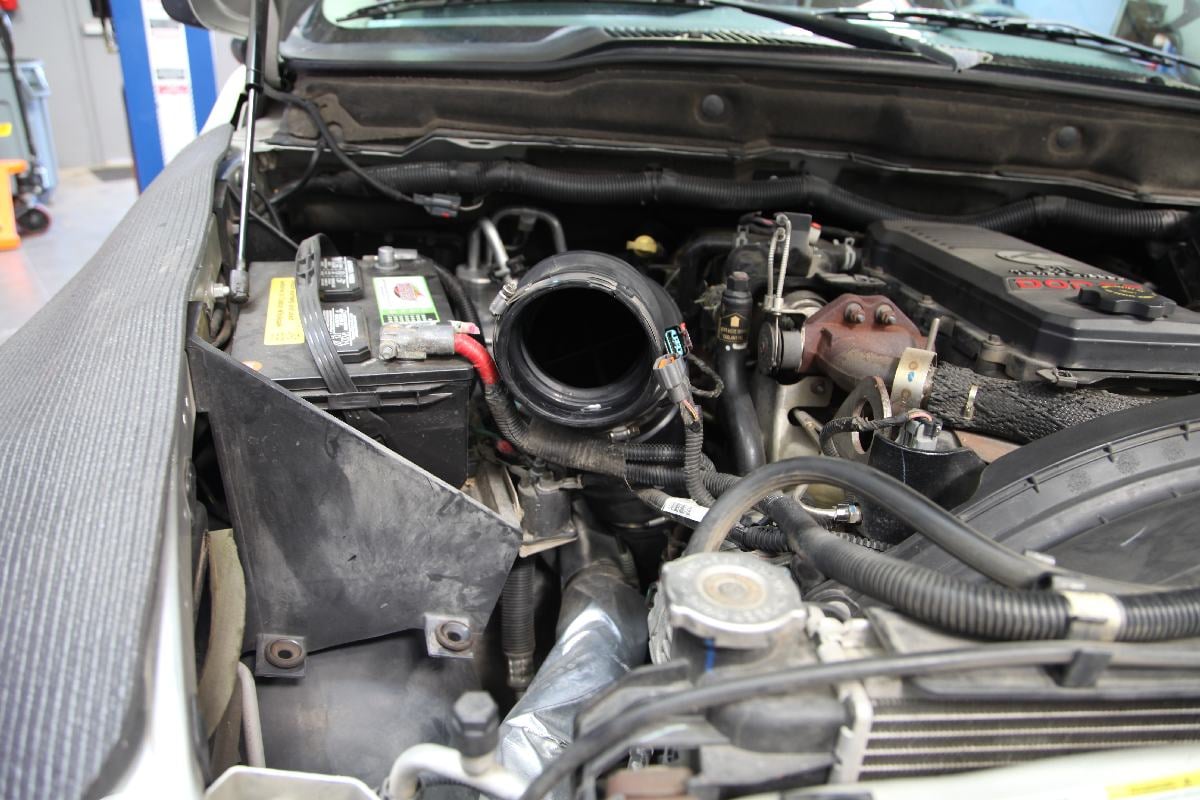 [12]
[12]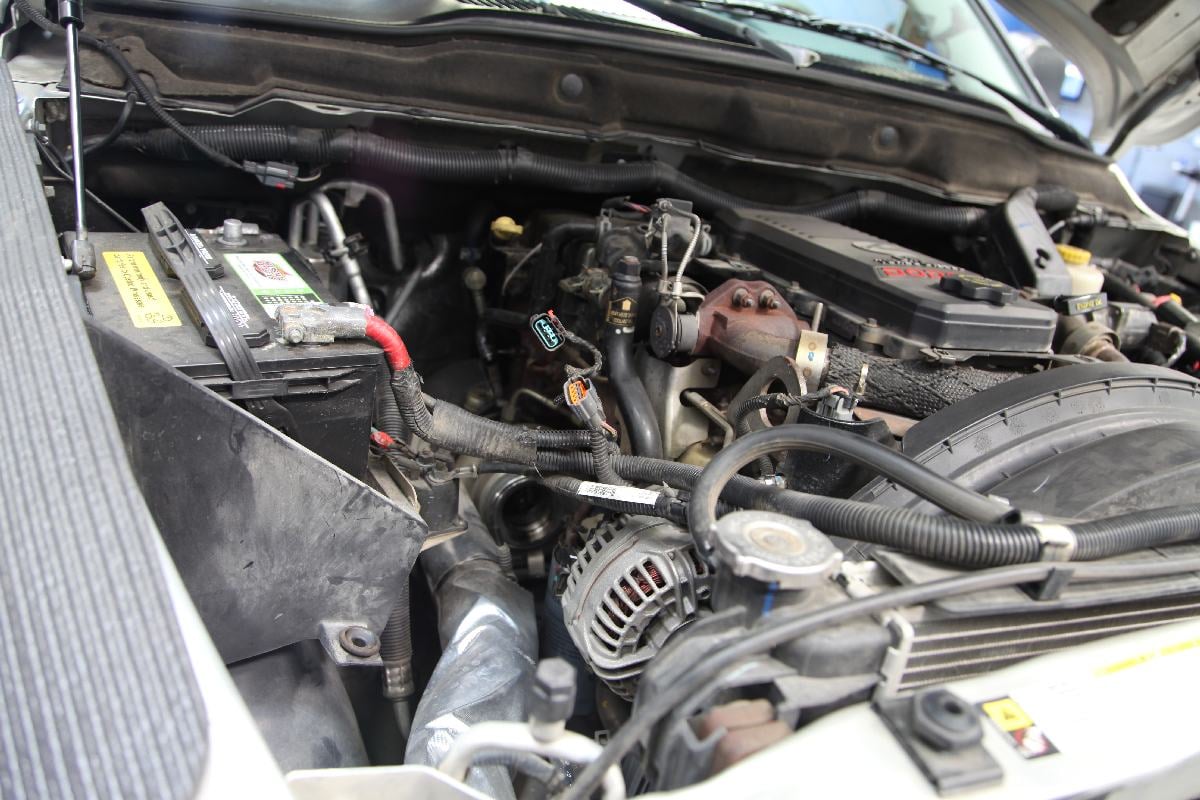 [13]
[13]
With the airbox out of the way, remove the bolts holding the lower heat shield in place. Now, remove the hardware holding the stepper motor bracket in place. There are two uppers and two lowers. The EGR flow direction valve is held on to the cooler via a clamp. Loosen the clamp and move it towards the cooler. Down below the valve, remove the bolts securing it to the manifold. A swivel socket helps a tremendous amount here. Then remove the EGR flow direction valve completely.
 [14]
[14] [15]
[15]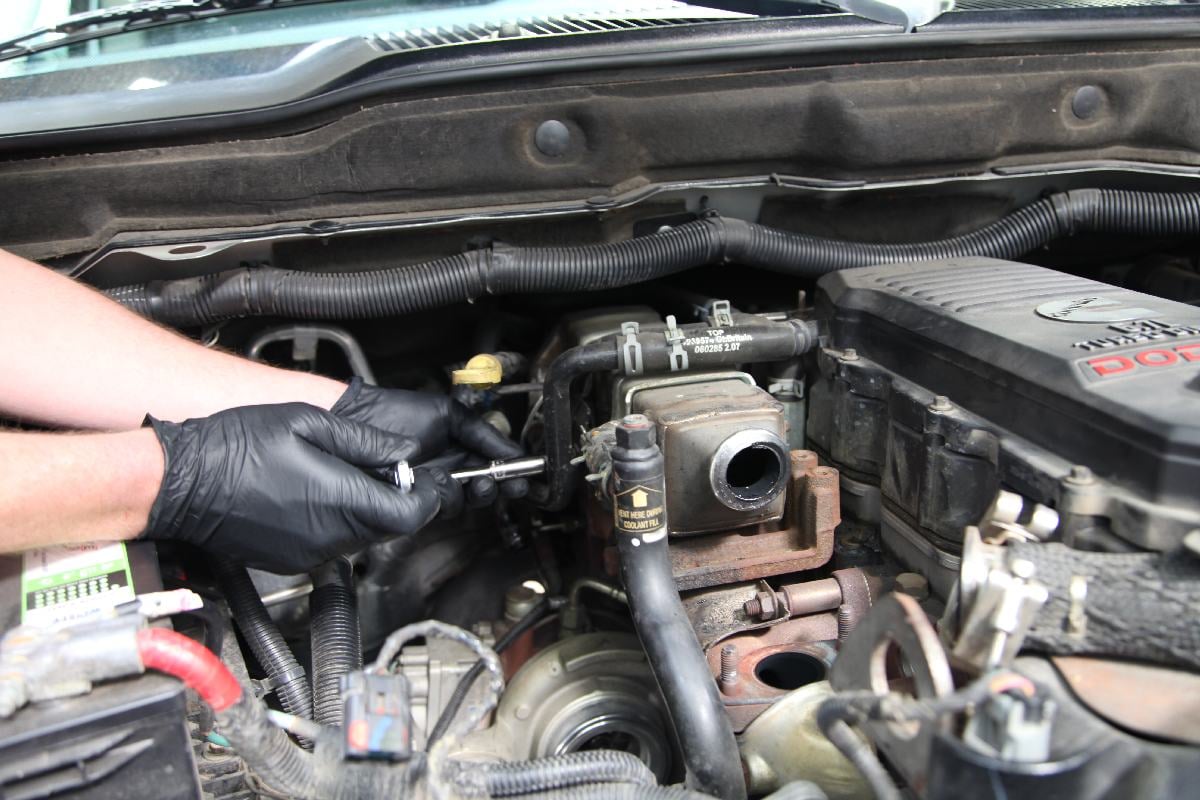 [16]
[16]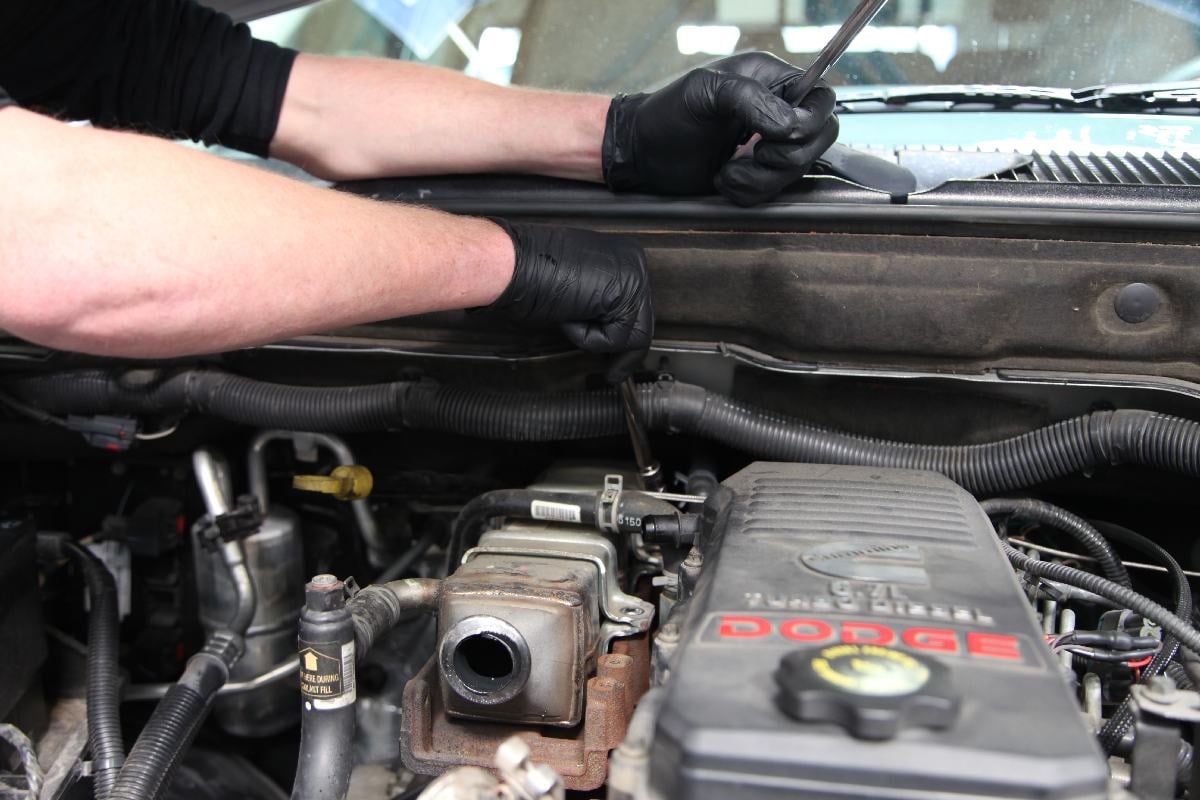 [17]
[17]
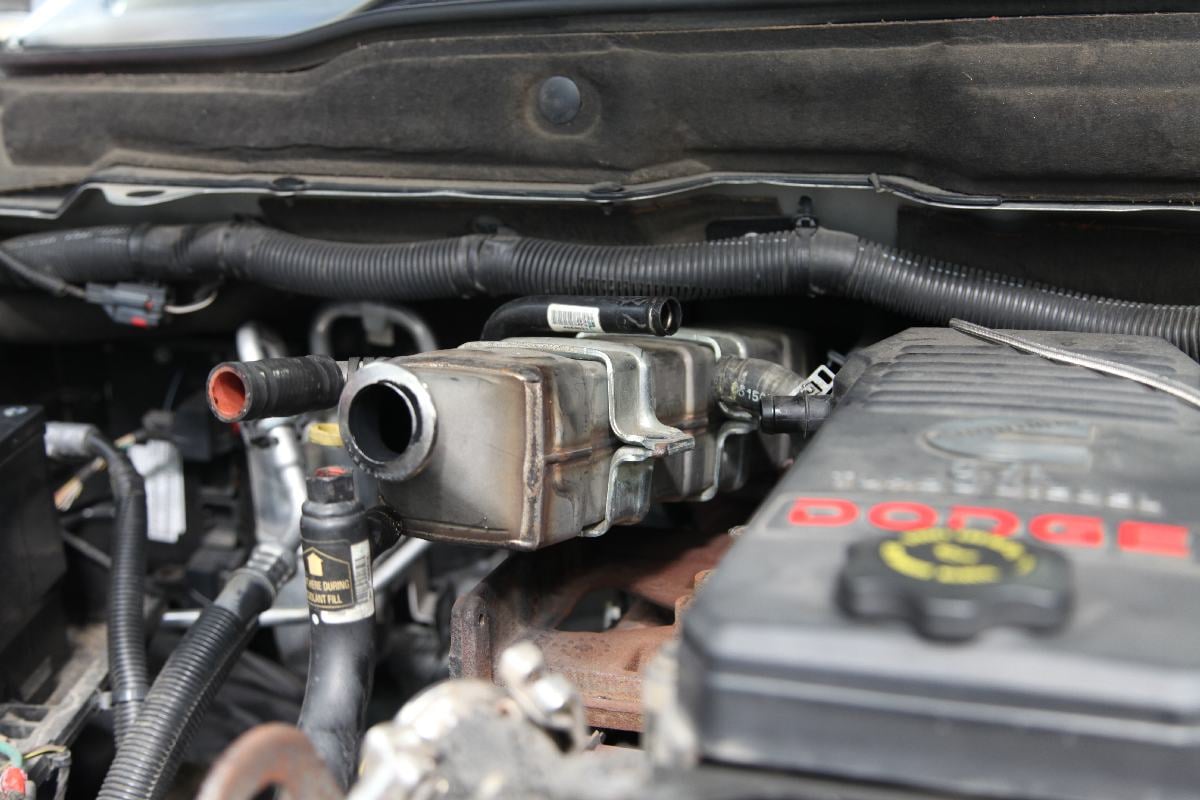
Now, get the crankcase ventilation hose out of the way by unclamping it and unbolting the support bracket from the side of the cooler. Remove the four bolts that clamp the cooler down. The transmission dipstick tube needs to be unbolted as well. Disconnect the EGR coolant hose from the cylinder head to the cooler. There are O-rings here, so don’t be surprised if you see a small amount of coolant drip out.
Pull the last two bolts out of the cooler at the rear end. Hold the cooler up and push towards the cab of the truck while holding the last coolant hose. This will disengage the O-ring and allow you to remove the cooler from the engine bay.
 [18]
[18]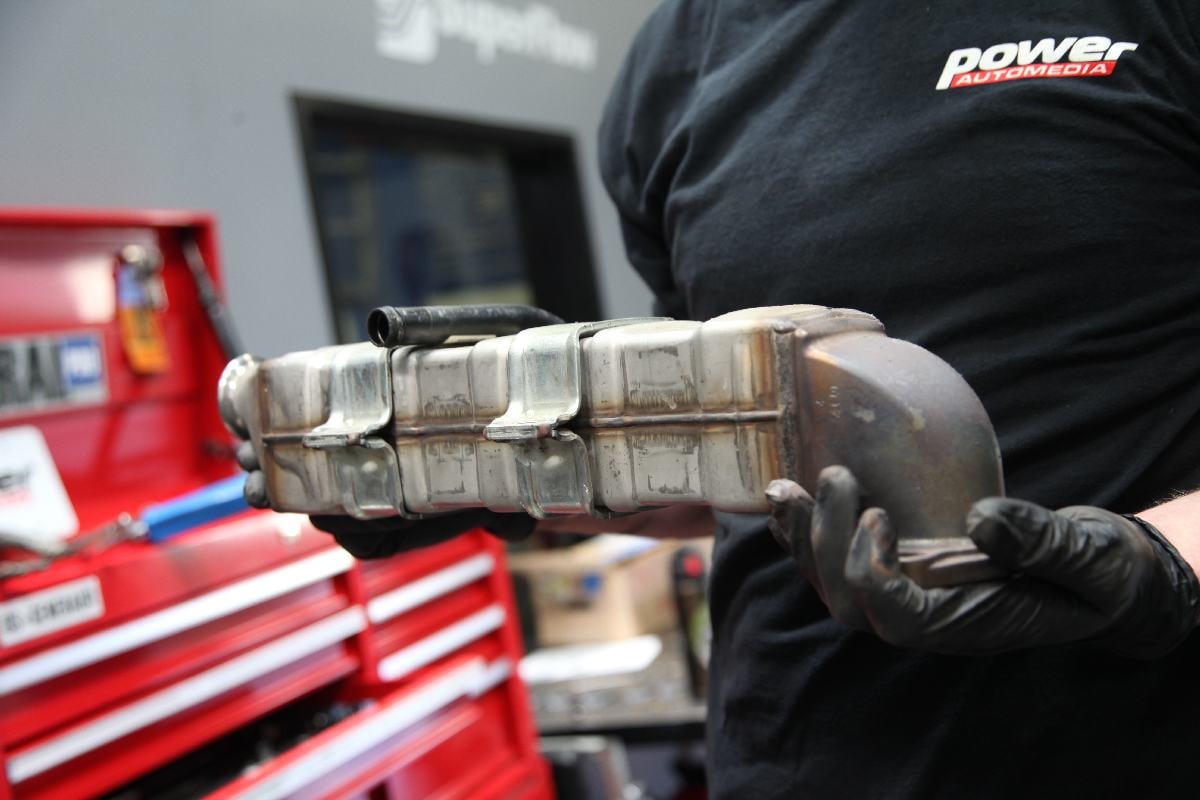 [19]
[19] [20]
[20]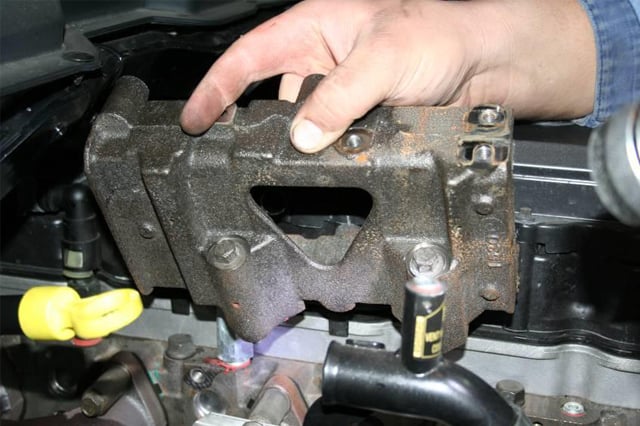 [21]
[21]
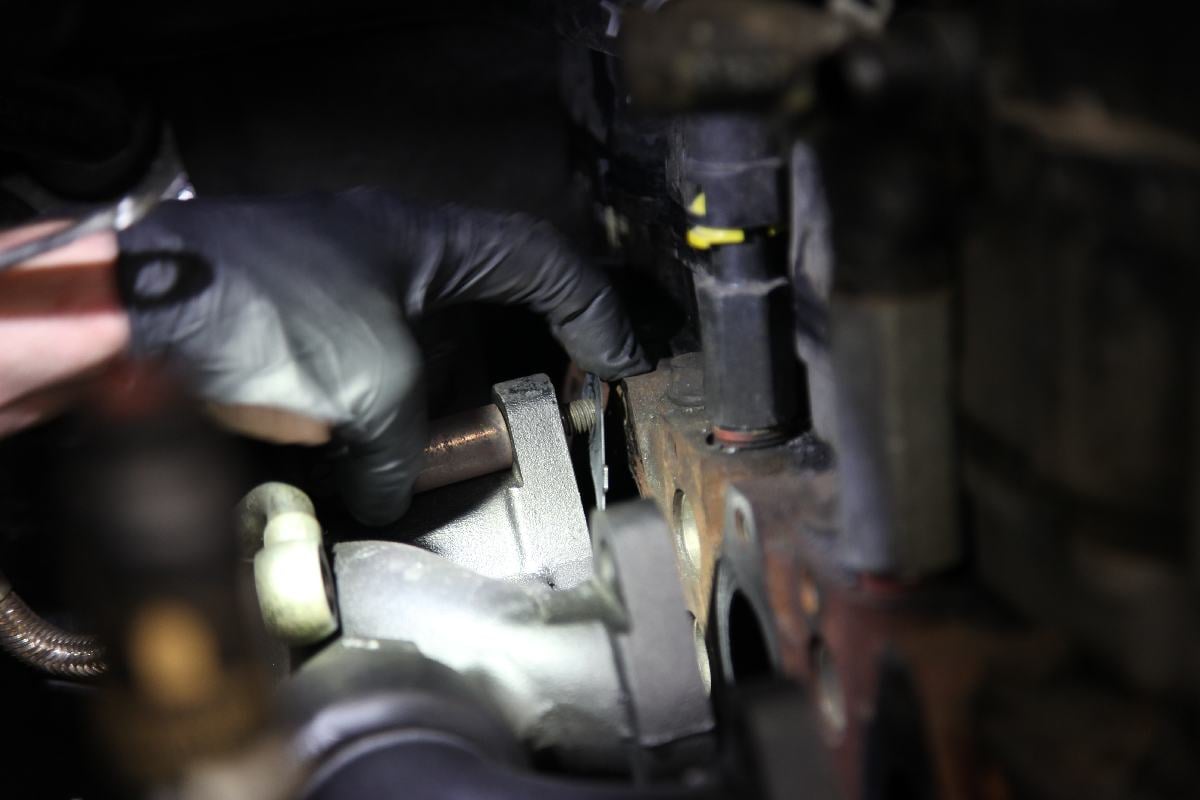
Unbolt the cooler mount from the cylinder head. The two bolts are underneath the mount on a horizontal plane. Remove the nut holding the Delta-P line bracket and then remove the line entirely from the exhaust manifold and thermostat housing. Pull the final heat shield and noise panel, if equipped, from the manifold.
Disconnect the coolant lines from the turbo, as well as the oil feed and drain lines. Disconnect the down pipe, the CAC at the turbo outlet, and the four nuts holding the turbo to the manifold. Now the turbo can be removed completely.
 [22]
[22]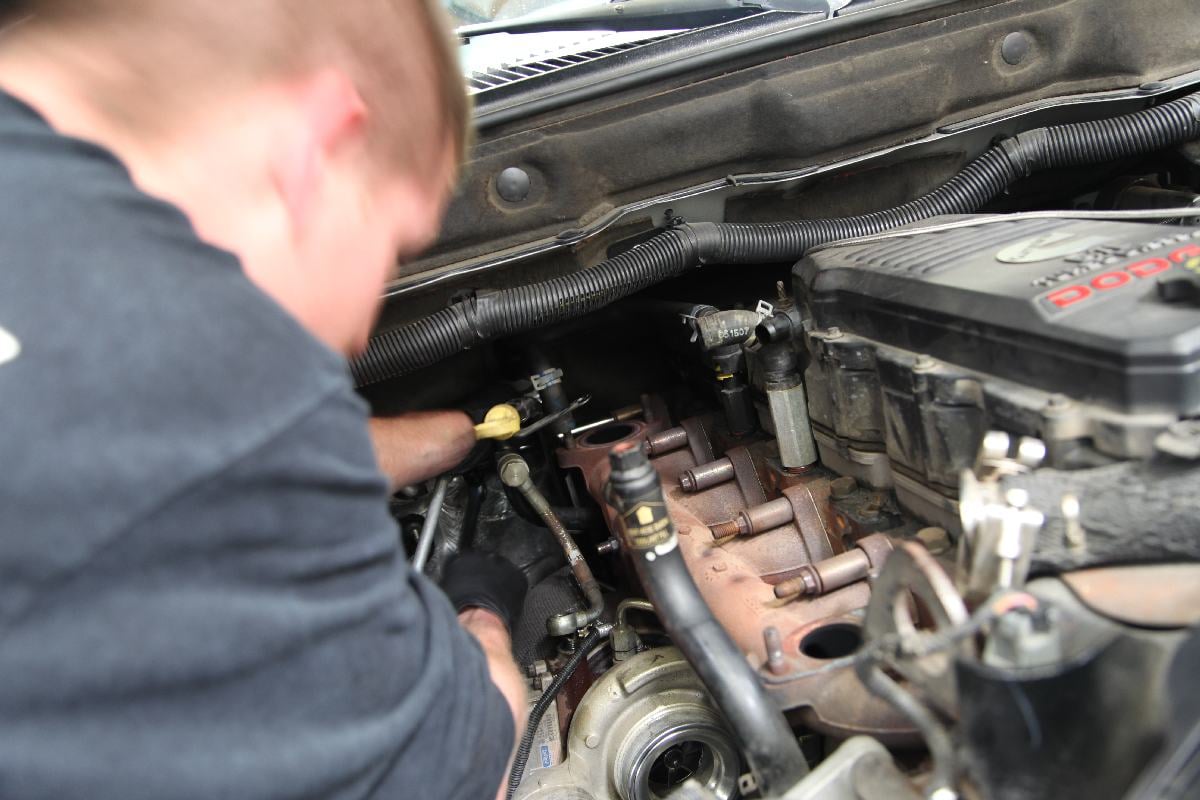 [23]
[23]
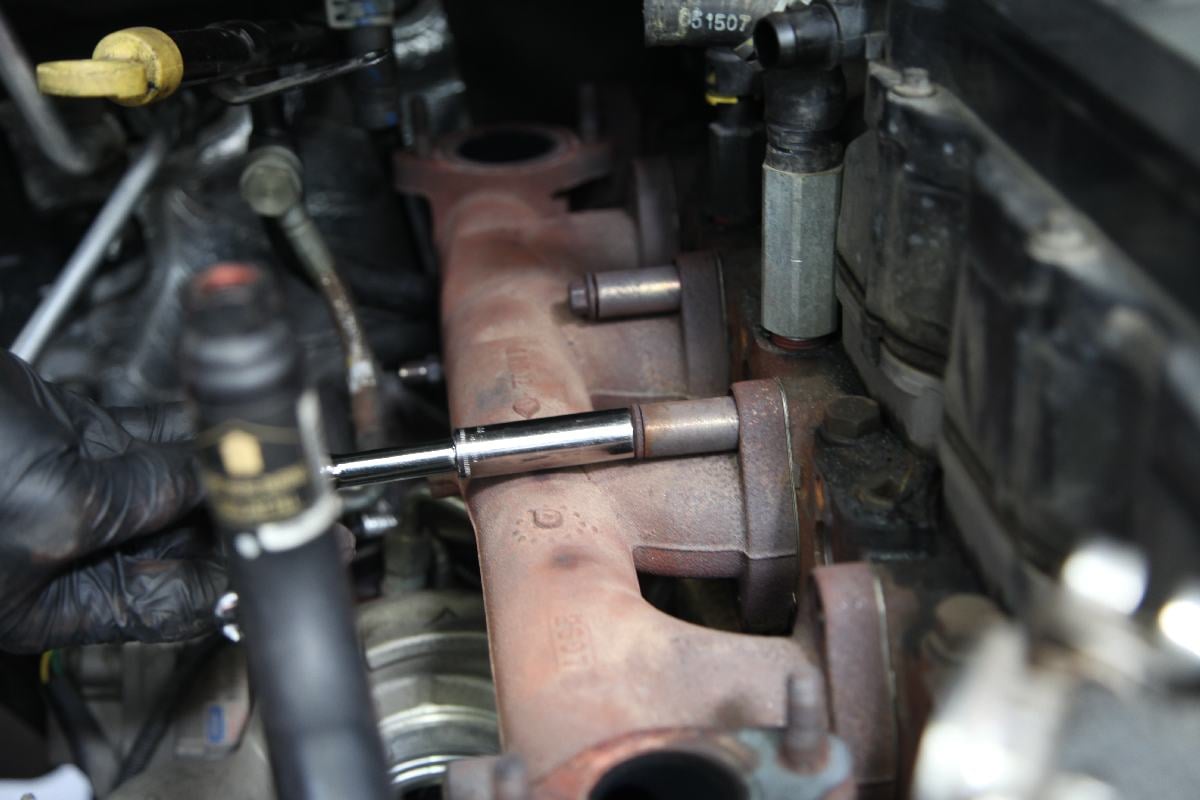
Remove the two rear manifold lock plates and then pull the cab heater tubing and bracket from the manifold stud. Unbolt all of the flange bolts holding the manifold to the cylinder head.
BD Diesel Exhaust Manifold Goes Into Service
Always compare your old parts to the new parts. You don’t want any surprises when you go to bolt the new components to the engine. Prepare your new BD Exhaust manifold by installing the studs. The top flanges get the 25 mm studs; there are 30 mm studs that get used as well, be sure to follow the BD Diesel instructions closely. Reinstall everything in reverse. Make sure to use the new gaskets.
 [24]
[24]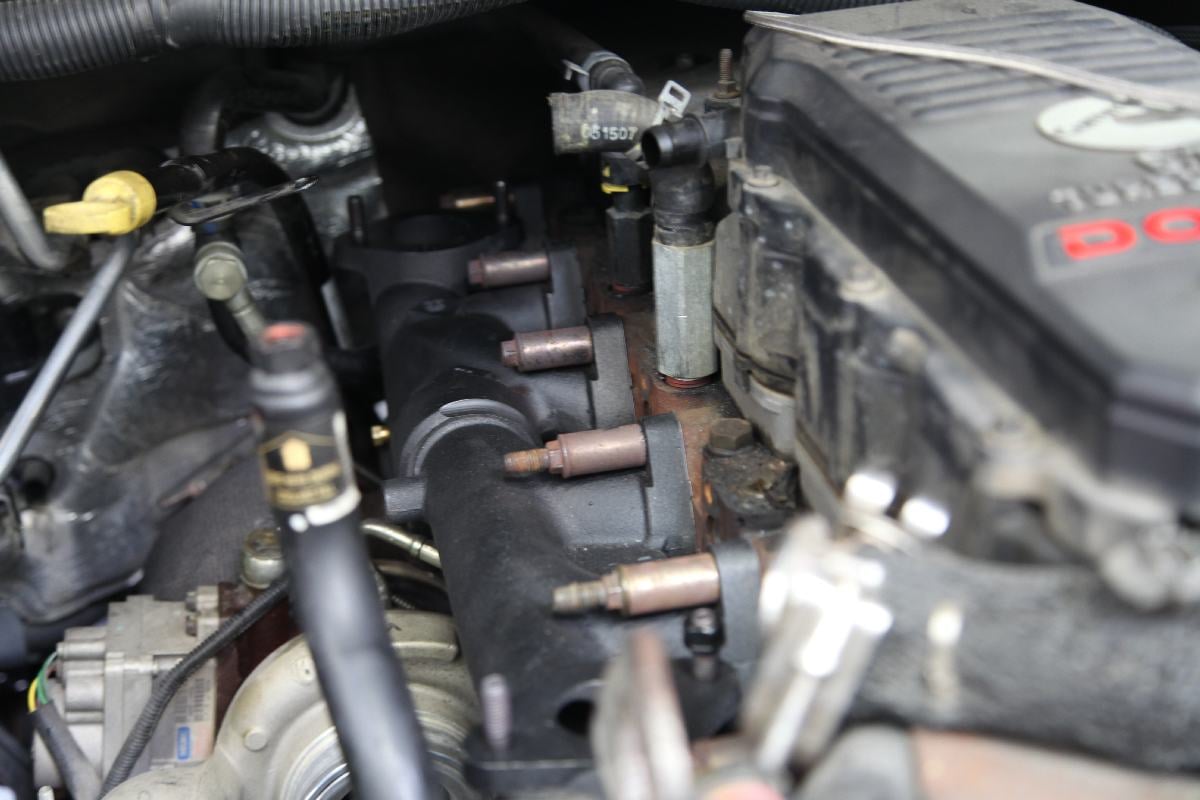 [25]
[25]
After a full day of wrenching, the new manifold is in. The motor runs strong and now we don’t have to be concerned with high exhaust and underhood temperatures expanding the steel of the original manifold and breaking studs.
As a whole, the new BD exhaust manifold is far superior to the stock unit. The heavy wall of the high silicon ductile iron casting can withstand far more heat without cracking. The flow has also been improved with larger ports allows the exhaust to move more freely, which will be very beneficial as more power upgrades are added over time.
Stay tuned for more upgrades and fun with Project Diesel Chase. For more information on BD Diesel, head to their website [26].