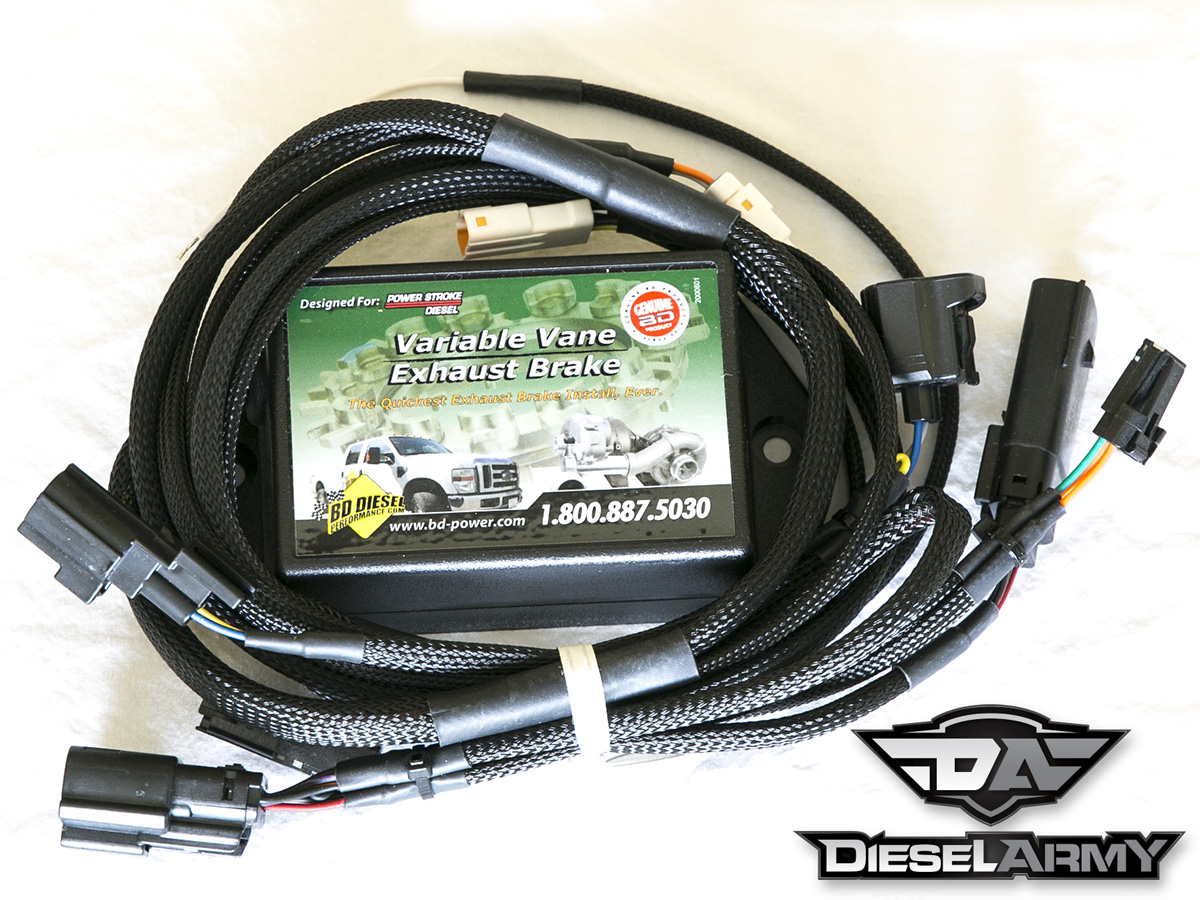
A couple of months ago we started a new series of install articles called Quick Tech [1]. These articles are designed for the DIY person and are centered around installs that take less than two hours. We recently installed a BD Diesel Performance TapShifter [2] in one of our Fords. That installation took less than half an hour and made a huge difference. The TapShifter gives you, the driver, control of your transmission, making towing much easier and safer. In this installment, we take a look at an exhaust brake install.
 [3]
[3]
“Nobody likes to have the family in the truck with a trailer on the back and have the axle brakes not be able to slow down the vehicle,” says Christian Roth, vice president of BD Diesel Performance.
With the BD kit, when the exhaust brake senses a need for engine braking, it closes the turbo vanes. This restricts the exhaust flow coming out of the heads. By keeping pressure in the exhaust system, the cylinders never really empty out. This means the pistons are constantly compressing the air inside the cylinders. This removes a lot of energy from the system, reducing vehicle speed. While not the same as a “Jake Brake”, it operates on similar principles.
 [5]
[5]
“Not only does this [exhaust brake] provide a safer driving experience, but not always needing to apply the brakes means there is a maintenance improvement aspect as well. By utilizing the factory turbocharger by closing the veins off and slowing the engine down, we thereby control the vehicle. So, you don’t put as much wear on the vehicle’s brake system,” explains Roth.
 [6]Installation
We took the truck to Diesel Dynamics [7] in Joshua, Texas to have Maclain Young walk us through the installation. We were actually in and out in less than ten minutes. This project is that simple and straightforward.
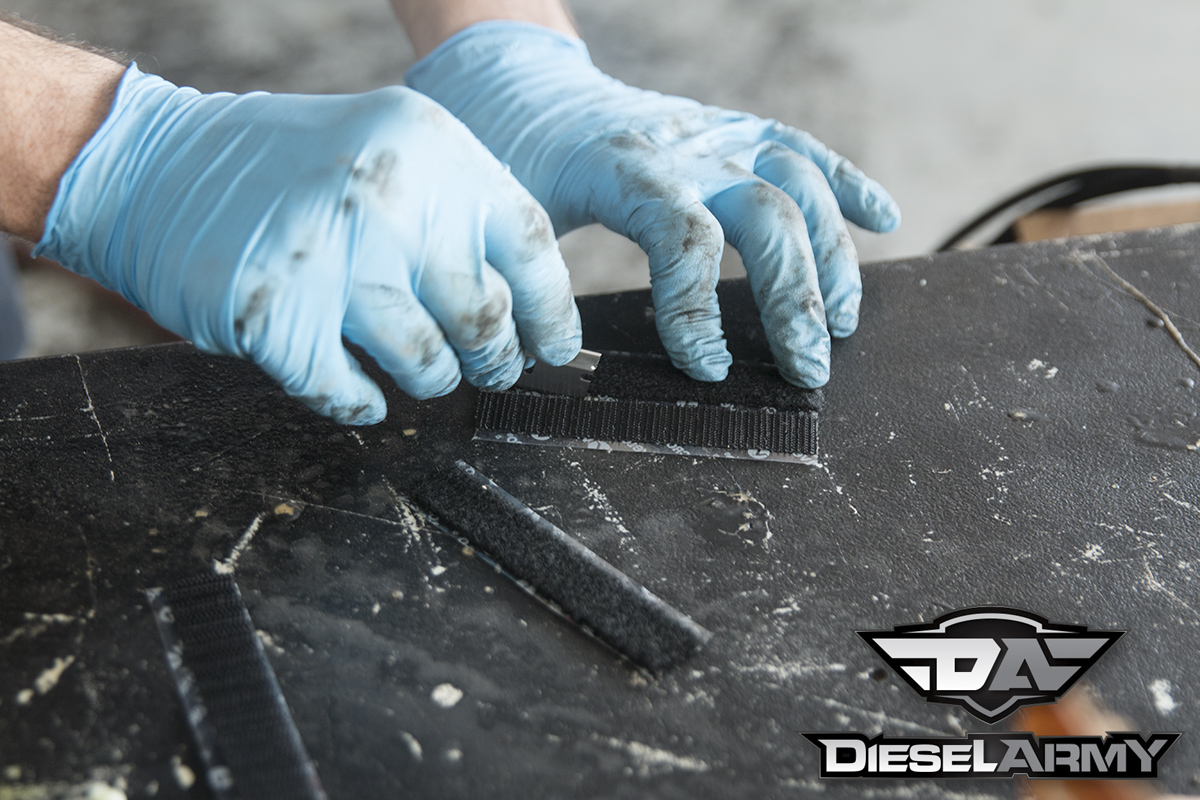
Initially, Young stuck Velcro on the backside of the controller. Then, he found a place to mount the controller on the inside of the front driver’s side fender. He used a little bit of brake clean and removed dirt from the area before mounting.
 [8]
[8]
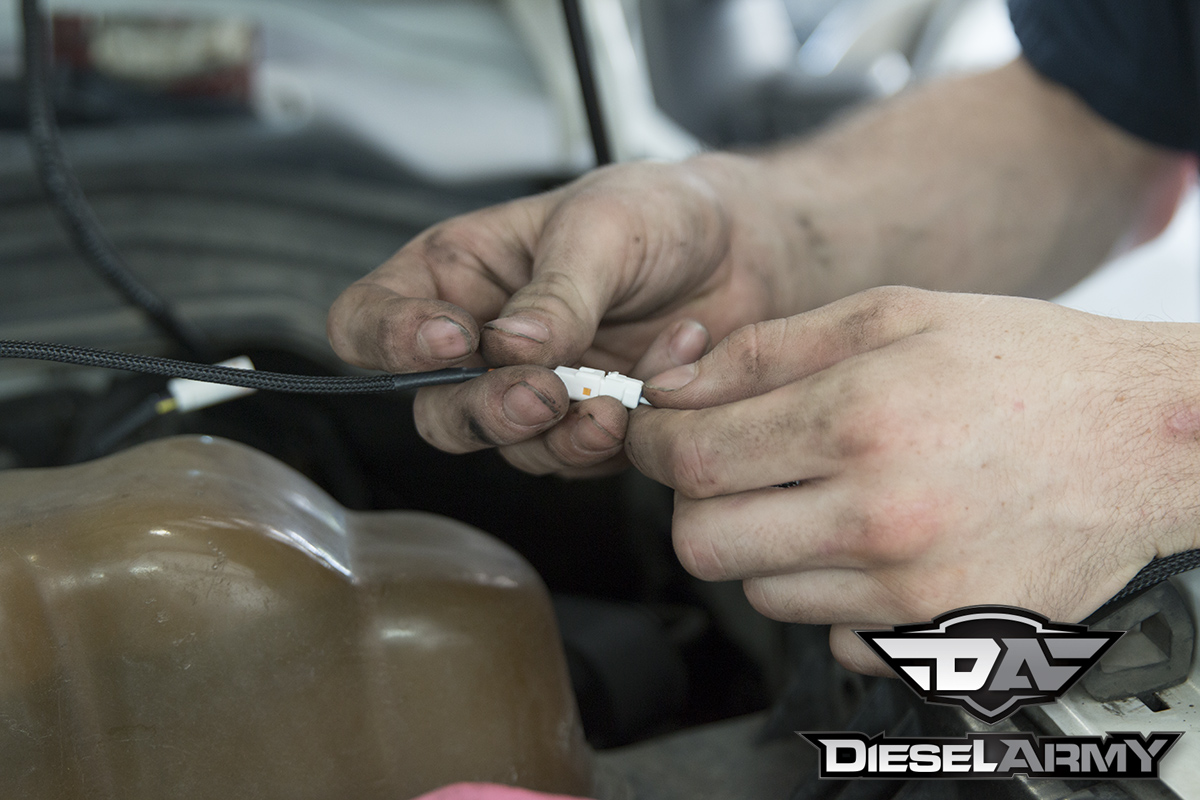
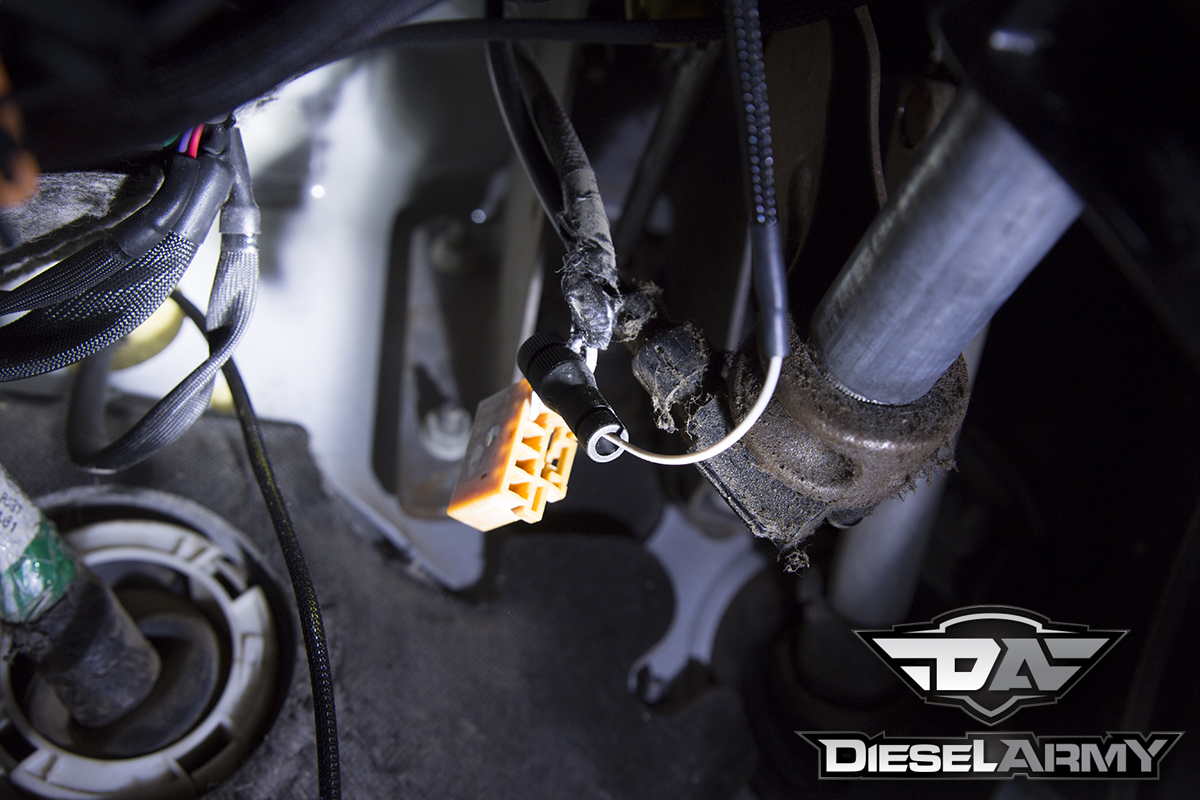
While he was working so close to the master cylinder pressure switch, he went ahead and disconnected it. The exhaust brake has a male and female end that plugs into the master cylinder pressure switch and the factory wiring harness. Young, then connected the wiring for the position switch (part of the brake controller) and ran most of the wiring through the firewall.
 [9]
[9]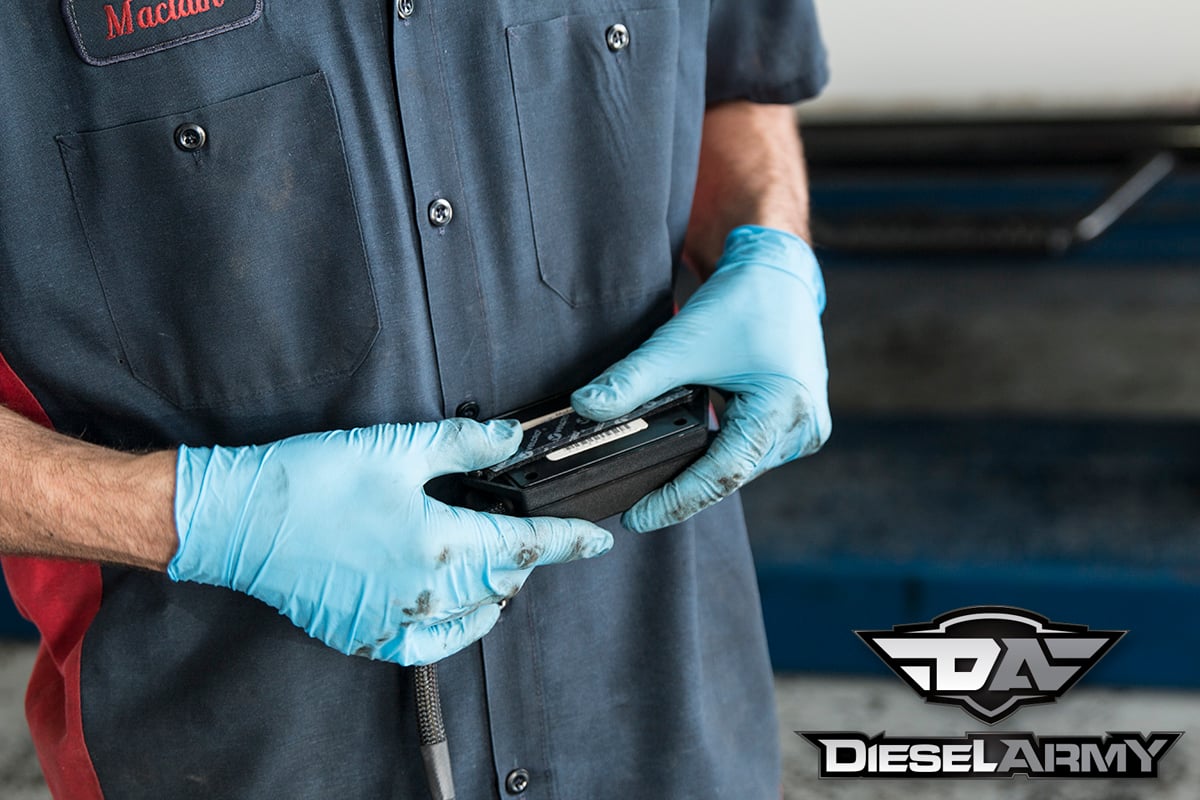 [10]
[10]
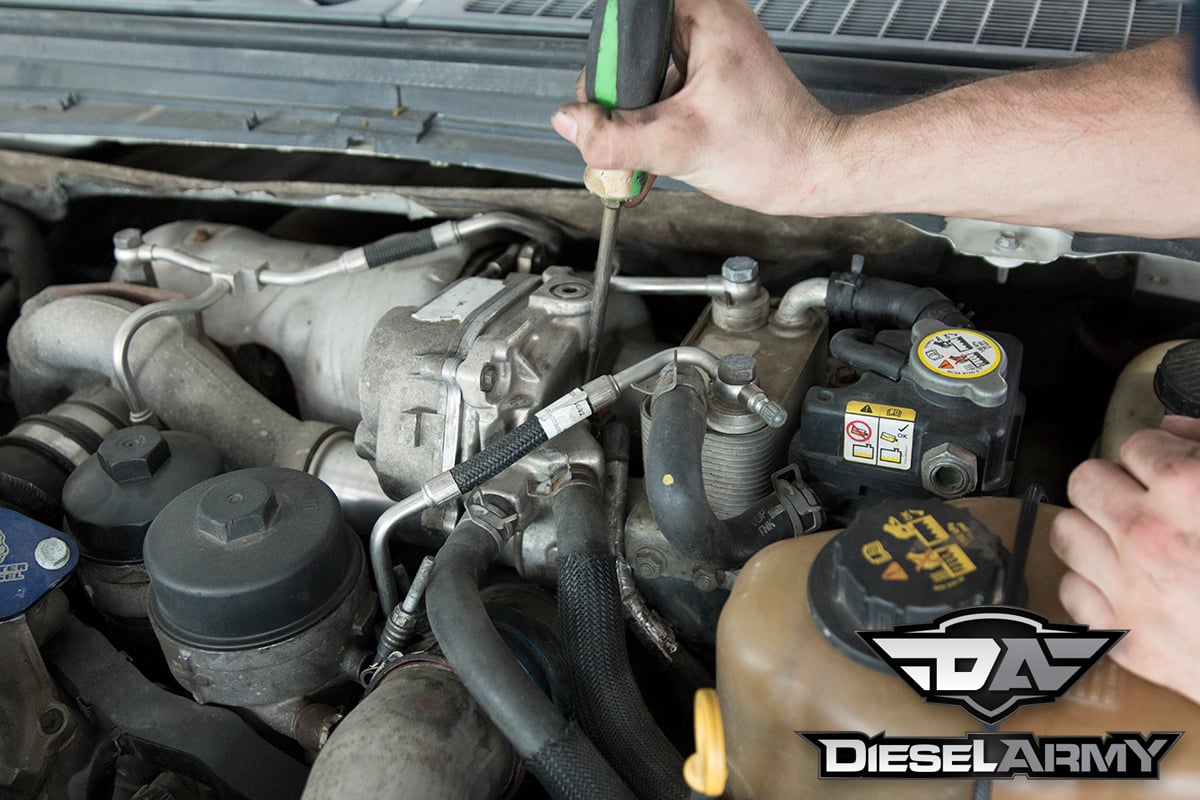
The only wiring left under the hood was for the turbocharger vane actuator. Again, the exhaust brake controller has a male and female connector. This means there is no cutting or tapping required to connect the brake controller. Young used a regular (flat) screwdriver to push down on the locking tap and slide the wire connector off. Then the two exhaust brake connectors were connected and all of the under-hood work was completed.
 [11]
[11]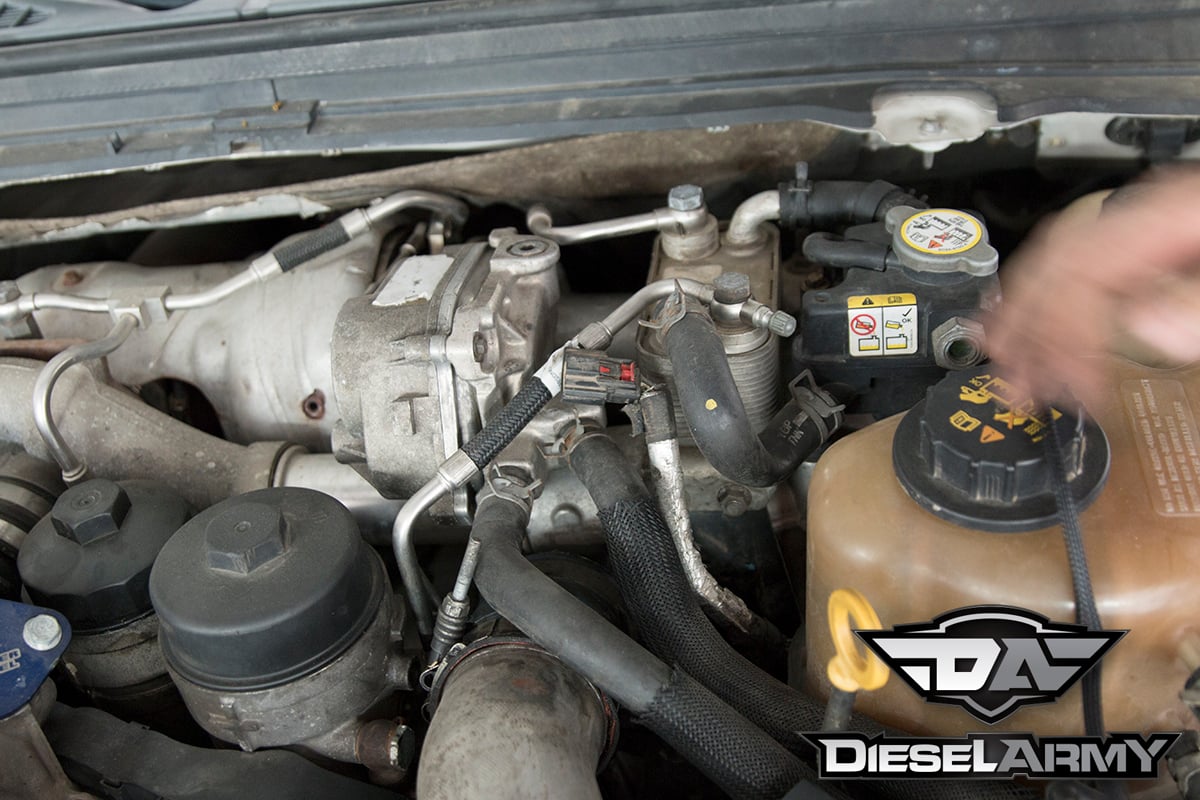 [12]
[12]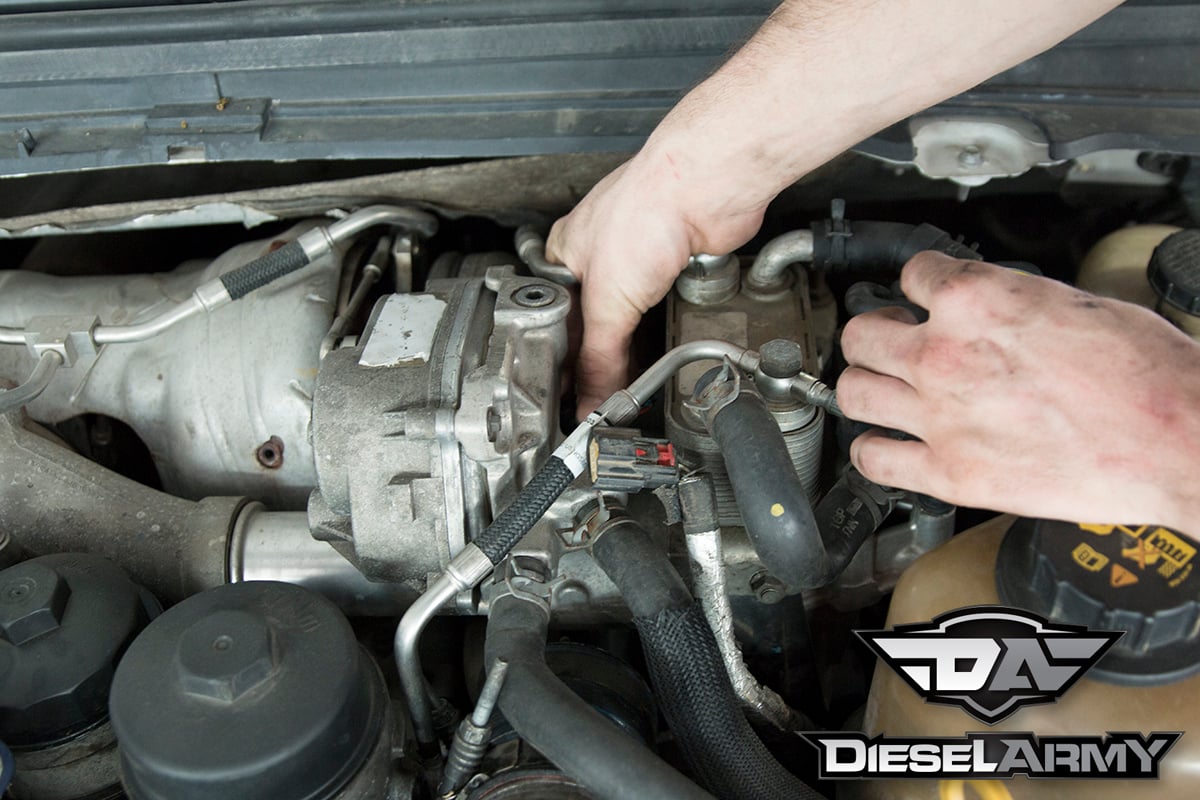 [13]
[13]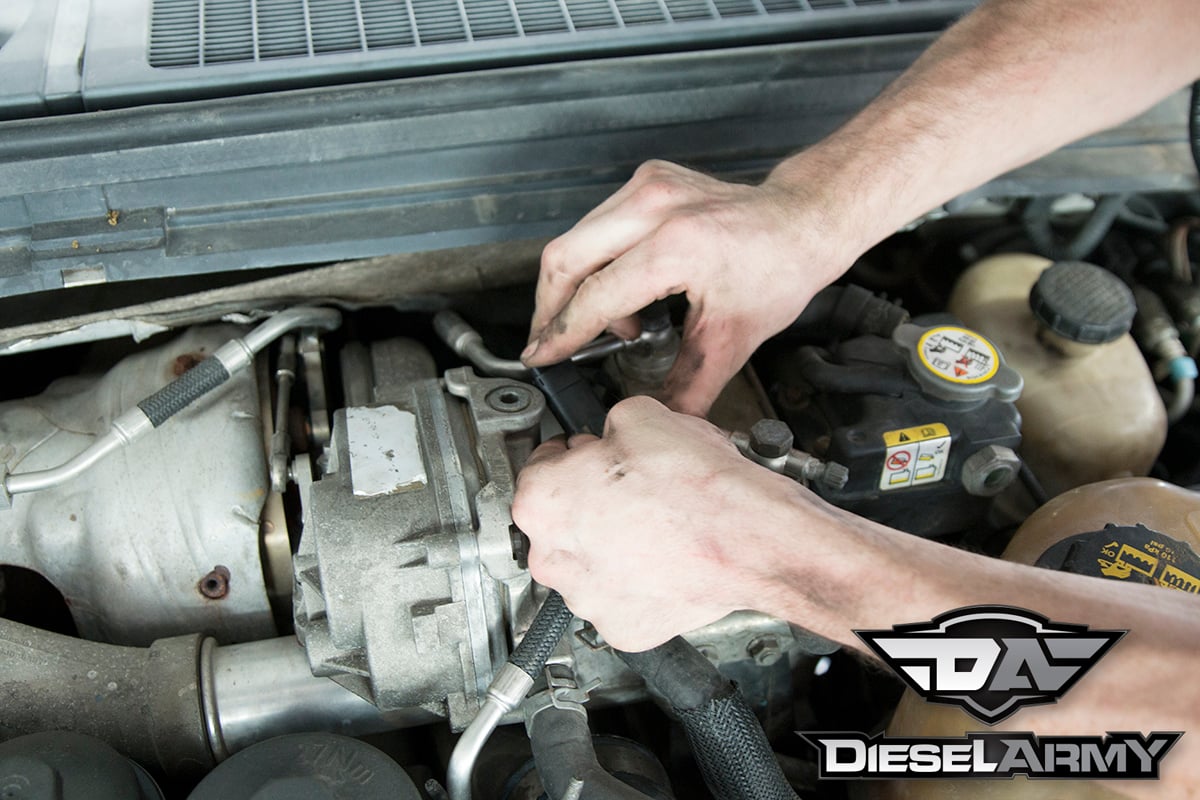 [14]
[14]
Young was able to push the release tab on the exhaust brake controller then, he simply reconnected everything using the supplied BD Diesel Performance connectors. Not splicing anything, means there is a lot less chance of premature failure and issues down the road.
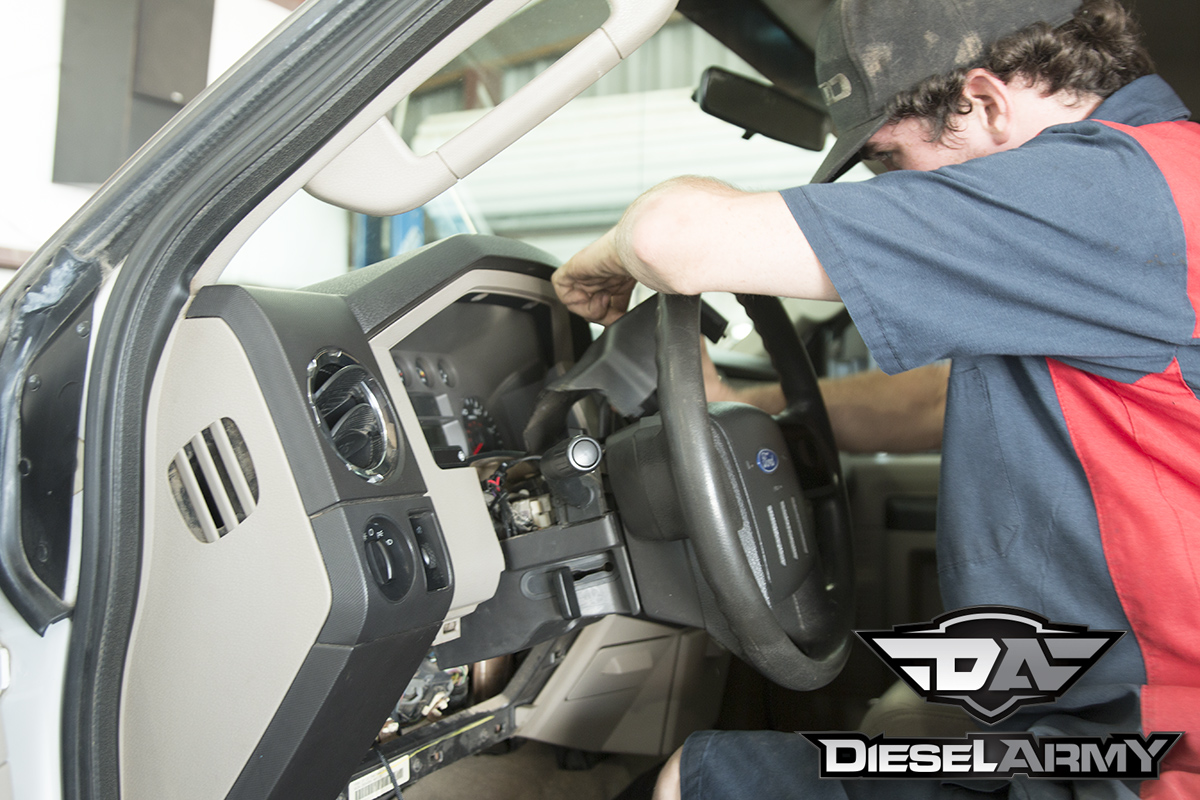
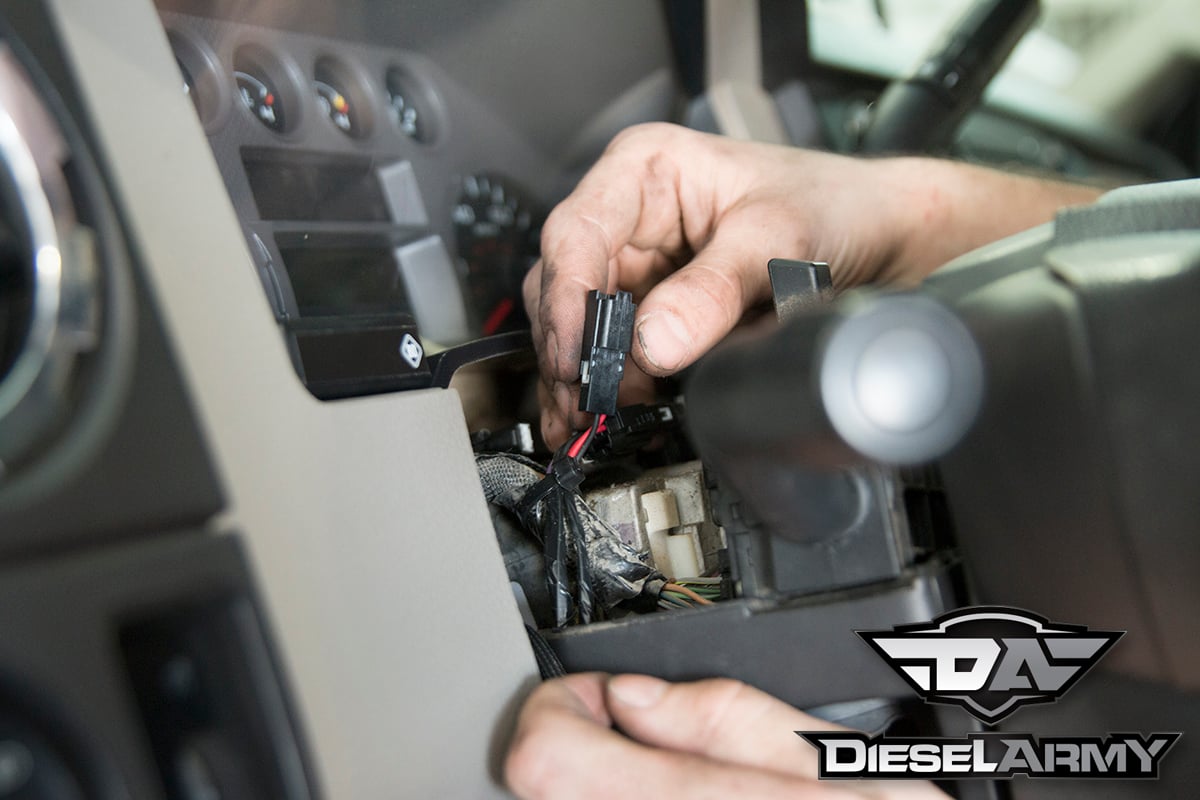
In the cab, the steering wheel cover was removed to expose the wiring connector for the tow/haul mode. The shifter’s activation button has a connector that is mounted to the top of the steering column. The exhaust brake connects directly to the male and female plugs. Again, no splicing is needed. The exhaust brake wiring runs just inside the fuse panel cover and up into the steering wheel.
The only tapping of wires needed for this assembly is for the brake pedal sensor. Young unplugged the factory wiring connector from the brake pedal assembly and found the purple wire with a white tracer. He then used the posi-tap provided in the kit to tap into the brake wiring. The white wire for the exhaust brake controller was then connected. The only remaining item is the position switch. Young placed the sticker on the mounting bracket and then connected the switch to it.
 [15]
[15]
 [16]
[16]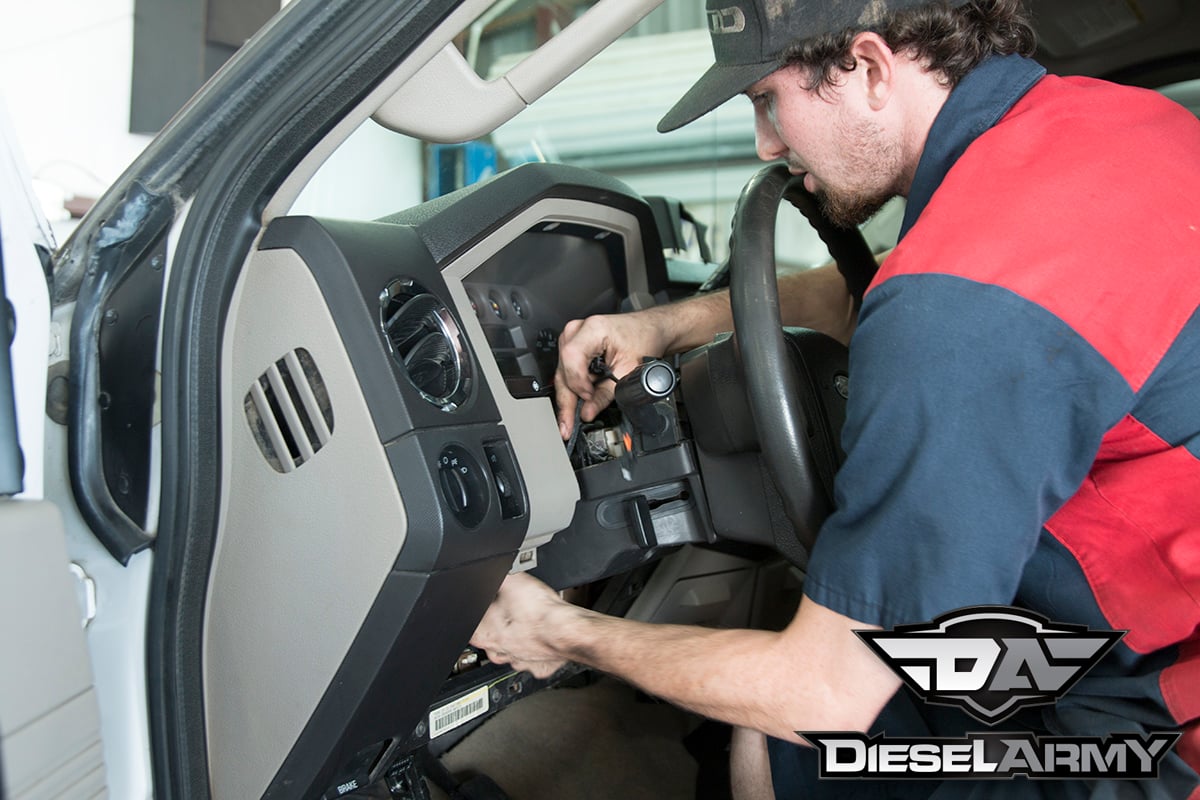 [17]
[17]
Young was in and out of the steering wheel area within moments. This is where experience pays. For us DIY types, this may take a few minutes to find all of the bolts and remove the cover. Just take your time because there are no tricks here, just a couple of bolts, and the cover comes right off.
With the switch installed, the rotary dial was installed to select which level of braking is needed. Then, the whole assembly was mounted under the fuse panel cover. That is it, the system is ready to go. Young performed a quick check to ensure that all connectors were connected and the wiring was run safely. Then he backed the truck out of the bay and we head down the street for a quick test.
(If you want to see a more detailed install, the installation manual can be found here. [18])
 [19]
[19]
Final Thoughts
There is a noticeable difference between levels one and two. Level two is really designed for steep grades or heavy trailers. The exhaust brake provides significant breaking on level two. Both provide a level of extra security and braking to ensure a safer driving experience while towing.
 [20]
[20]
 [21]
[21]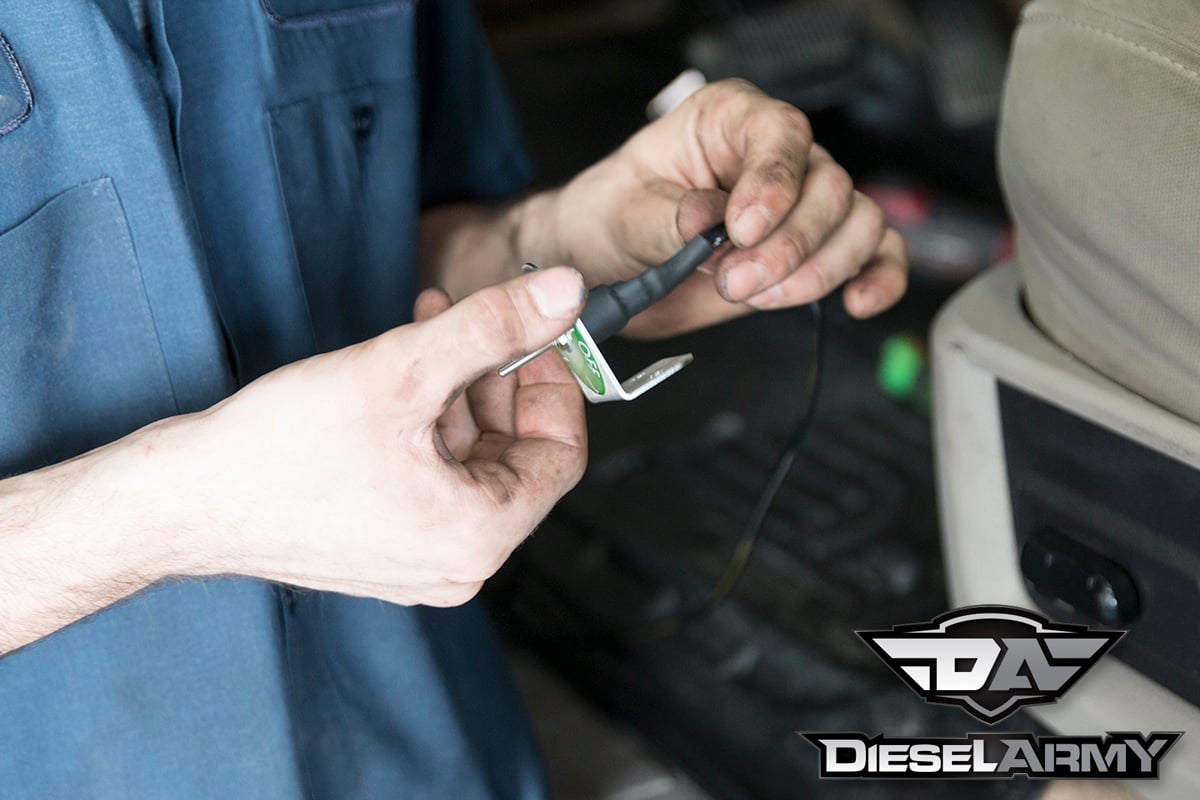 [22]
[22]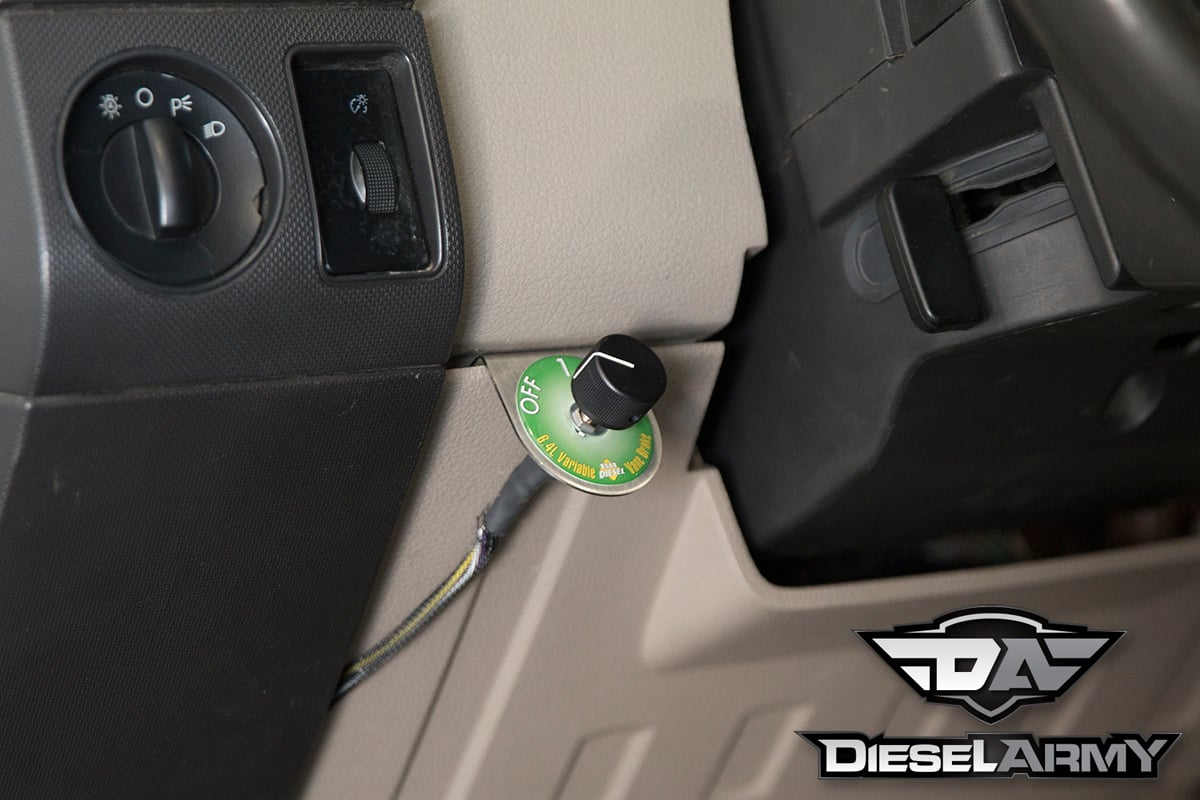 [23]
[23]
For us, a quick install upgrade like this, which is cost-effective, is a great “bang for the buck” upgrade. The icing on the cake is how quickly the entire thing is installed. While Young only took about 10 minutes, we would say this is probably a 30-minute install for the average DIYer.