 [1]Growing up, many of us were only exposed to manual transmissions. Not only were these a little more of a cost effective solution, but they were certainly the better transmission when it came to towing. Over the years, auto manufacturers have been developing better and better automatic transmissions. The take rates are so high, in fact, that some of the OEM’s are no longer offering a manual transmission behind diesel equipped trucks.
 [2]
[2]
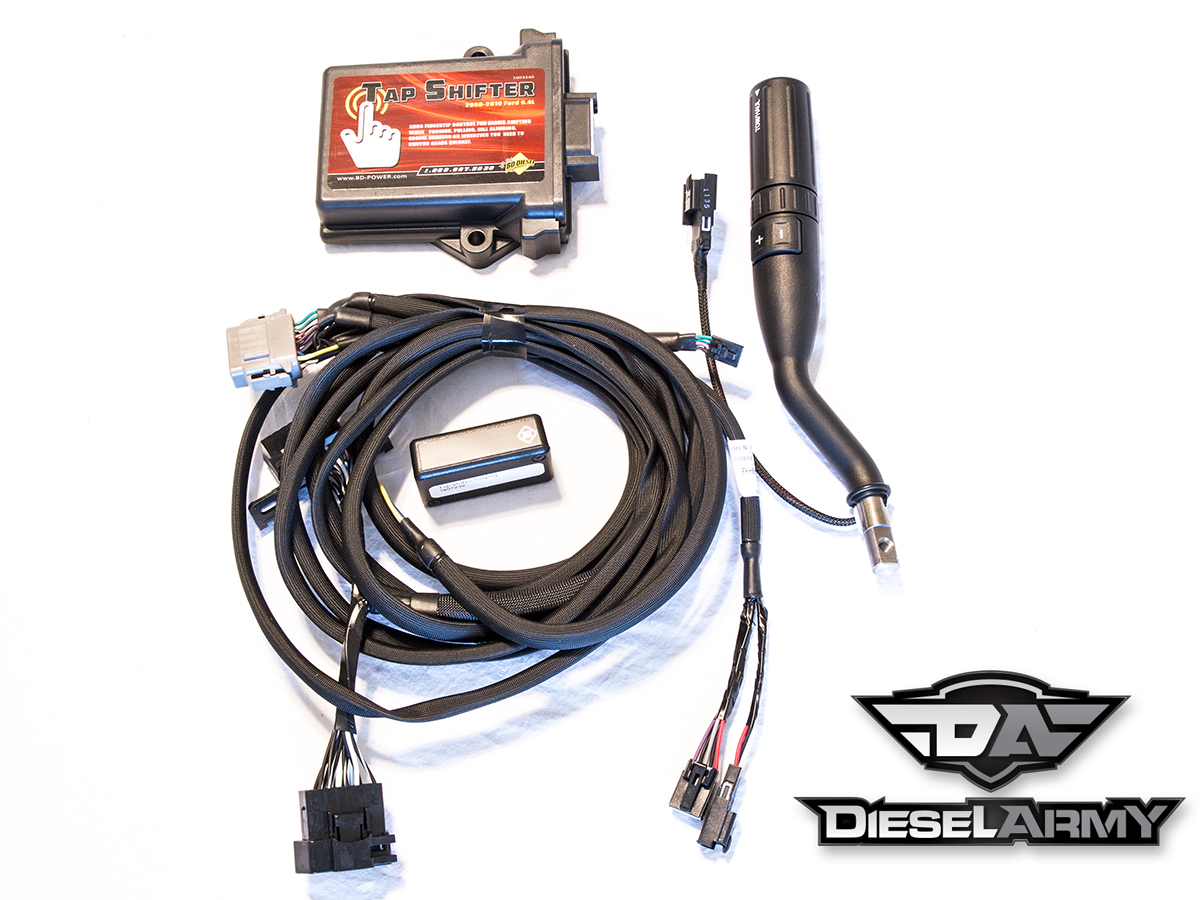
The new BD Diesel Performance TapShifter for the Ford 6.4-liter Power Stroke enables people to take control over their 5R110 automatic transmission. This is not only handy for people who tow, but let’s face it, for us with aftermarket turbochargers; sometimes being able to downshift would make all the difference, or even just unlocking the torque converter.
In addition, people who are sled pulling or dynoing their truck could certainly benefit from being able to put the truck in a specific gear and hold it there without worrying about whether the truck was going to shift or not.
 [4]
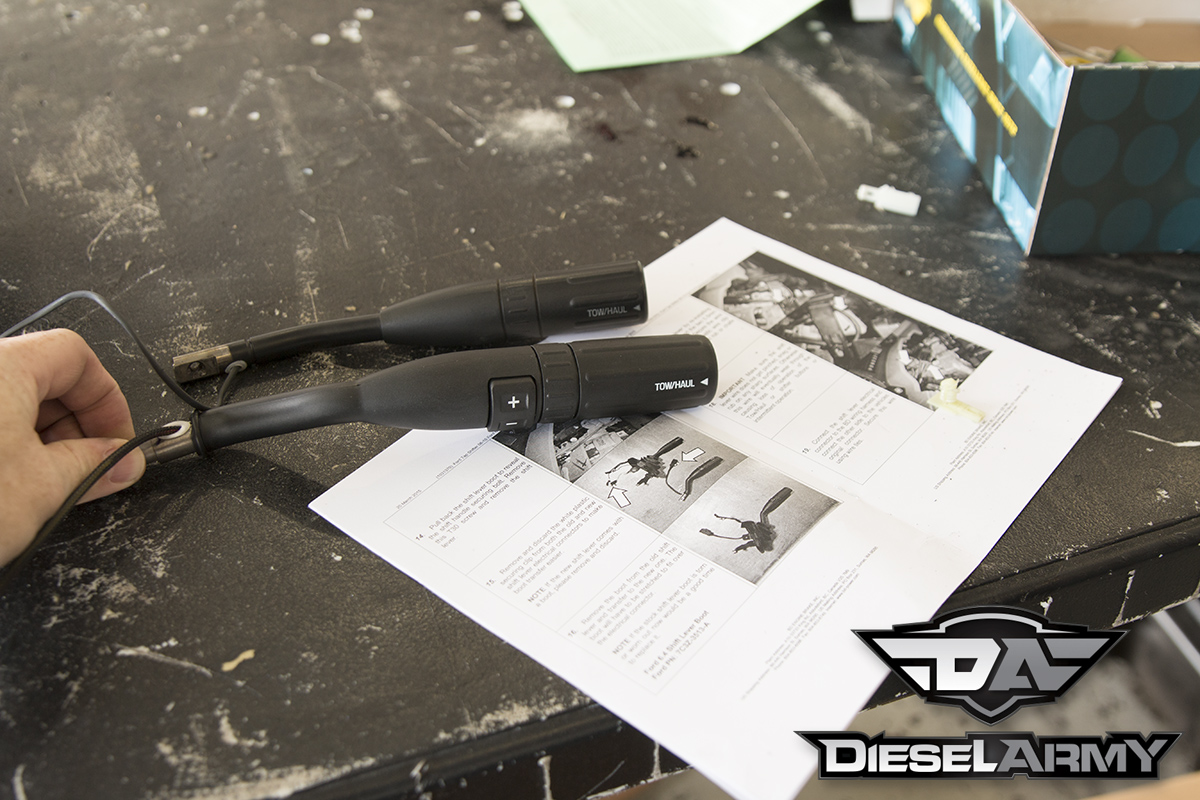
[4]When Young laid the TapShifter next to the factory 6.4 shifter you can see a noticeable size difference. The TapShifter is quite a bit larger, but once installed in the truck, it wasn’t noticeable.
 [5]
[5]
The TapShifter enables ultimate control of what gear you want to use – Christian Roth

The TapShifter does take control of when the truck shifts regardless of what the factory or aftermarket tuning is requesting. Modes 2 through 5 change the shift points to adjust for oversized tires or larger turbochargers. The TapShifter does not interfere with the line pressure signals, so there is no concern of clutches slipping due to a reduction in line pressure.
 [6]Once we managed to snag one of these TapShifters, we ran over to Diesel Dynamics [7] in Joshua, Texas to have it installed. Maclain Young has been excited to see how these work and was more than happy to walk us through the installation.
This was his first experience with the TapShifter and from start to finish it only took about 25 minutes for him to install it. So, we would anticipate it taking about an hour for most of us, non-mechanics to install. Great for a little weekend project!
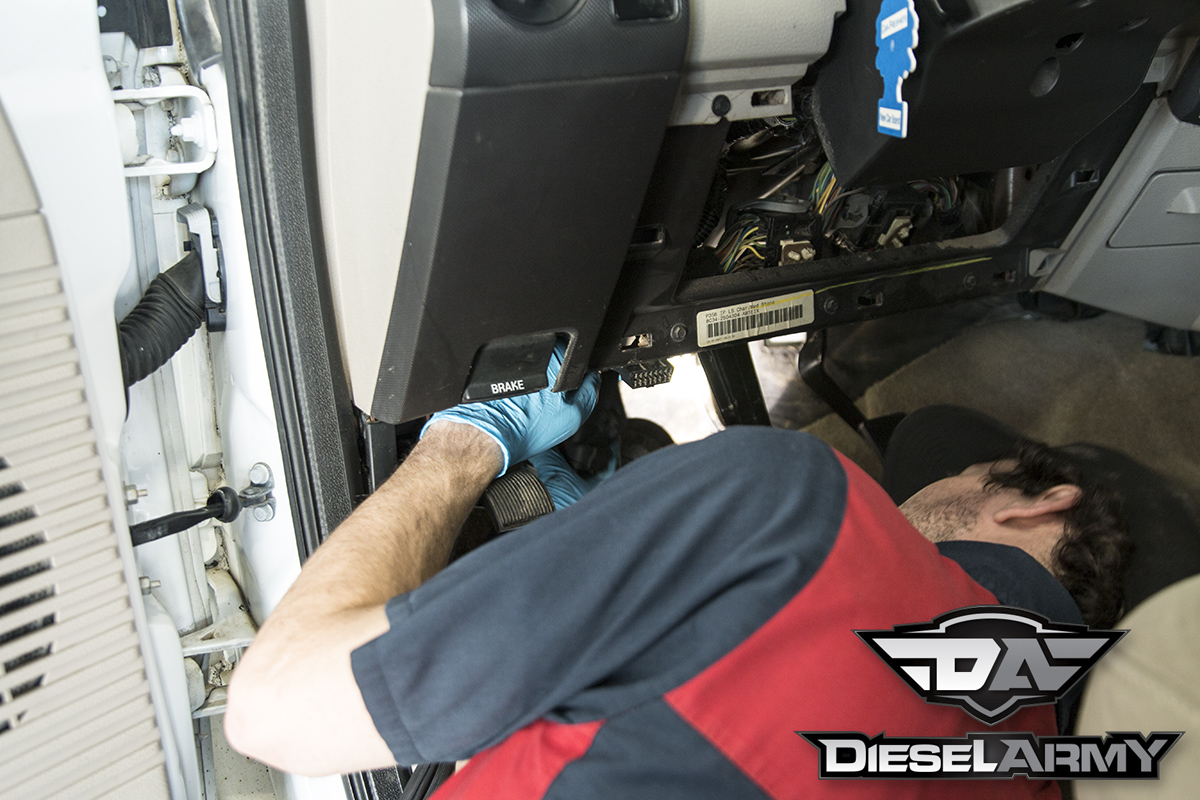
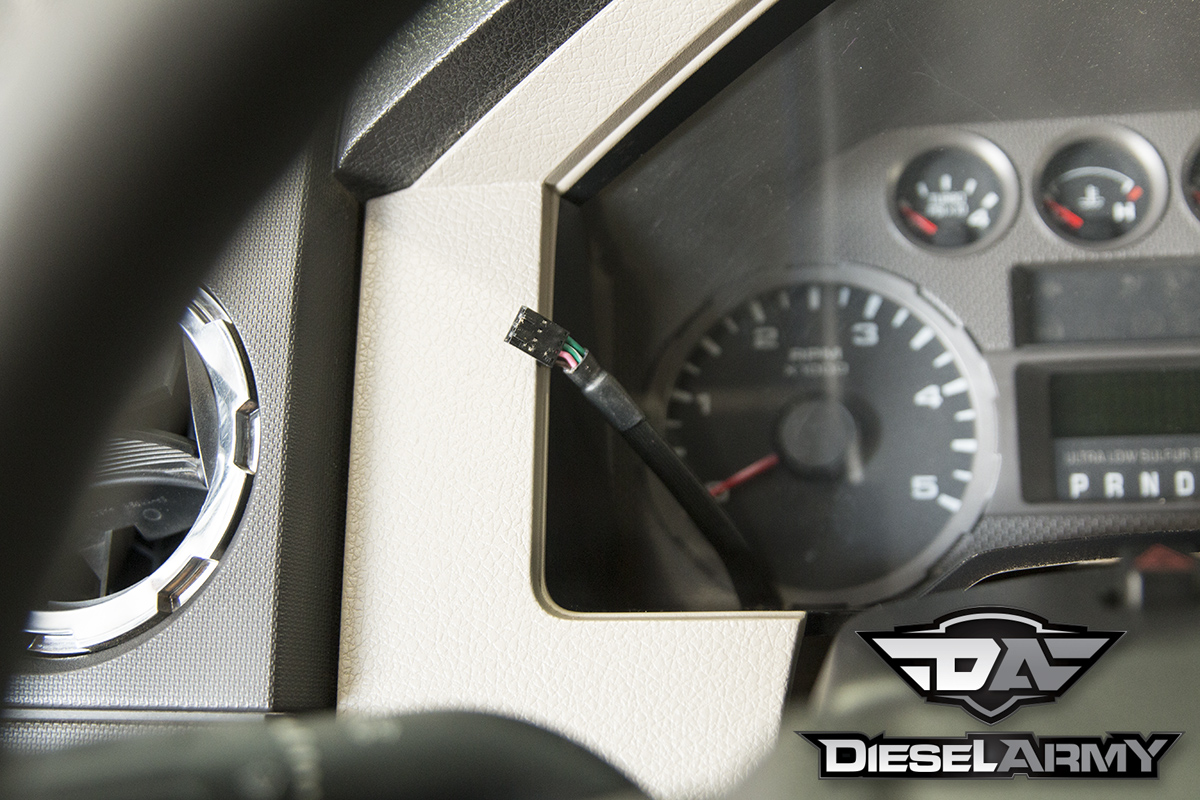
Young removed the knee bolster and zip tied the TapShifter module to another module under the dash. Once the module was secure with two zip ties, he laid the wires out to figure out what wires stay inside of the cab and which need to be routed into the engine compartment.
 [8]
[8]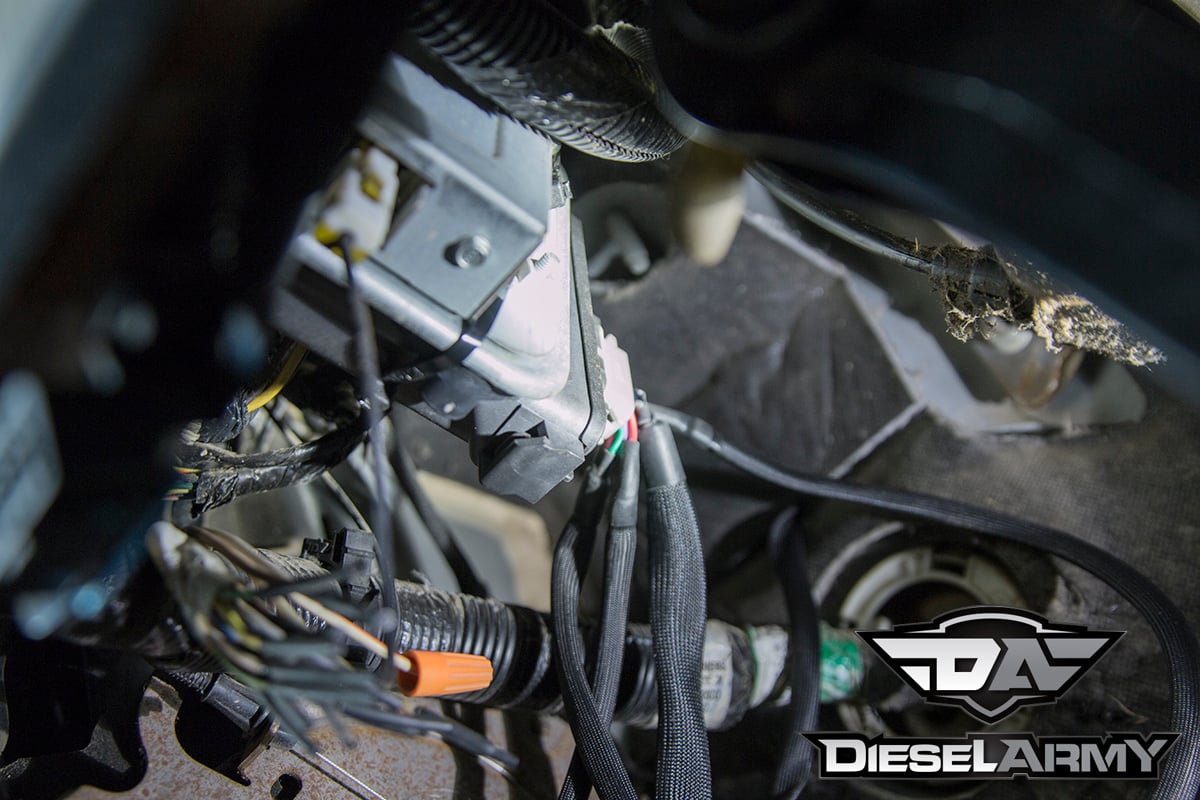 [9]
[9]
It is hard to see, but Maclain zip tied the TapShifter module under the dash.
There is a nice spot about where a clutch pedal assembly would be mounted that has no metal, as it is only the sound deadening material. With a screw driver, Young punched a small hole through it. Then he fed the wires though that and moved onto the other interior wires.
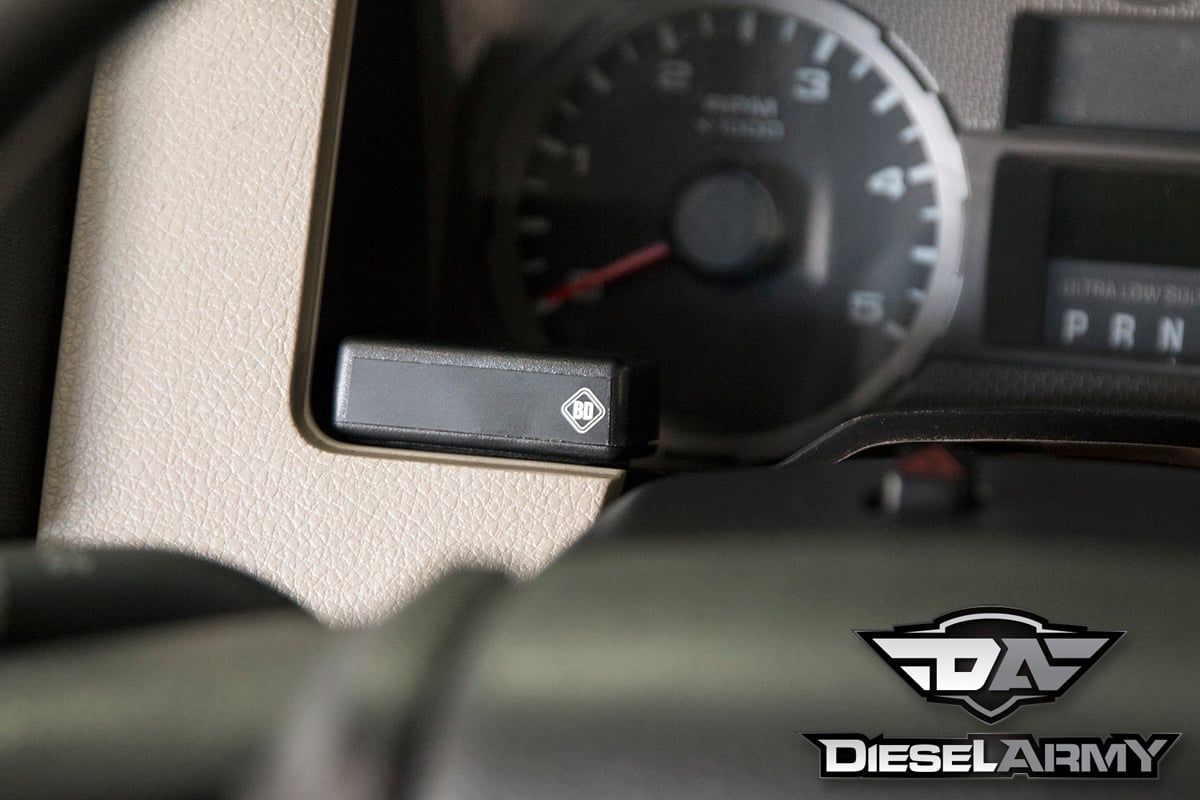
Young opted to route the gear selector wire first, as it was fed up along the steering column and behind the dash panel. With the wire routed, he connected it to the display and installed the display with the supplied double-sided tape.
 [10]
[10]
 [11]
[11] [12]
[12]
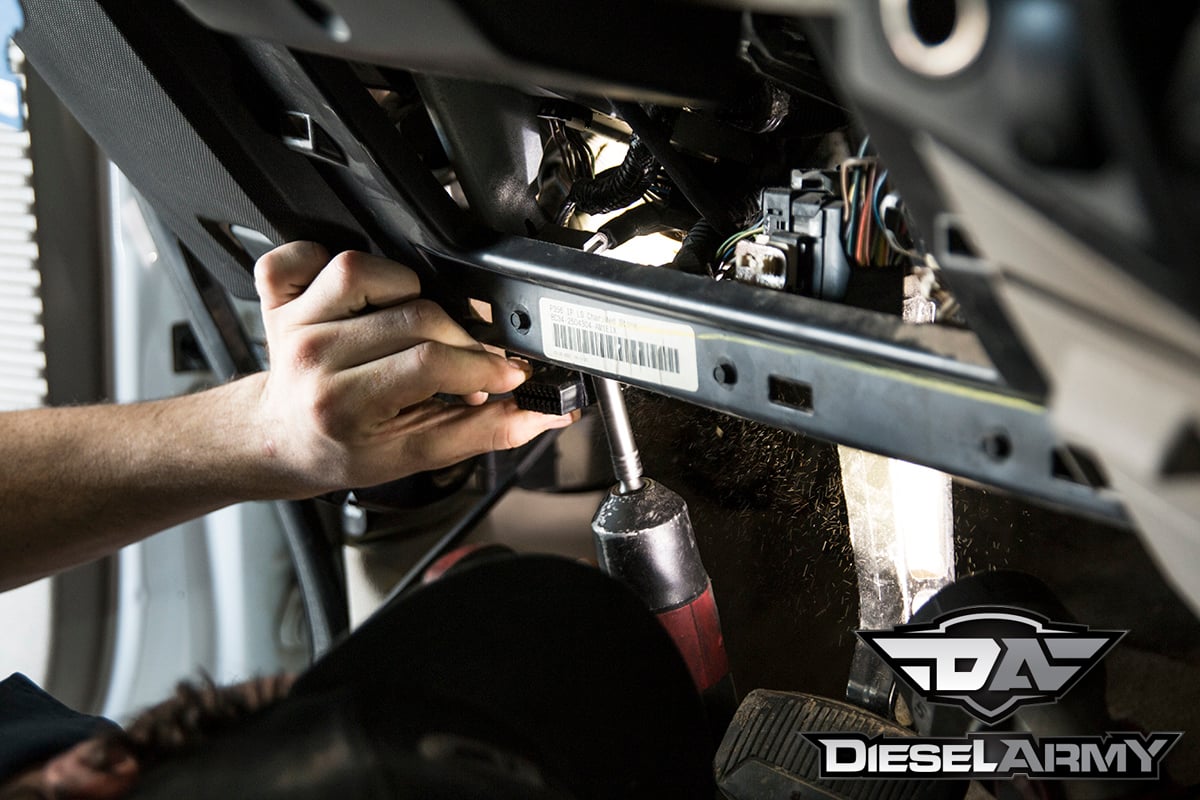
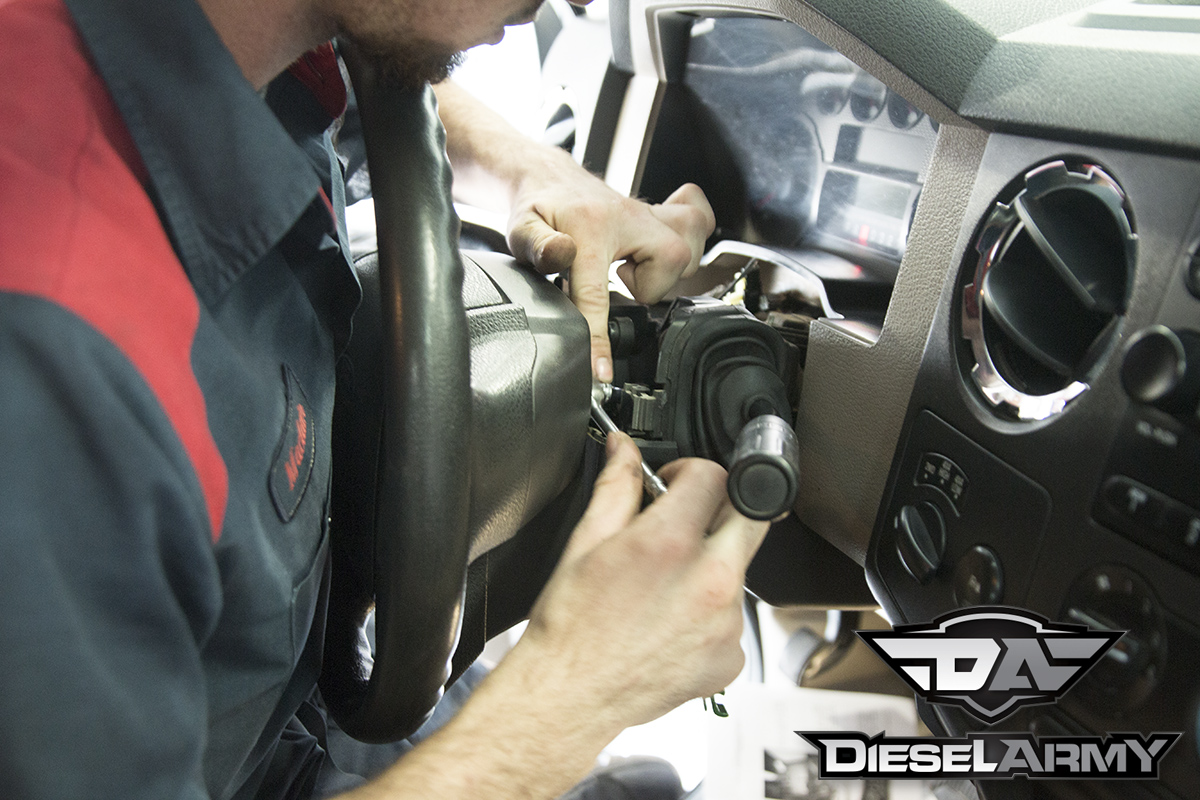
The next set of wires runs to the OBDII port. Young unbolted the factory OBDII port and connected it to the supplied male OBDII port. Then the new OBDII female port was bolted in place of the factory OBDII port. The wires were then zip tied up and out of the way.
 [13]
[13]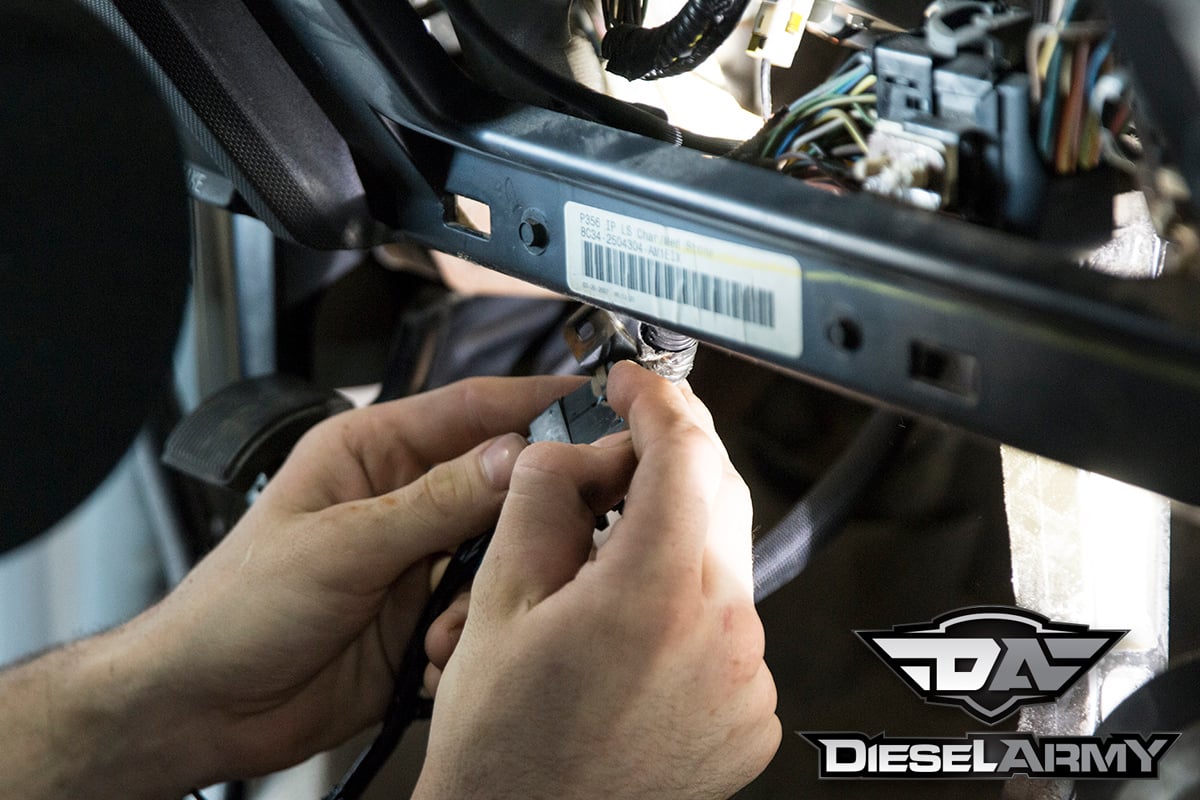 [14]
[14]
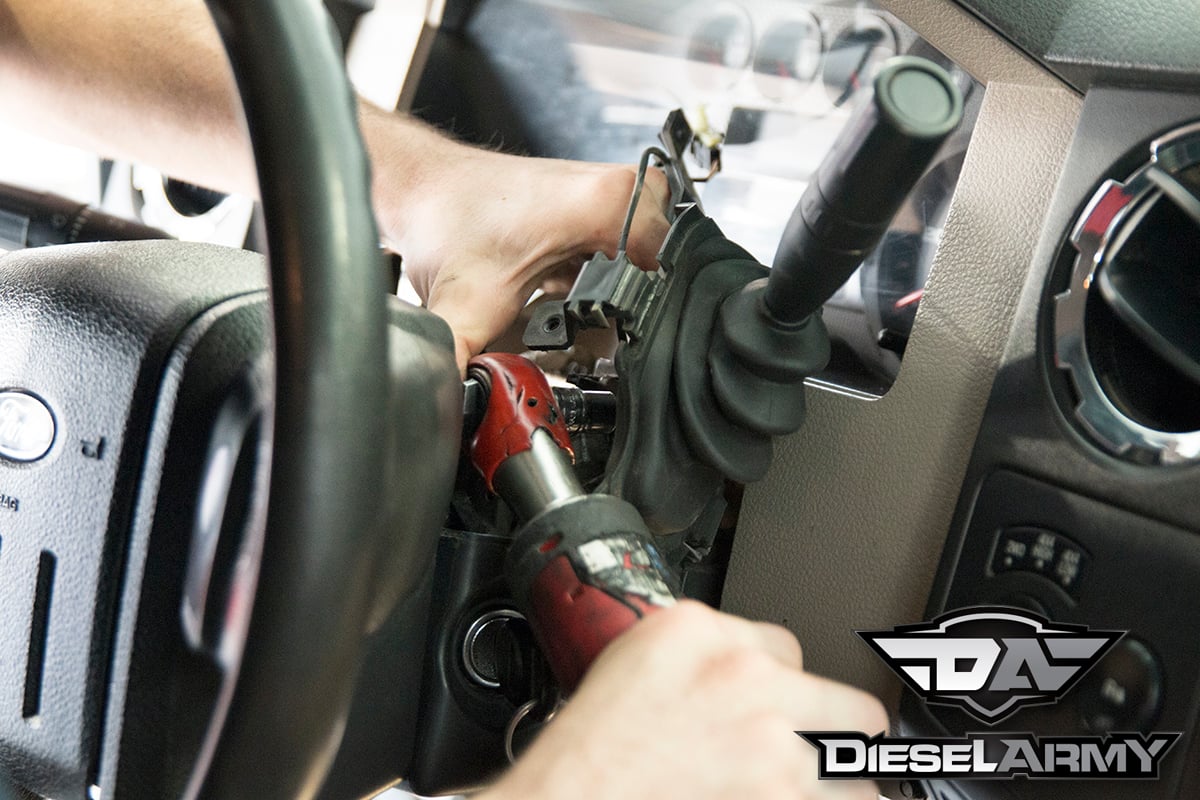
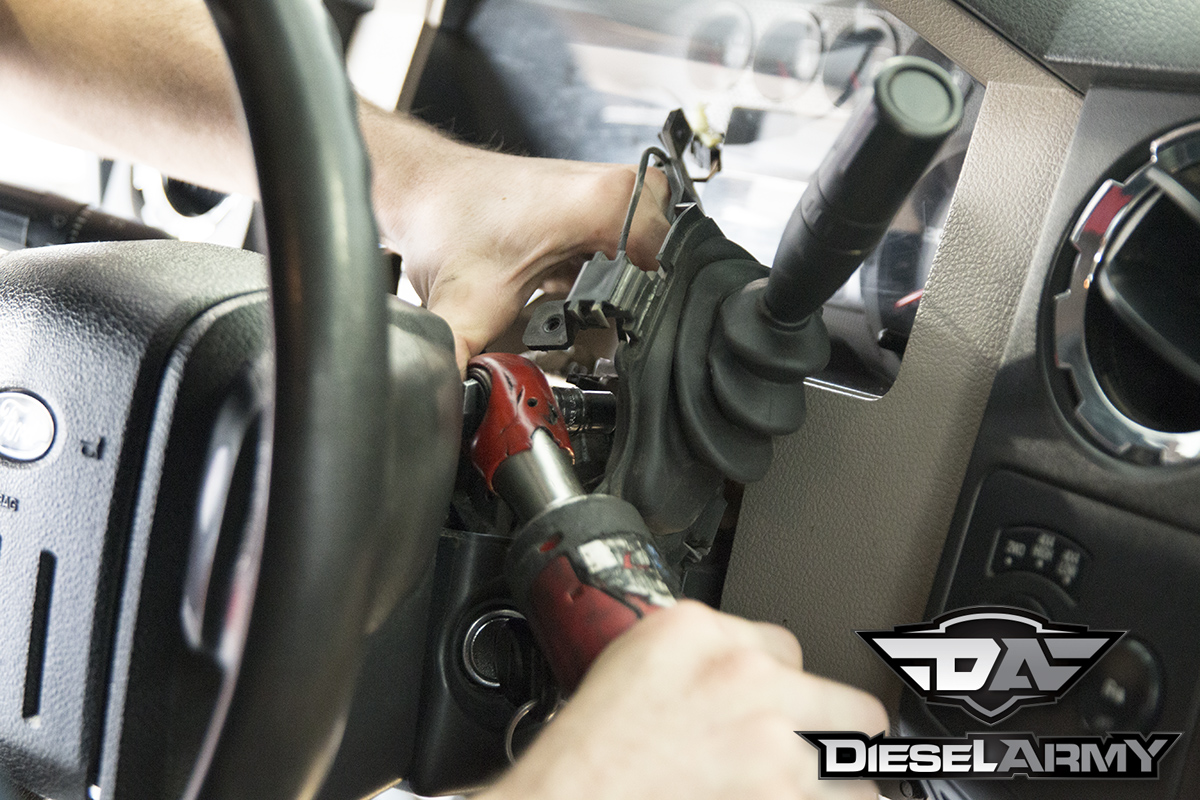
 [15]To replace the shifter, Young needed to remove the column cover. This was a simple process for Young, but it is a place where someone could get stuck. Make sure you not only have a 5.5mm and 7mm socket in quarter inch drive, but make sure you have a small (preferably thin) ratchet. There isn’t much room to get the front bolt off of the shifter.
With the shifter removed, Young pulled the rubber cover off and we sat the two shifters next to each other. The BD TapShifter is a 6.7 Ford Power Stroke shifter and it is slightly larger than the OEM part. Rest assured, once the shifter was installed into the truck, the additional size made no difference in looks or function.
 [16]
[16] [17]
[17]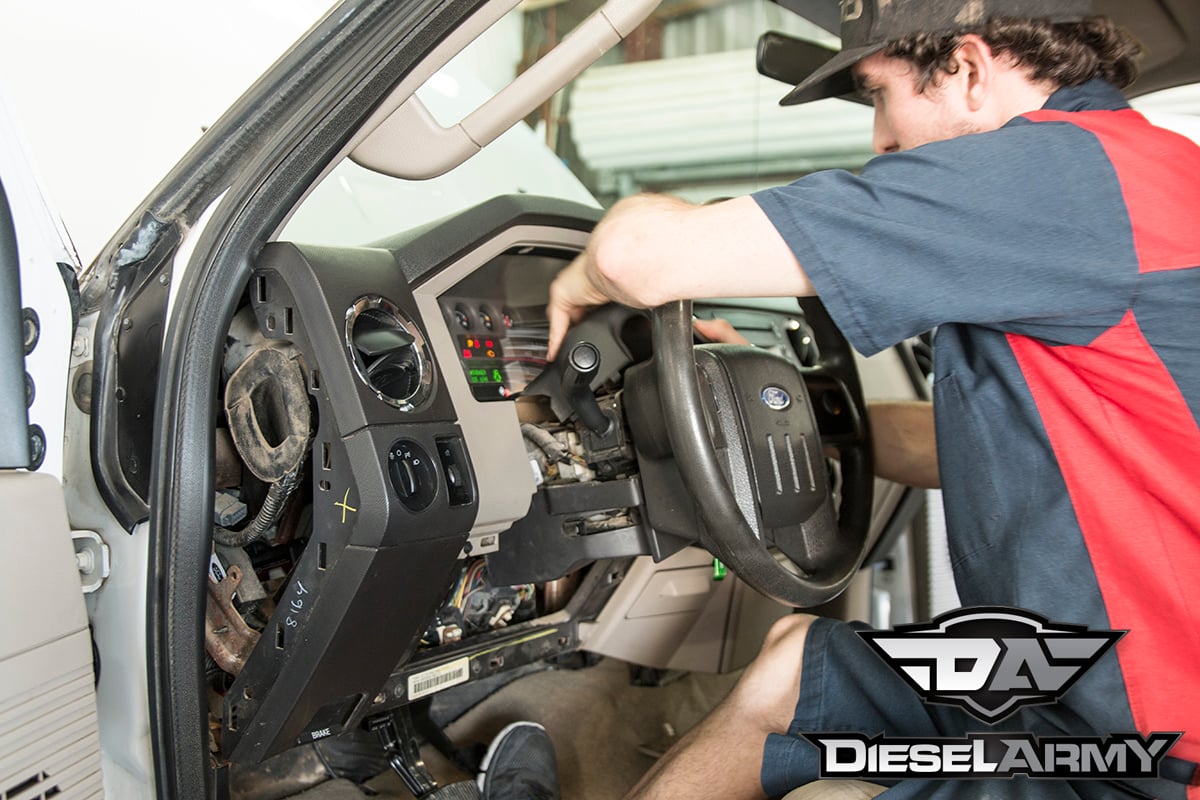 [18]
[18]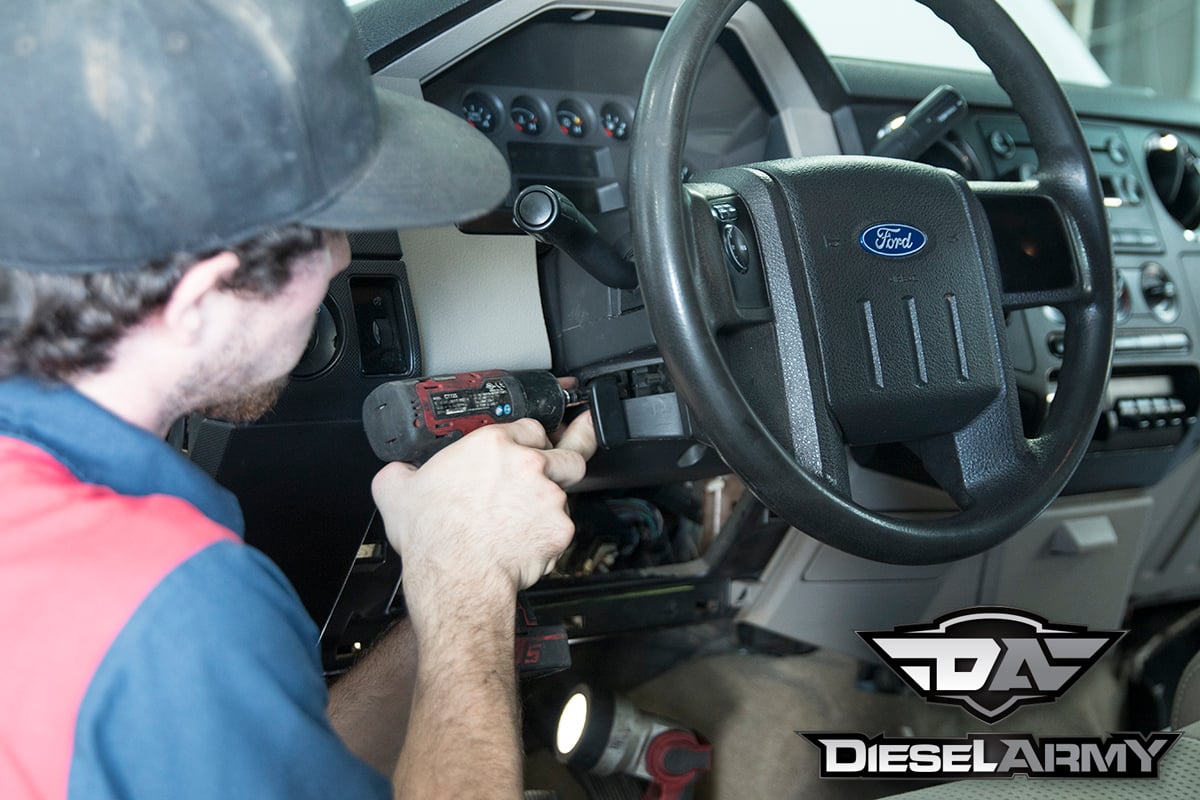 [19]
[19]
 [20]
[20]
Re-installing the shifter was just a matter of reversing the order. The shifter was installed, the electrical connector was plugged in, the cover was re-installed and it was time to lift the truck up to access the one transmission wire.
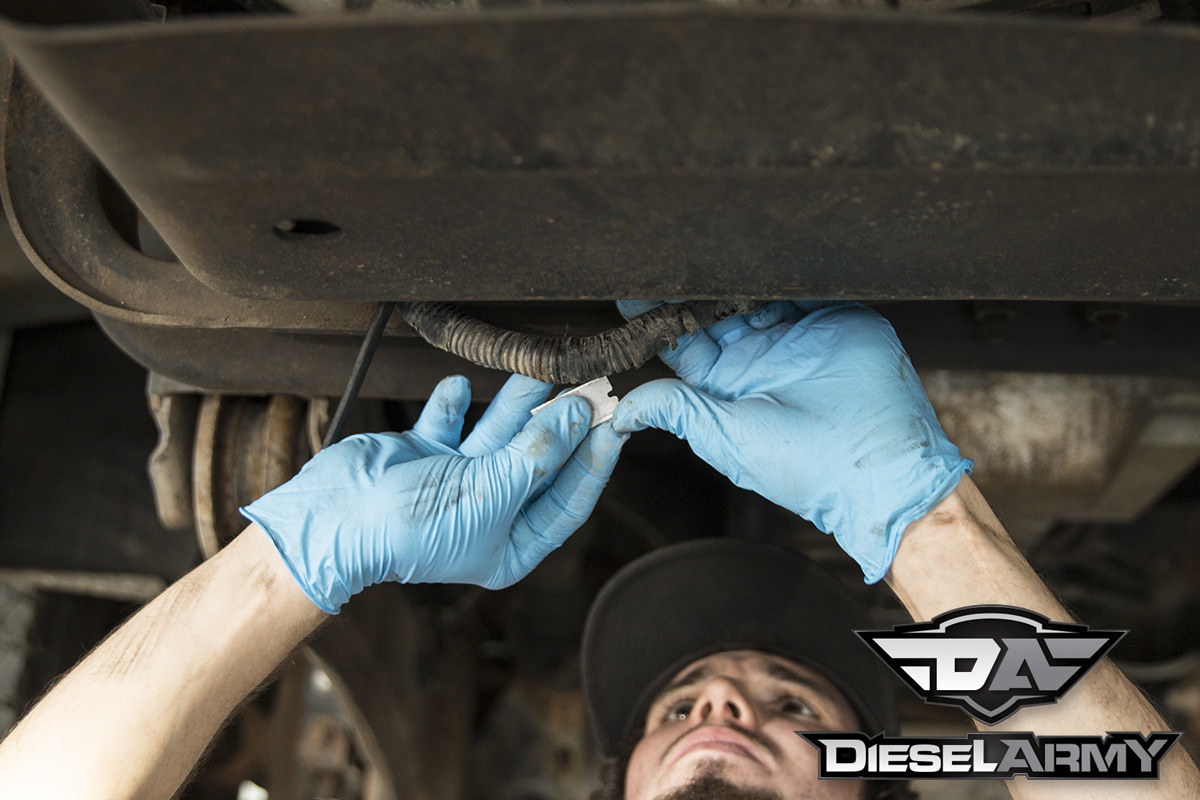 [21]With the truck up in the air, Young cut the electrical wrap on the transmission harness. After pushing the wrap back, Young sprayed the wires down and blew them off to clean them up. There are two gray wires with a brown tracer. One of the wires is a 20 gauge and the other is an 18 gauge. The installation requires cutting the 20 gauge wire which is slightly smaller in diameter.
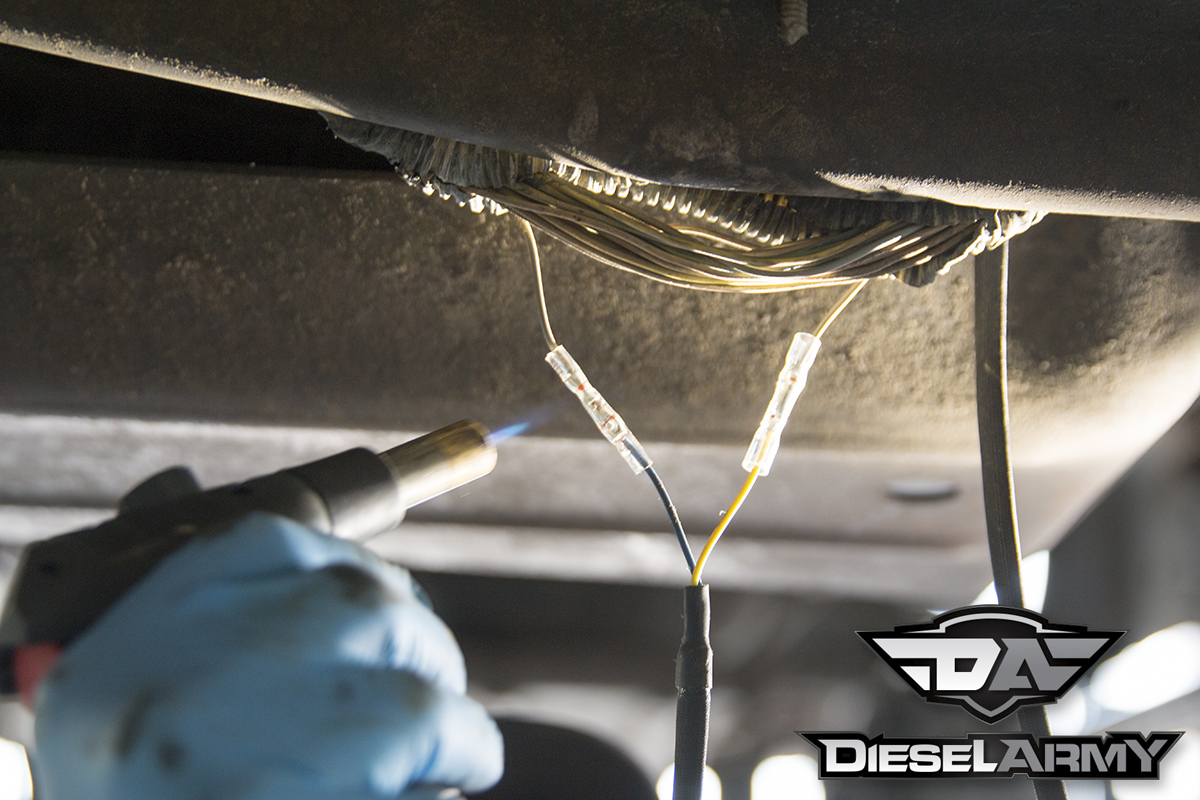
Once Young located the 20 gauge gray wire with a brown tracer, he cut the wire and connected the two wire connectors. The blue wire goes to the transmission and the yellow wire to the TCM (Transmission Control Module). After the wires were spliced in, he put the electrical conduit back over the wires, wrapped them in electrical tape, and zip tied them out of the way.
 [22]
[22]
 [23]
[23]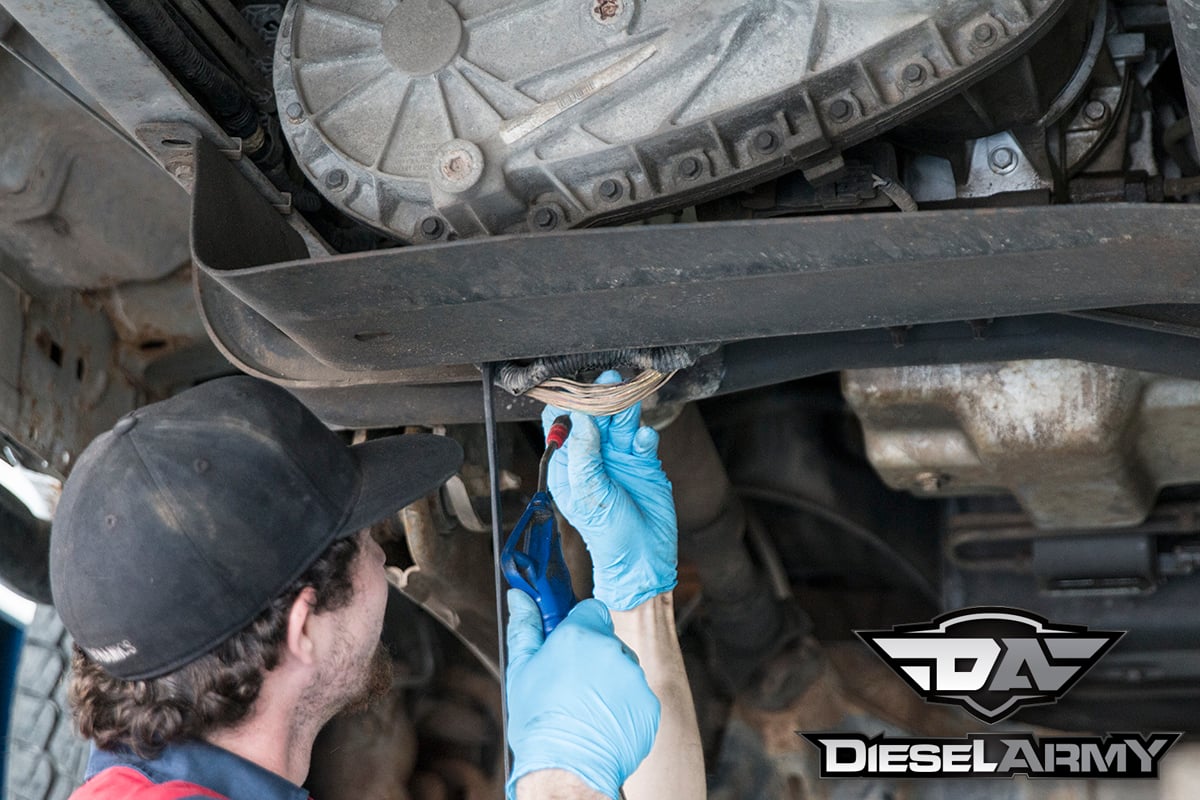 [24]
[24]
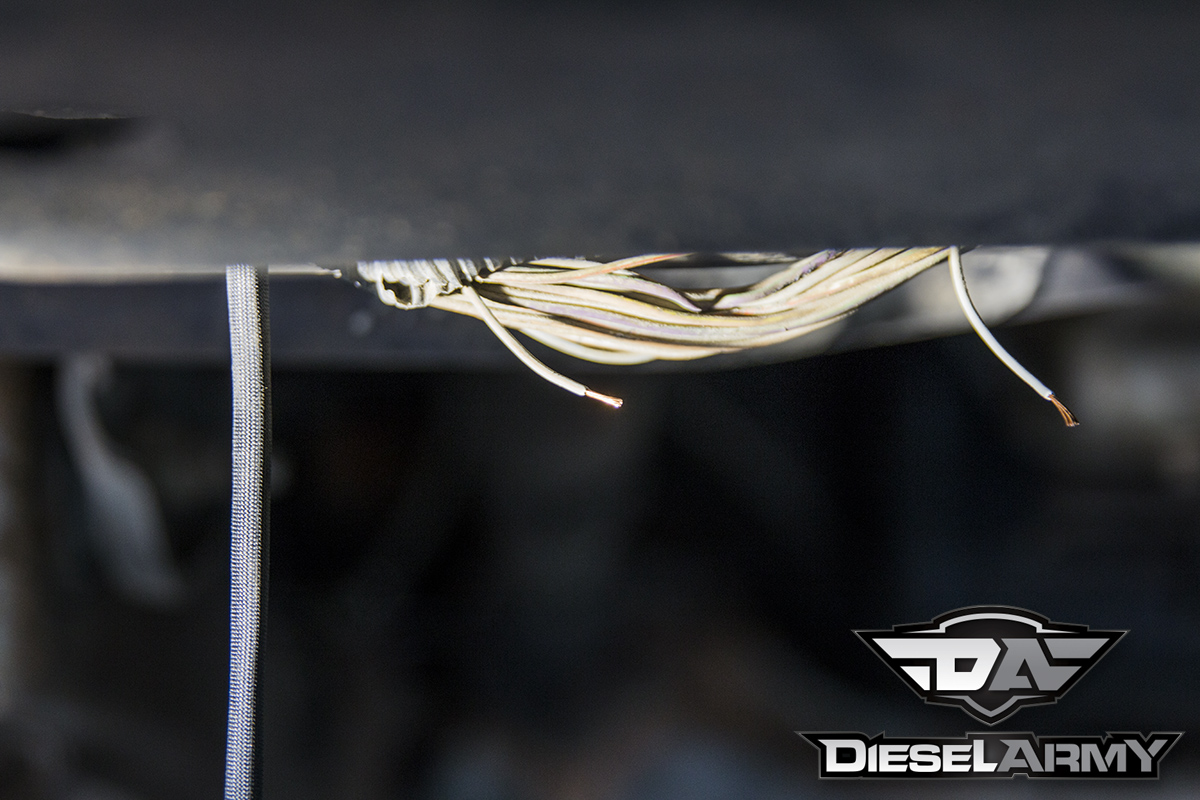
Young did mention that if he was going to install another one of these kits, he would run the wires, and then cut the excess off before he spliced the wire into the factory wiring. Depending on how you route the wires will depend if you have excess or not. Young took a fairly direct path and had a foot or more of extra wire.
After that, it was just a matter of setting the truck back on the ground and verifying that everything worked. BD provides great instructions for this kit; they have great images, they don’t skip any steps, and even have additional part numbers if you need to replace specific factory parts. All of this makes the installation even easier than you think it will be. Below is a short video showing the operation of the BD Diesel Performance TapShifter.