
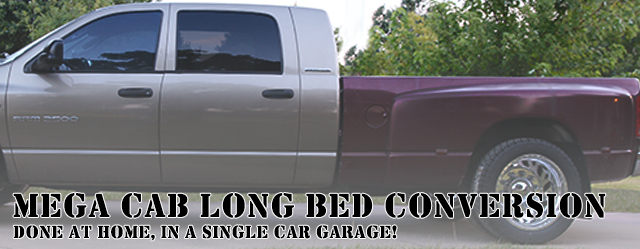
When we decided to pick our first project vehicle for Diesel Army, we thought long and hard about what we wanted, what our readers would think was cool and could relate to, and what kind of tech we could show. While Ford sells more diesel trucks than anyone, there is no doubt that at any event there are more Dodge Ram trucks participating, and in the parking lot than any other brand. That led us to make a Dodge Ram our first project vehicle. Next, we had to look at what the best cab configuration would be to give us comfort and usability.
There is no denying the increased comfort the Mega Cab offers over a regular or Club Cab, this was the only configuration we wanted. Unfortunately, the Mega Cab limited our bed configurations, as it only comes equipped with a six-foot shortbed.
The primary purpose of this truck is for towing. Between our fifth-wheel travel trailer and our soon-to-be-purchased gooseneck trailer, this truck will have tow long, heavy trailers quite frequently. The issue with a short bed is that some trailers can make contact with the back of the cab while making turns, and we really didn’t want to worry about having to use an adjustable hitch that slides to make more room for tight cornering.
Knowing this, a long bed was our only option. Since the Dodge only makes a Mega Cab with a shortbed, our solution is to do a long bed conversion on the truck.
There are a number of companies across the country that can do these conversions. Calling around and searching the internet, it appears that the cost ranges between $4,500 and $6,500. Considering that our truck is a 2006, and is worth just a little less than $20,000, we have a hard time investing 25 percent of the value of the truck in this type of conversion.
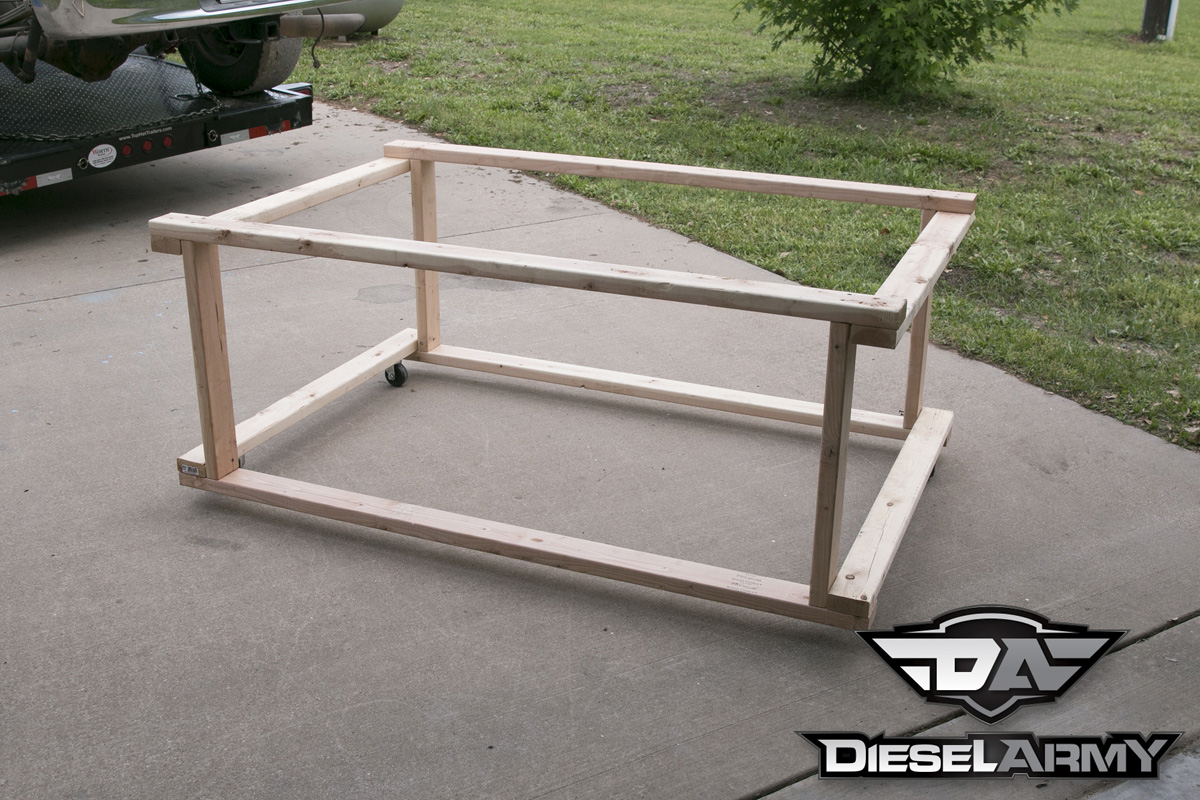
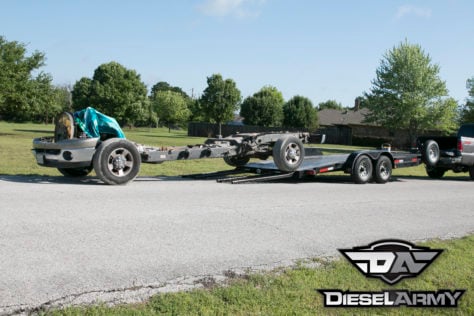
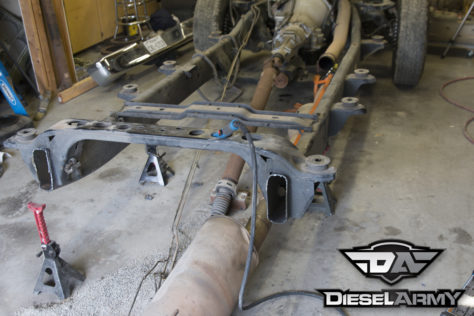
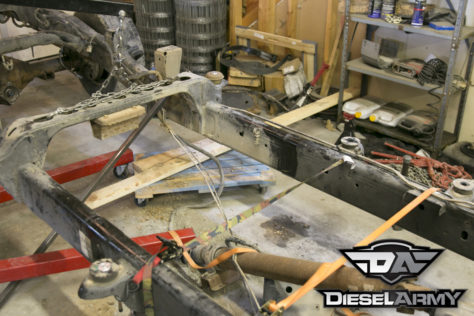
Two wood frames with wheels were fabricated to set the beds on.
Our solution was to source the parts and do the conversion ourselves. Documenting the process to show you, that while it is a major modification and undertaking, it is well within the capabilities of our readers.
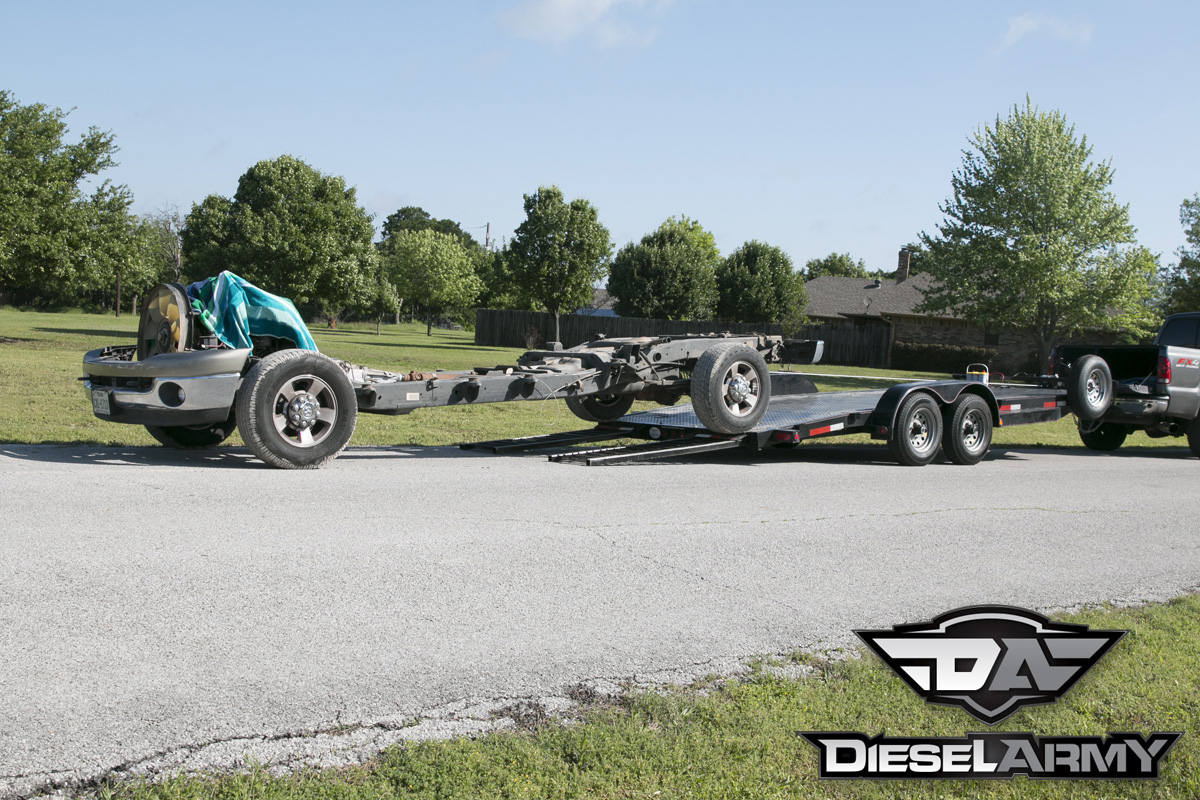
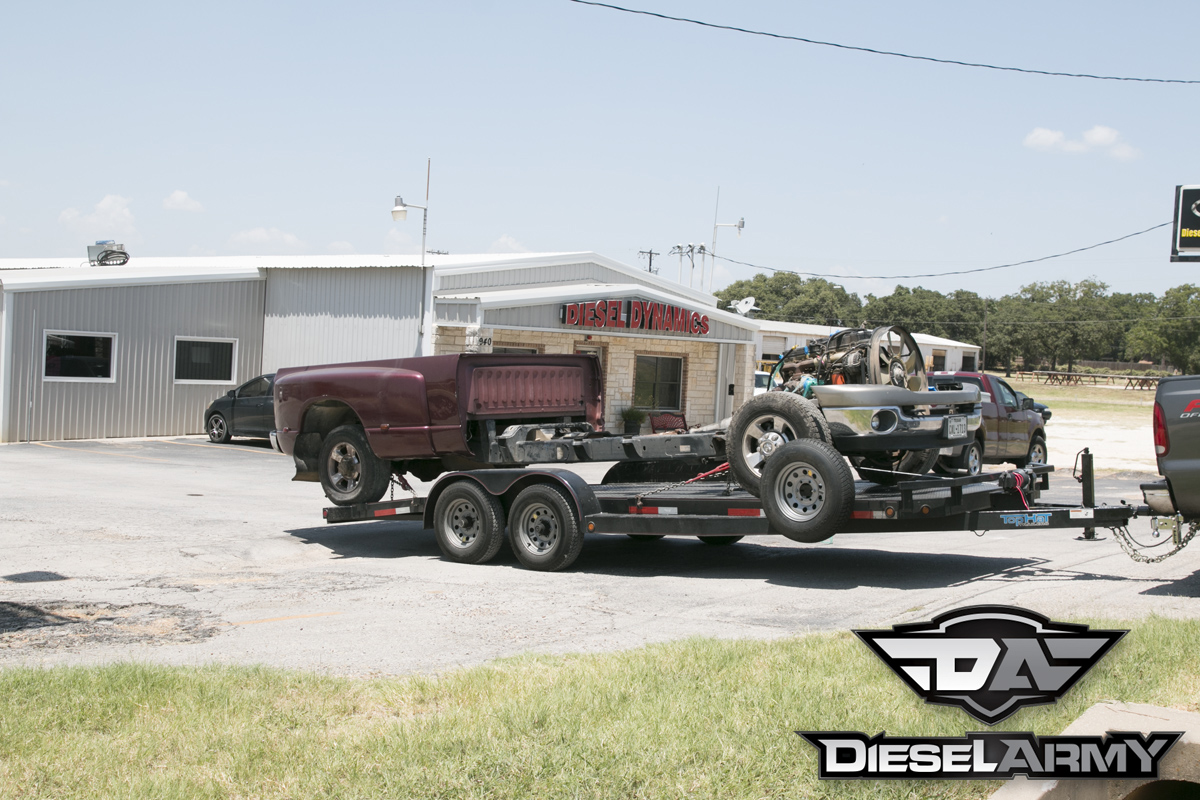
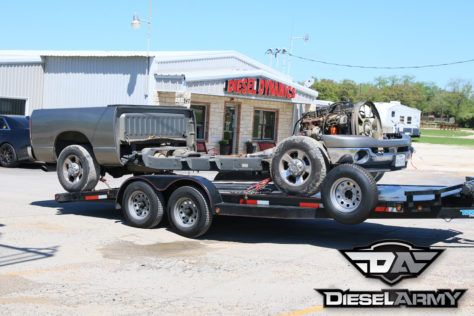
The chassis had to be loaded and unloaded a few times. Having a Warn 4,000-pound winch on the trailer makes a huge difference. Here, the chassis is being turned around so that it can be loaded engine first into the garage.
Where To Stretch
If you do a bit of searching online, you will find that several companies that perform conversions. Some extend the frame directly above the rear axle. This straight section of the frame is a great location to extend the frame. Our concern with modifying a frame like this was the potential that our B&W gooseneck hitch wouldn’t fit our modified frame section.
Other companies extend the frame somewhere between the second to last cab mount to the second bed mount. This keeps the rear section of the frame stock but does require some complex cutting and a lot of measuring to make sure that everything lines up properly.

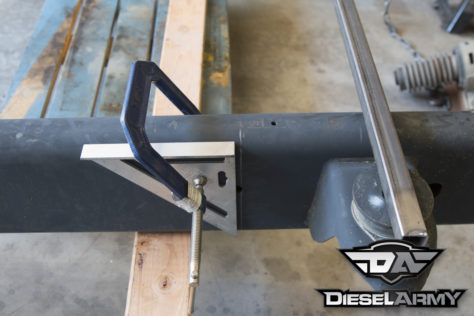
Consistent Measuring
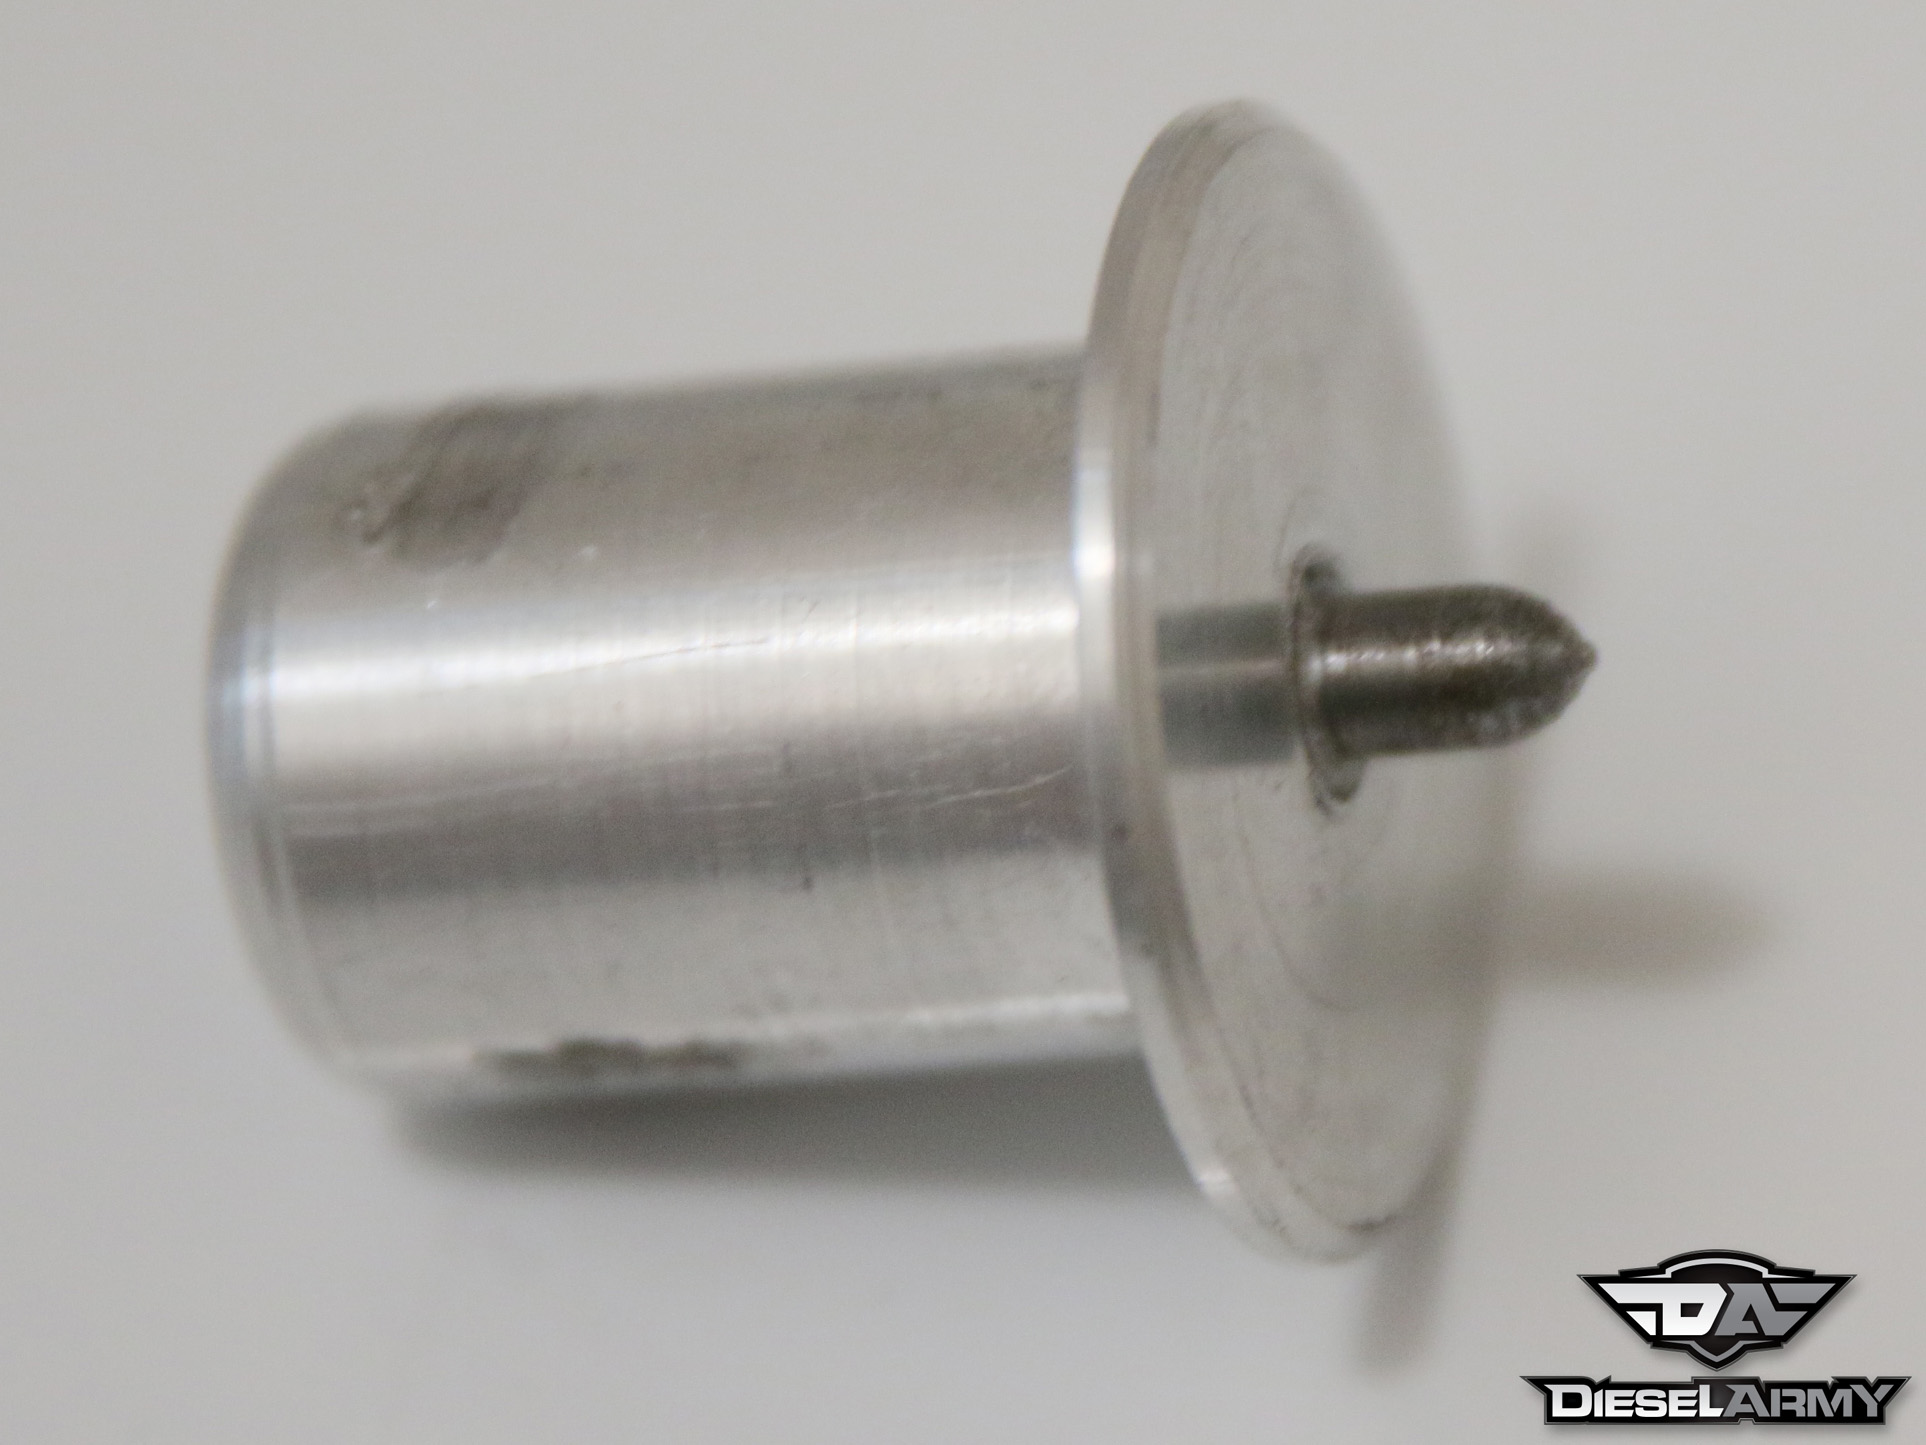
To locate the centers of the cab mounts, we made a simple insert in our lathe. The insert started as a piece of 1.5-inch bar stock that was machined down to within a couple of hundred thousands of the diameter of the cab mounts. Then we tapped the center of the insert and threaded a bolt into the center. Once the bolt was in the insert, we machined a nipple on the bolt to give us a pretty accurate center point to measure from.
If you don’t have the ability to machine parts like this, you can measure from the underside of the frame with a plumb bob. You will need to make sure you are consistent in how and where you hang the weights as well as monitor how level the frame is when you measure.
Gathering Parts
Before we started hacking our truck into pieces, we wanted to make sure that we had everything we needed. This turned out to be a little more challenging that we had originally anticipated.
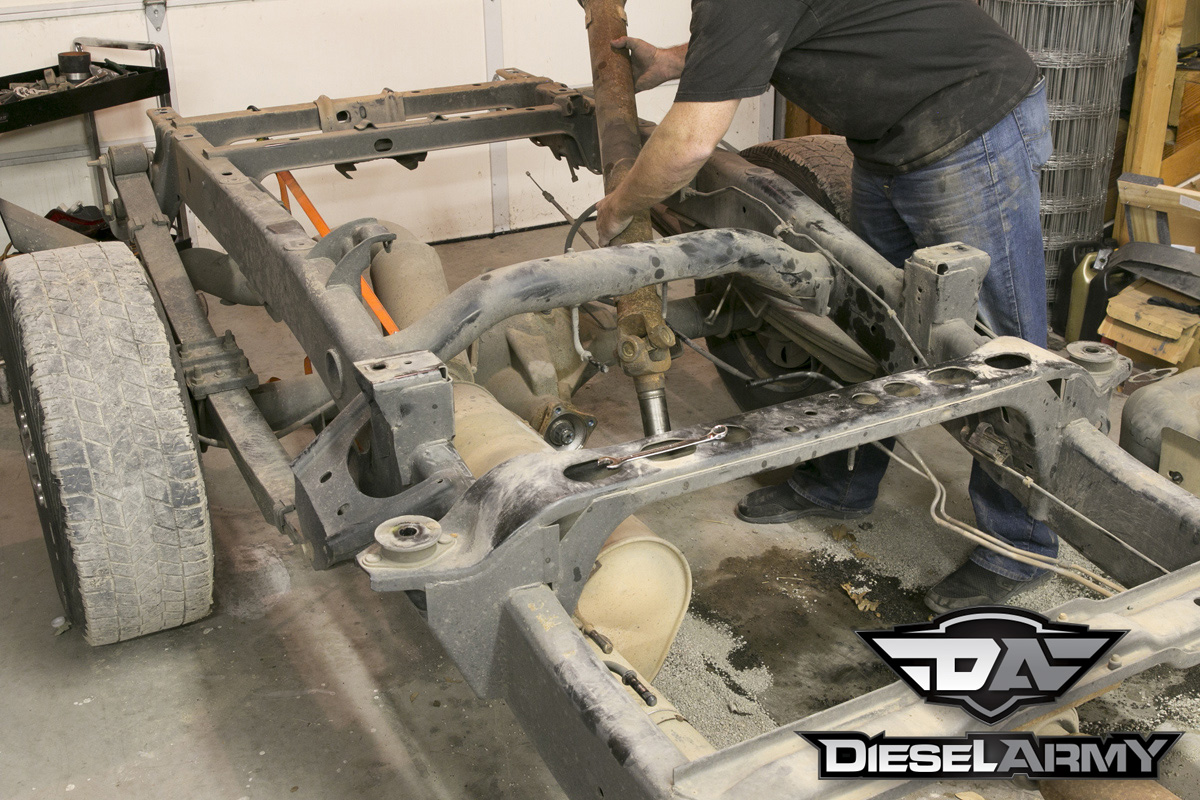
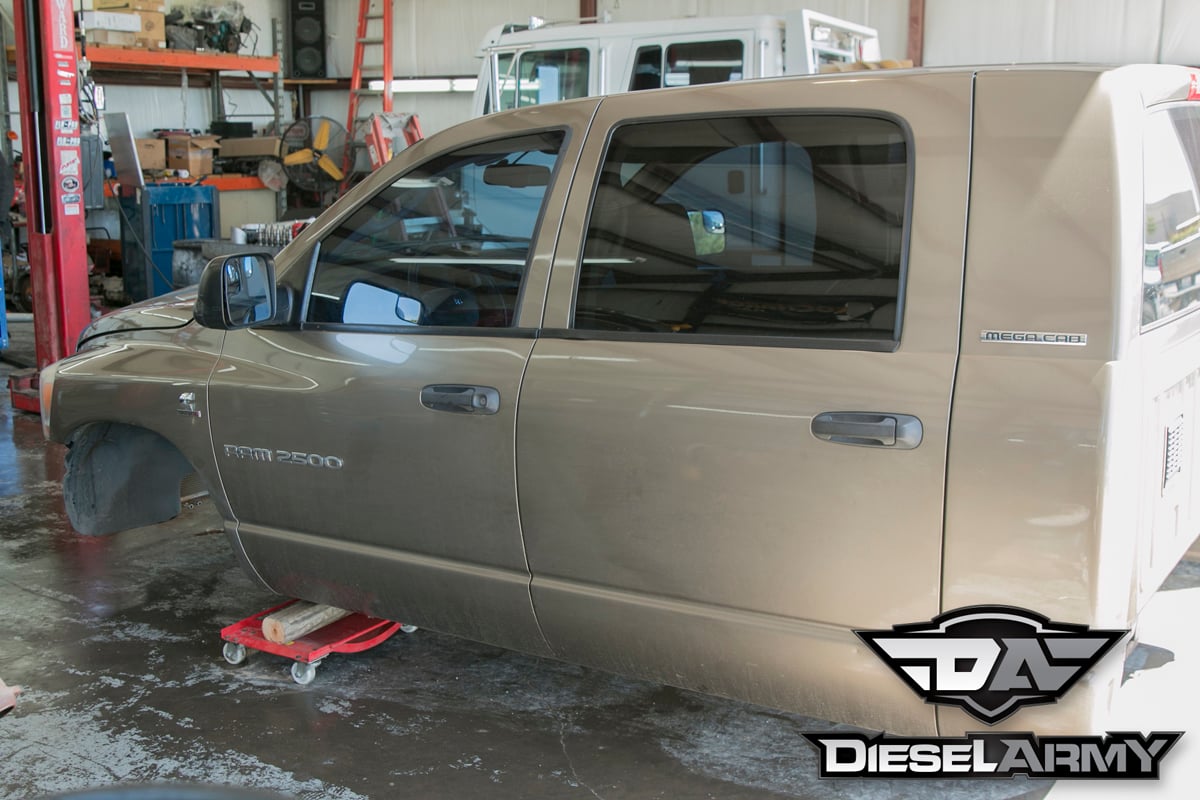
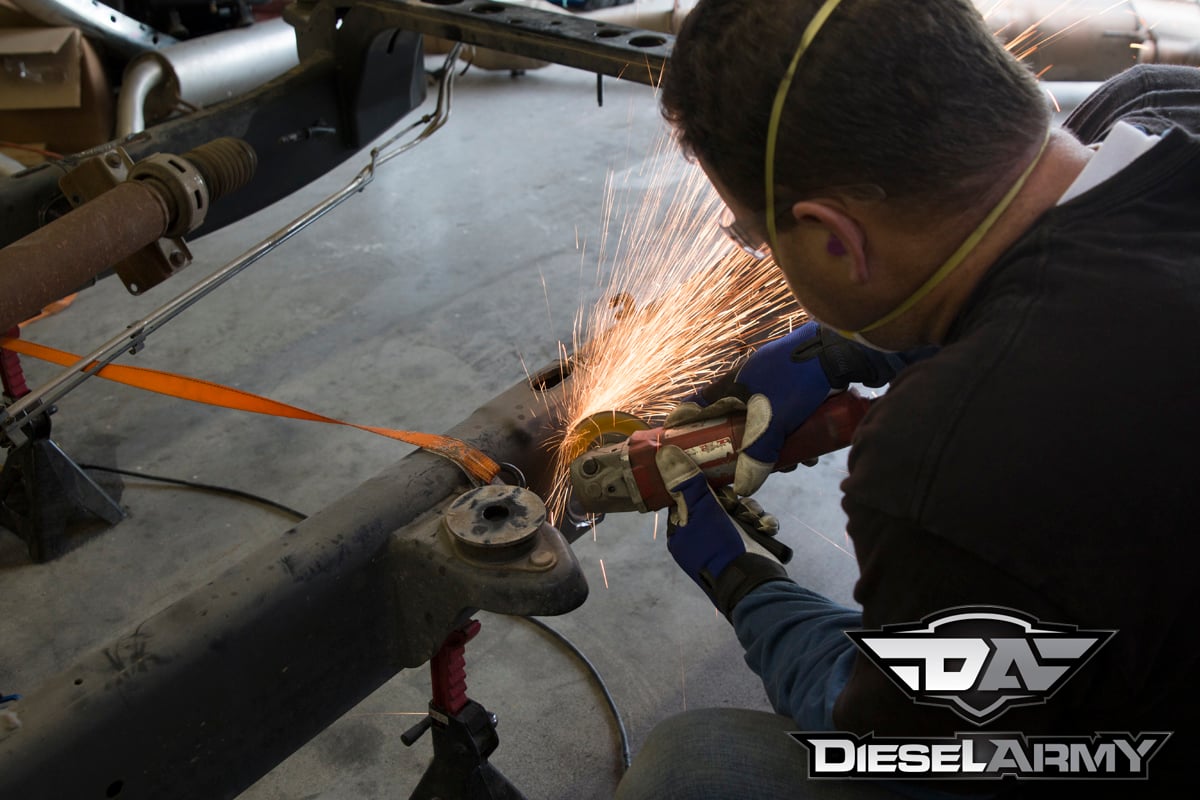
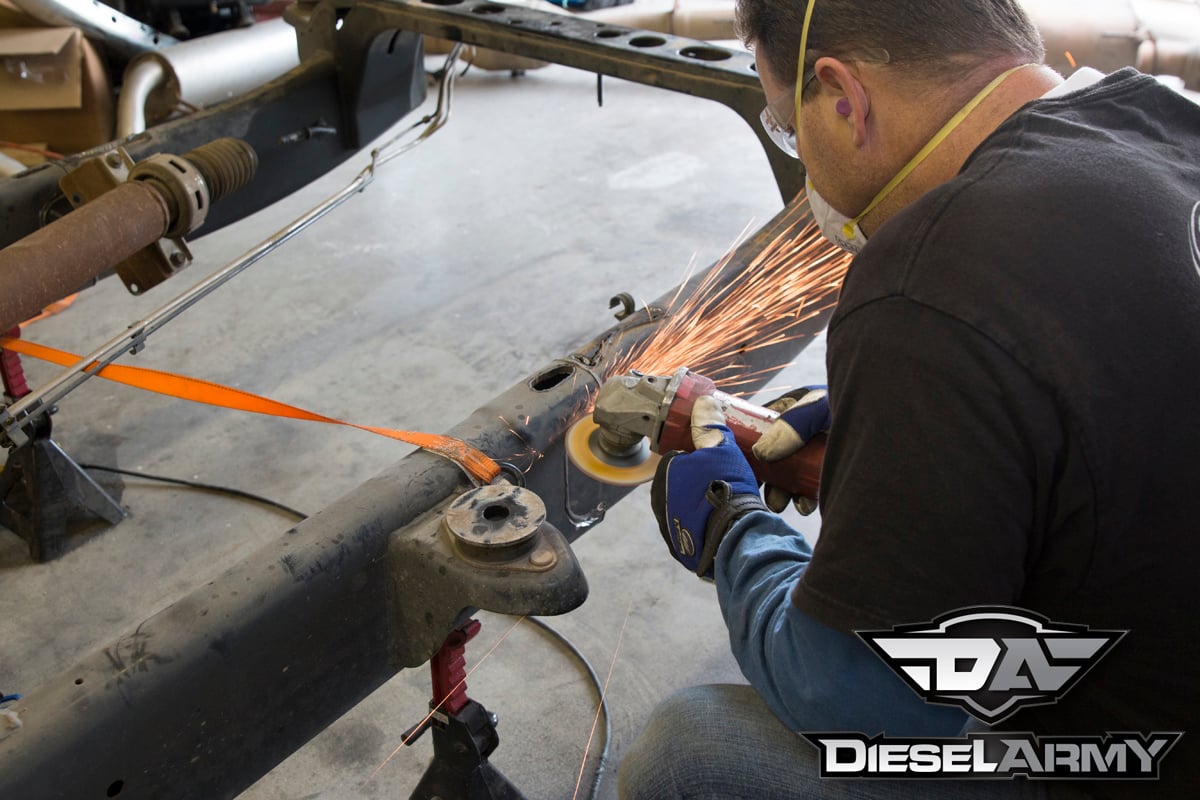
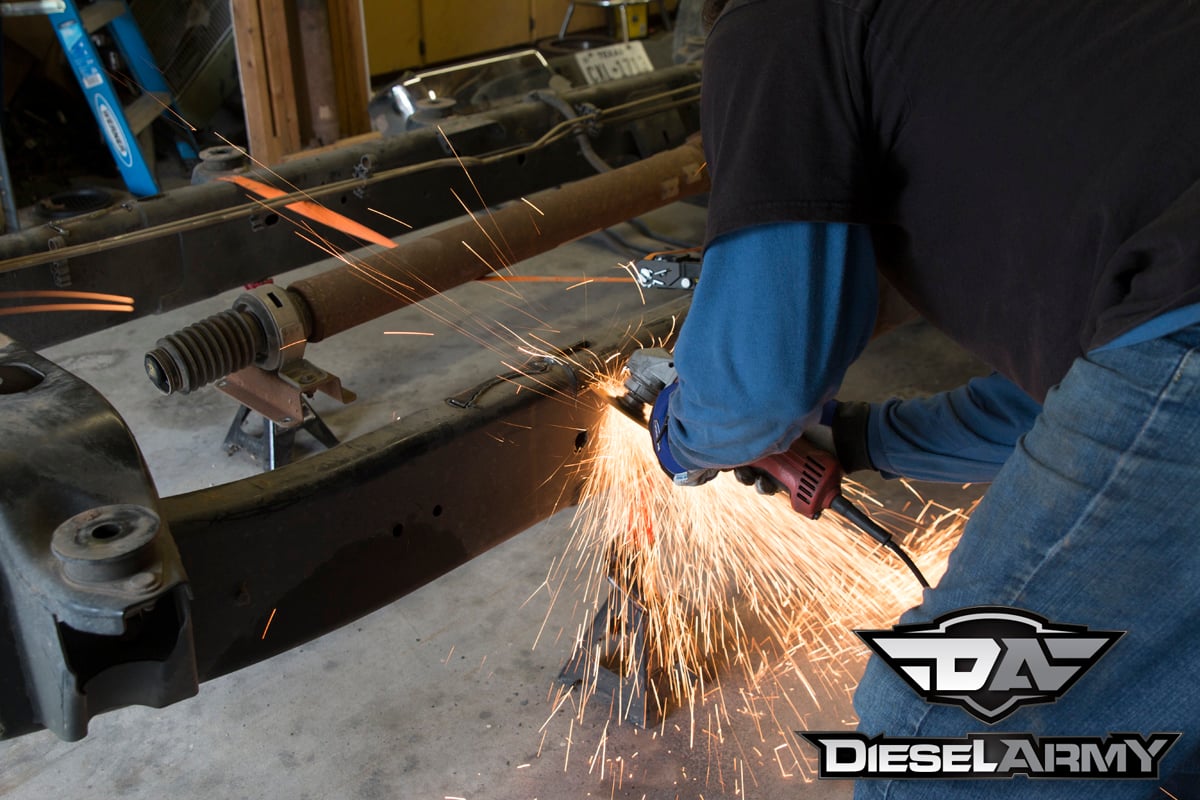
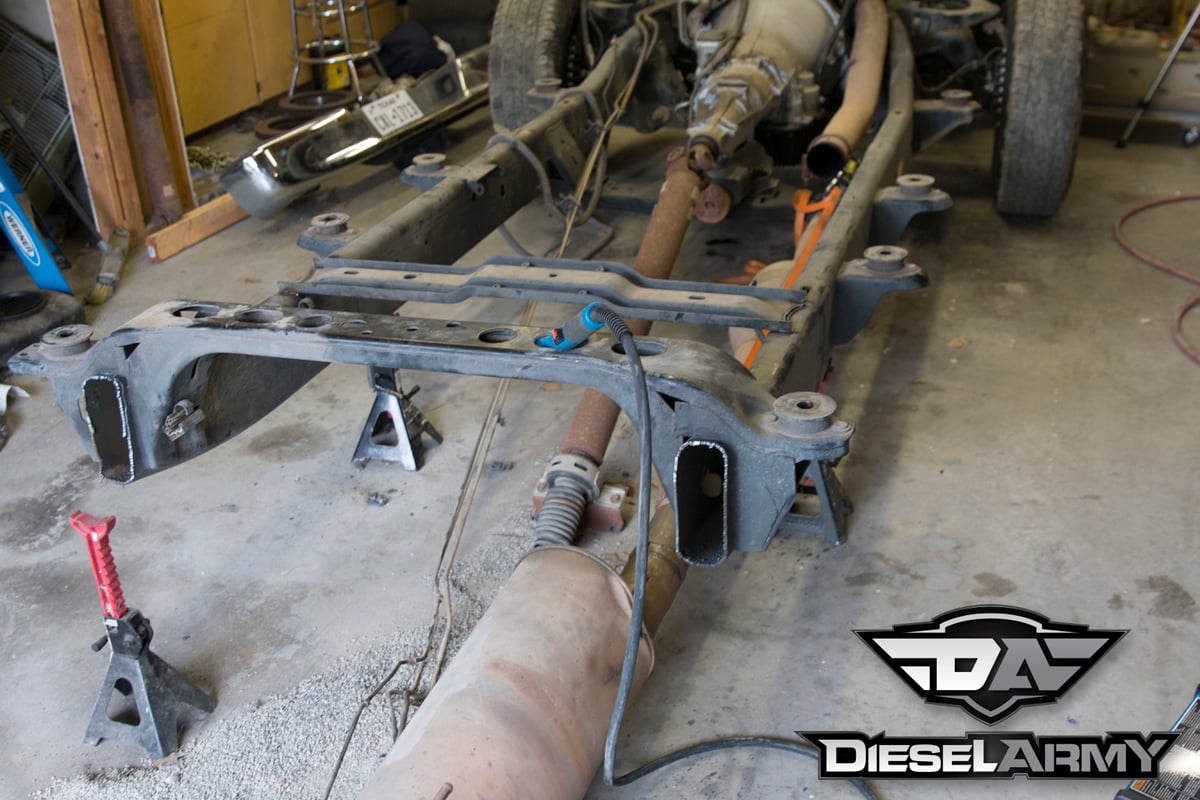
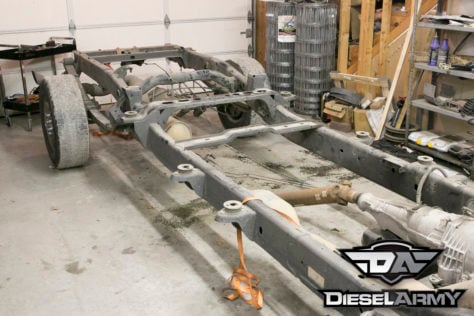
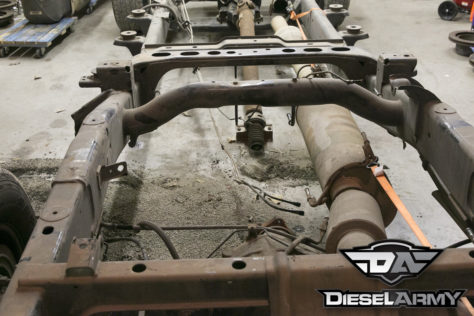
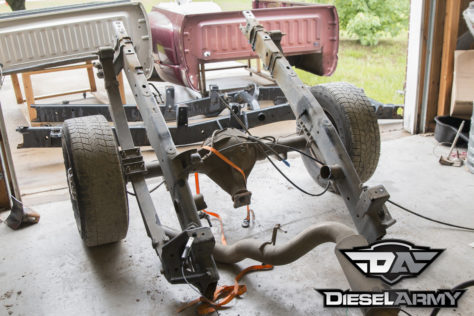
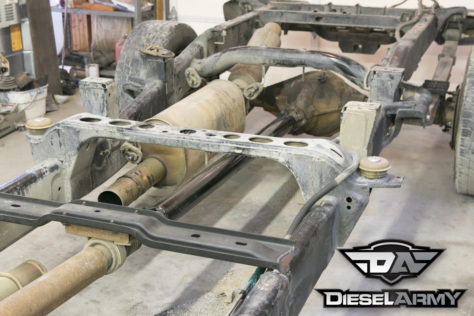
The chassis had to be stripped from the transmission back.
Originally, we had the understanding that the rear sections of the frames were the same between two-wheel and four-wheel drive frames, however, this isn’t the case. As we learned with this conversion, four-wheel drive frames have leaf spring mounts positioned lower on the frame to give the truck extra clearance needed for four-wheel drive applications. Four-wheel drive frames are plentiful and easy to find. Unfortunately, our truck is two-wheel drive, and finding a long bed two-wheel drive frame was a little difficult.
After a lot of calling around and searching, we finally came across a quad cab long bed two-wheel drive frame, however, the scrap yard didn’t want to sell the rear section of the frame. Instead, we ended up having to spend $700 to buy the whole frame.

A lot of people don’t think about going to junk yards to source parts anymore. Most people turn to the Internet, but a local junkyard is a great resource for a modification like this. Remember, that most yards don’t have set prices, so be ready to negotiate.
In addition to the frame, we picked up rear leaf springs (the length changed through the production run and it was easier to buy them with the frame). We also bought a long bed fuel tank and asked the scrap yard to throw in the old fuel lines.
The long bed was the last major item we needed for this conversion. Lucky for us, Mineral Wells Collision Center had a long bed dually we picked up.
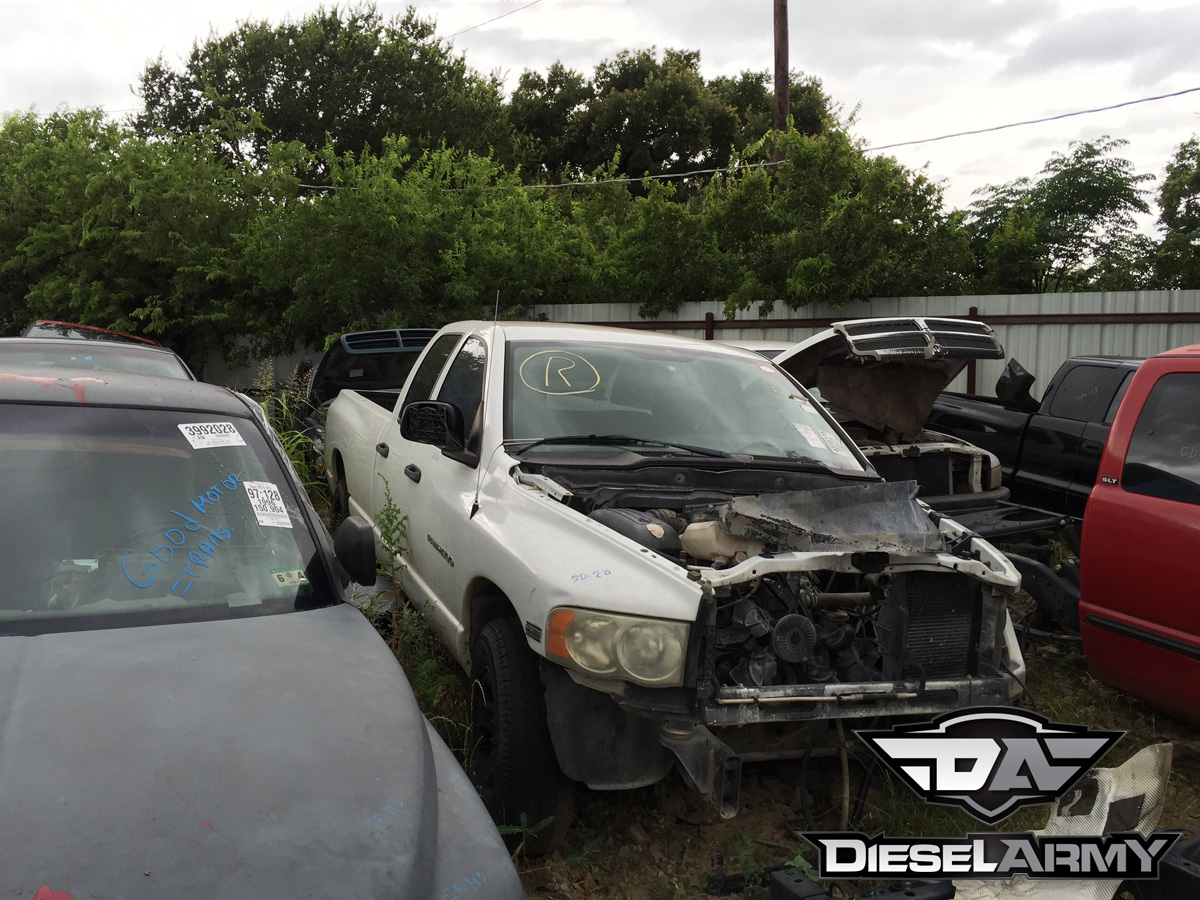
We called just about every junkyard we could find in our local area and even a few that were a good drive away, to find a two-wheel drive long bed frame. This white truck is a unicorn and the salvage yard priced it as such.
In addition to converting the Mega Cab to a long bed, we opted to convert it to a dually as well. If we had been forced to buy a dually rearend, the cost would have been around $1,800, but there are lots of guys wanting to convert their dually trucks to a single rear wheel and are willing to trade setups, which is what happened to us. We traded our rear axle out with someone who wanted a single, and picked up a dually axle for nothing. Score!


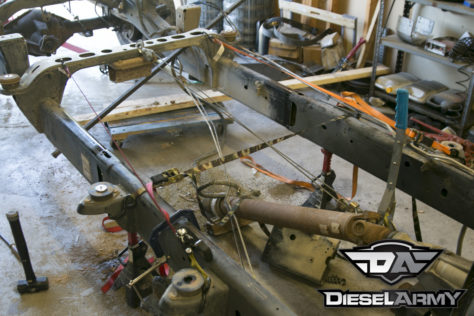
Before we could start cutting, the chassis had to be stripped down.
Mega Cab Tear Down
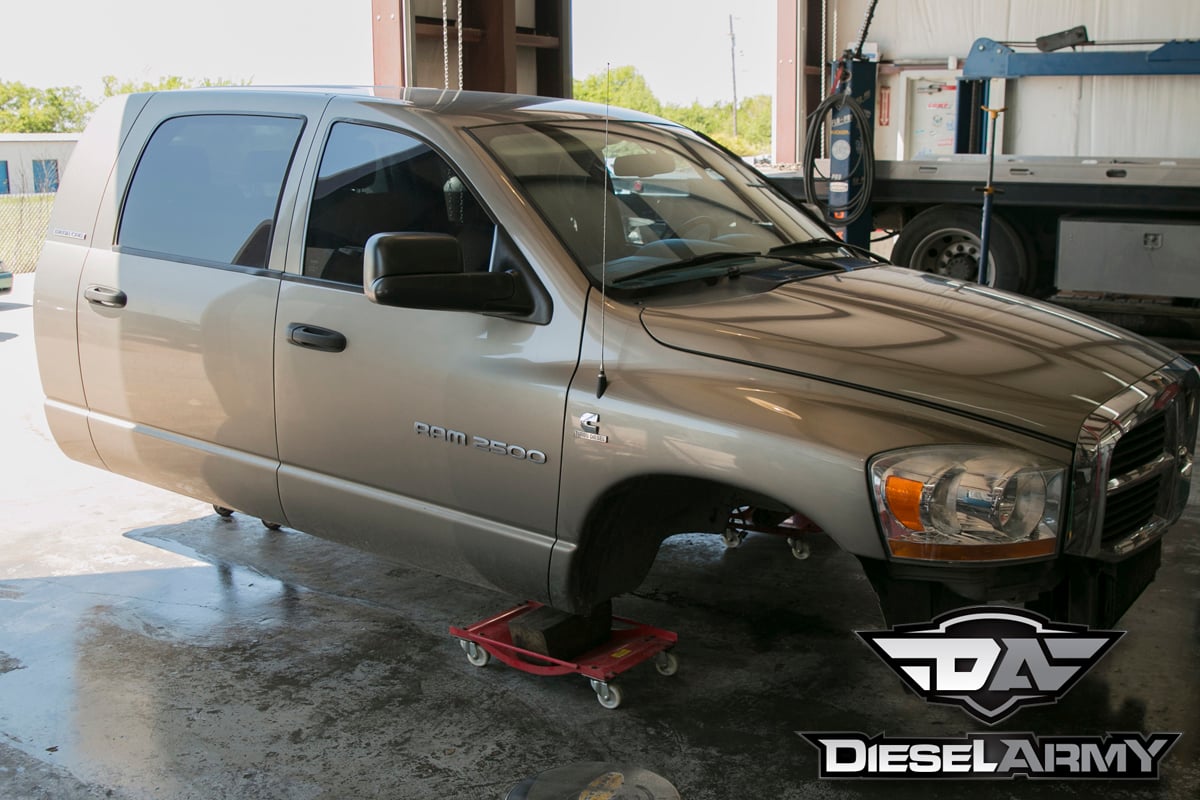
With the parts sourced, it was time to do the conversion. We were originally going to make a pneumatic lift out of air bags to lift the cab high enough off the truck to work on the frame, but there were concerns that we couldn’t document the process well enough. Instead, we took the truck to Diesel Dynamics in Joshua, Texas, and had them pull the cab.
“I think a lot of shops might be willing to pull the cab for someone as long as everyone had the same understanding about liability. We aren’t going to be responsible for anything the customer breaks,” said Crede Young, owner of Diesel Dynamics.
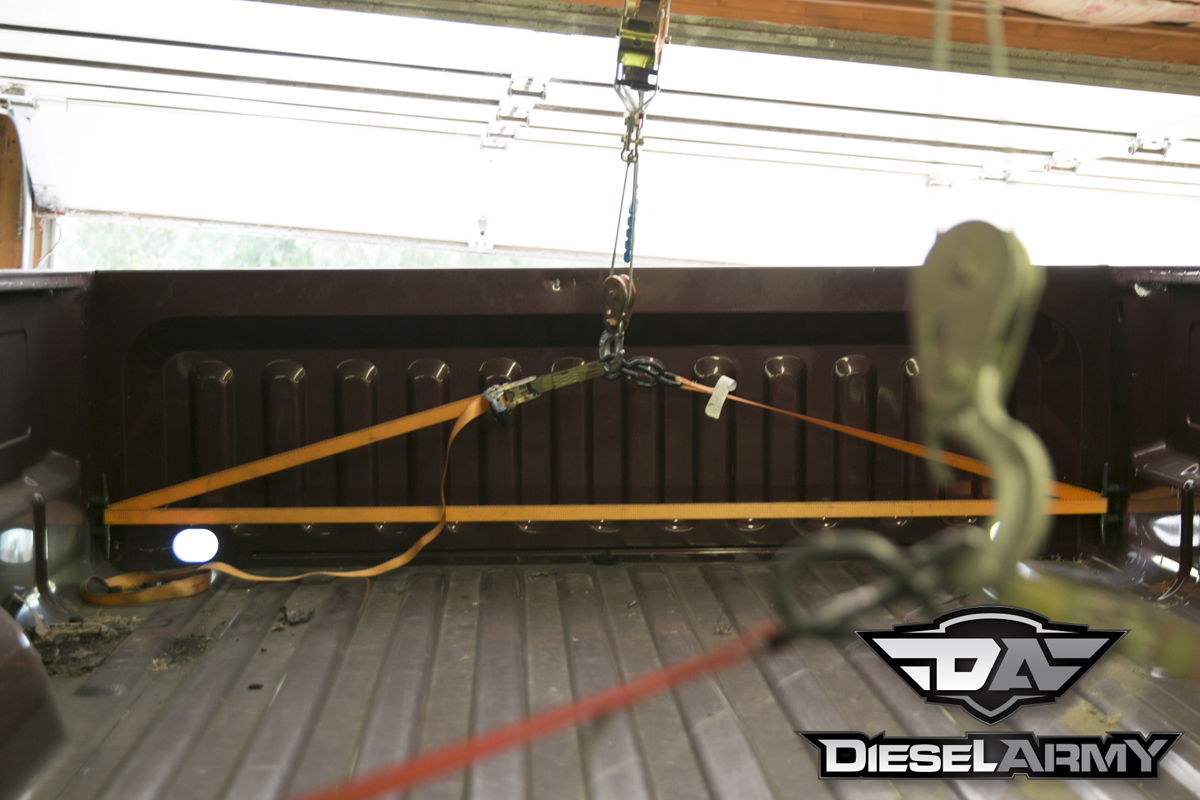
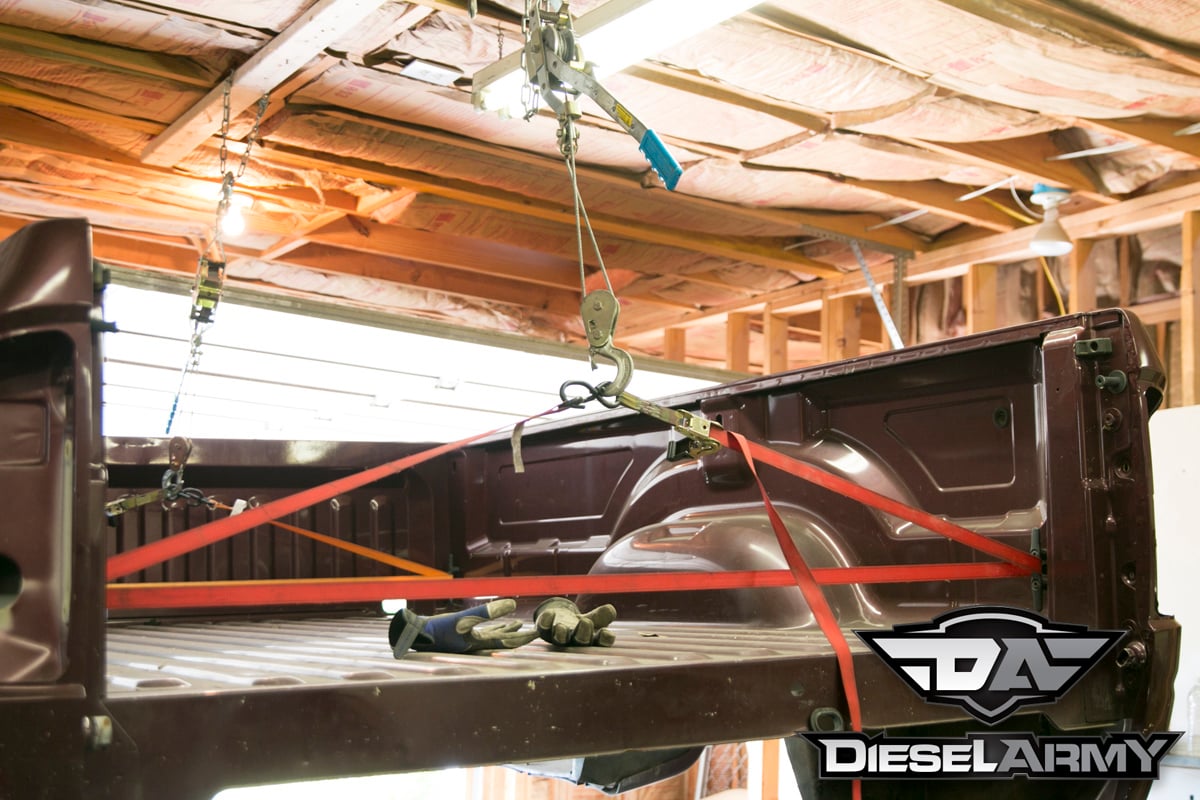
Once the cab was off the truck, we loaded it on the trailer and towed it to the shop. Once there, the bed was lifted and set on a wooden frame with wheels, and it was time to get to work.
Measure, Measure, Measure
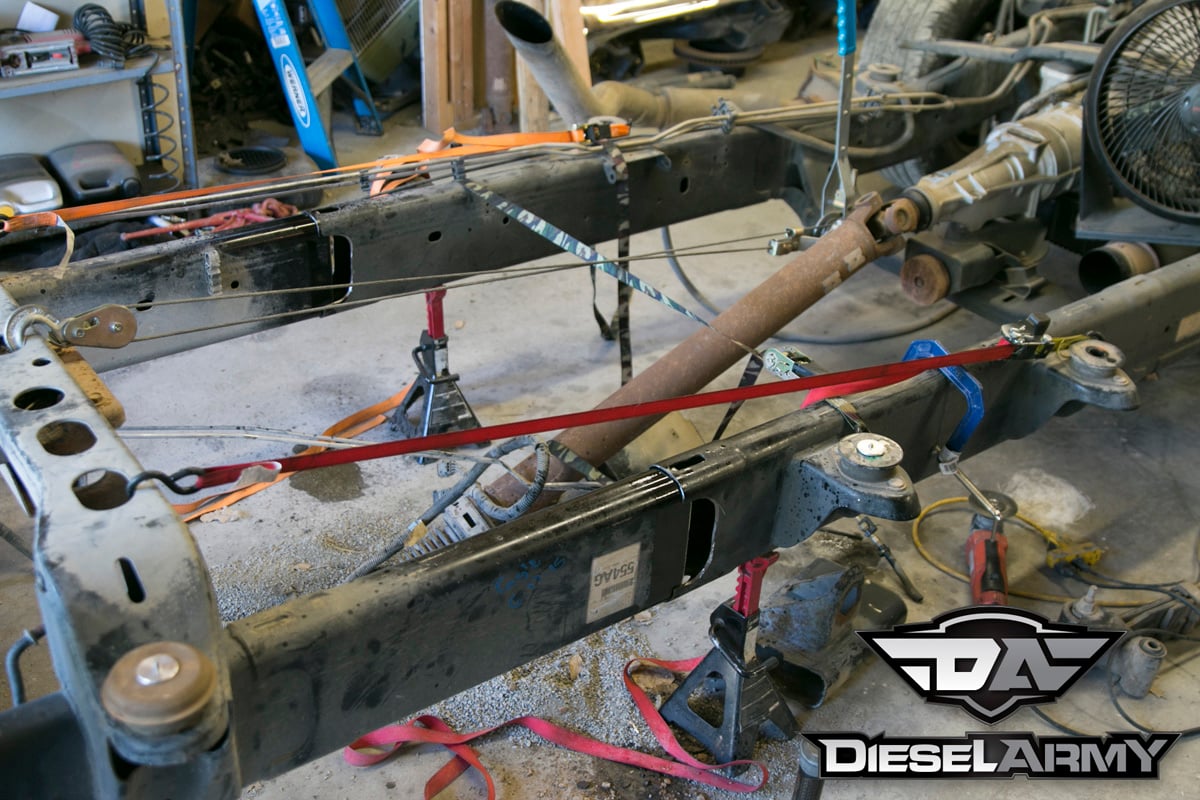
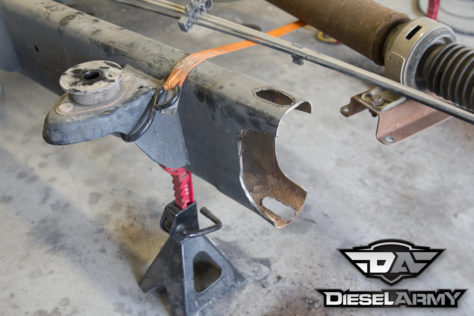
Inserts were made that slid into each cab mount of the frame, and measurements were taken between every mount to obtain the distances as well as the squareness of the cab. Don’t assume that the cab mounts are square with each other. With manufacturers having to crash-test trucks, they don’t build the vehicles symmetrical.
With all of the measurements in hand, the same was done for the donor frame we picked up. We knew that we wanted to use the rear cab mount back on the donor. This made sure there was a factory gap between the rear of the cab and the bed of the truck and also gave the splice slightly more strength as the cab acts like a brace.
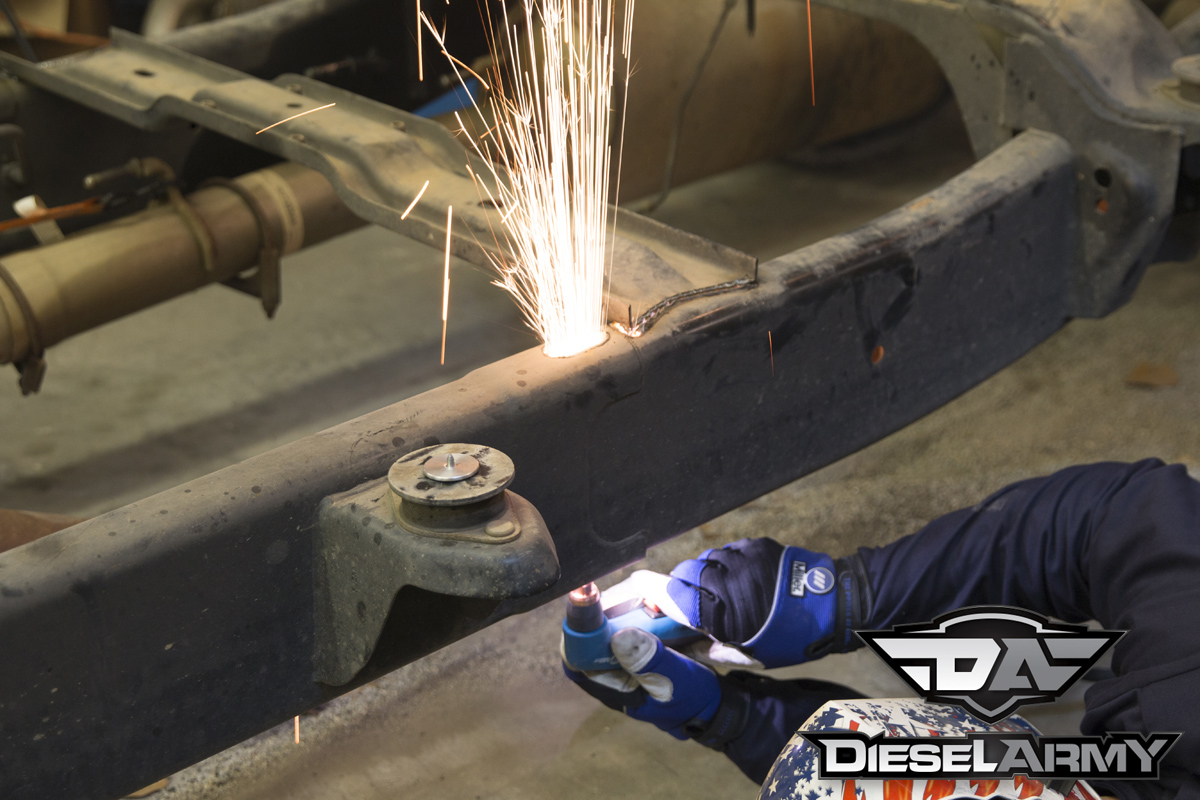
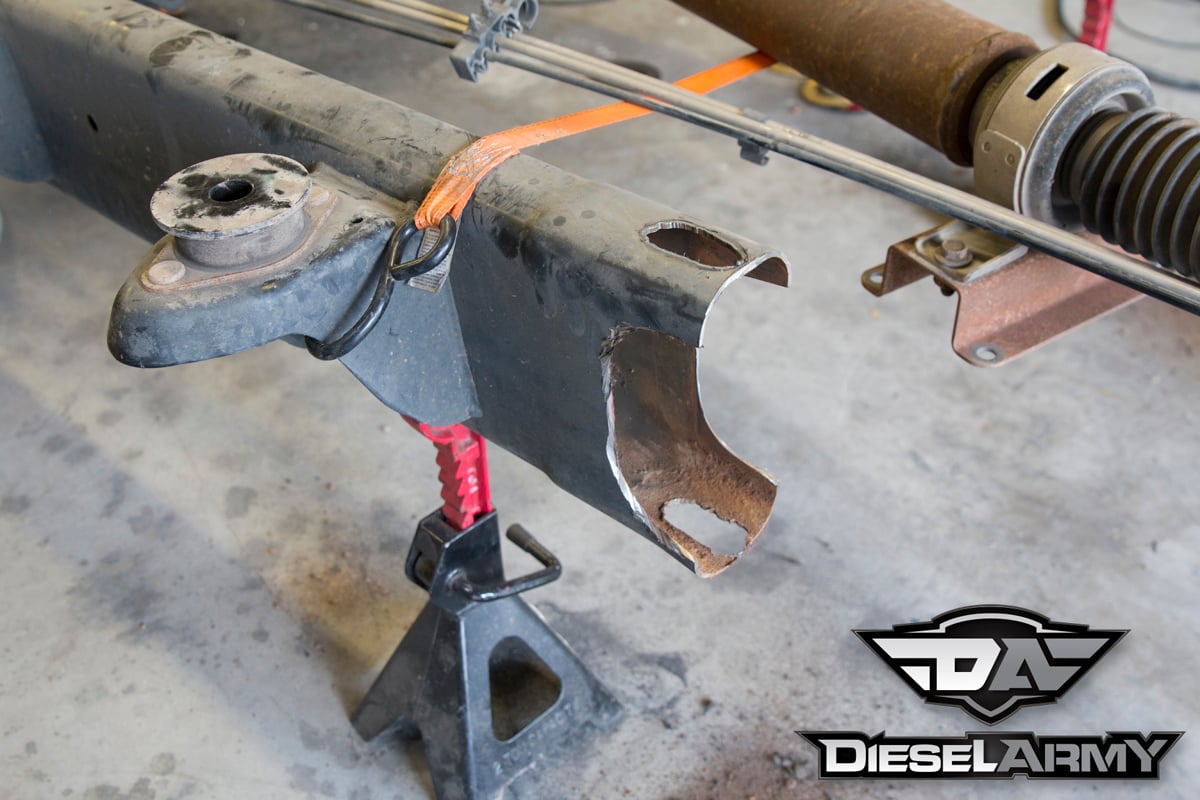
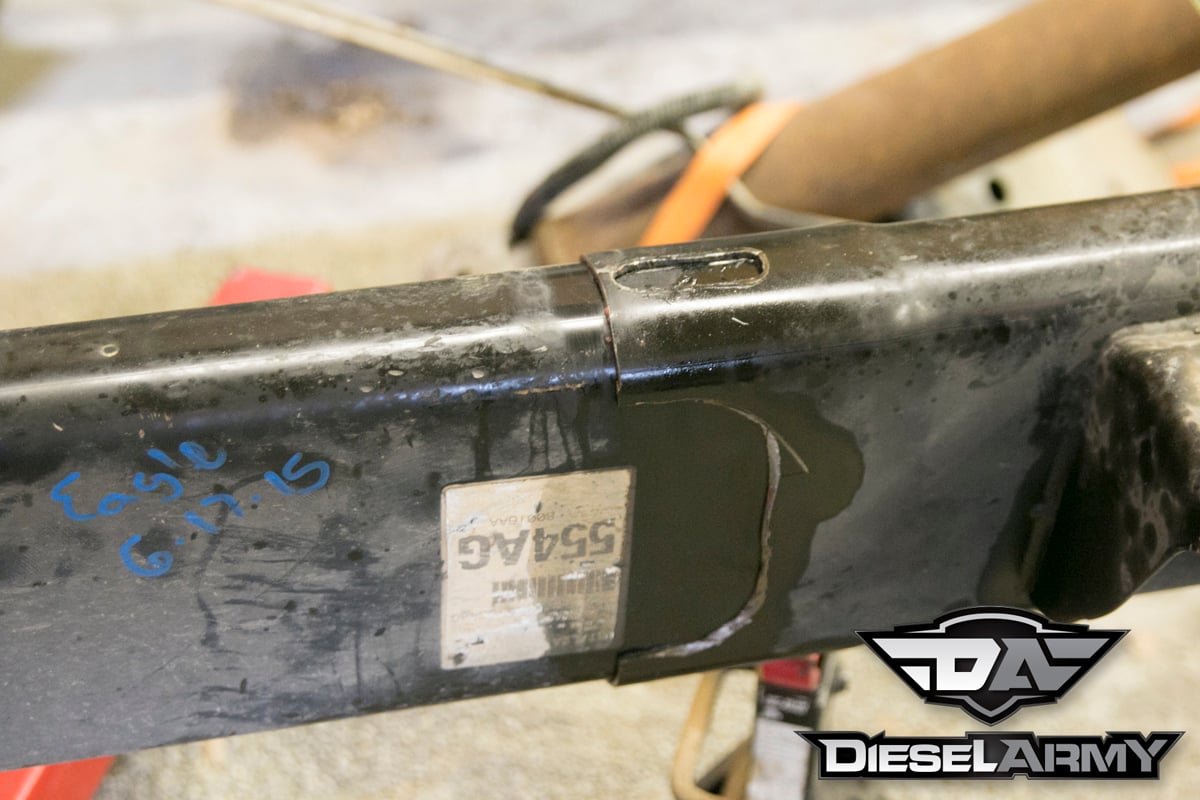
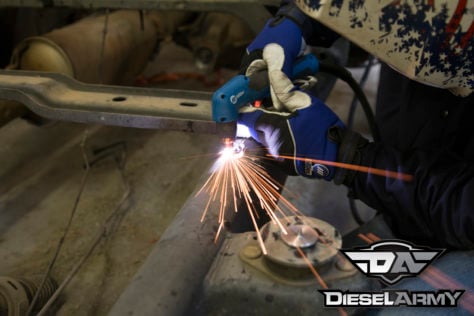
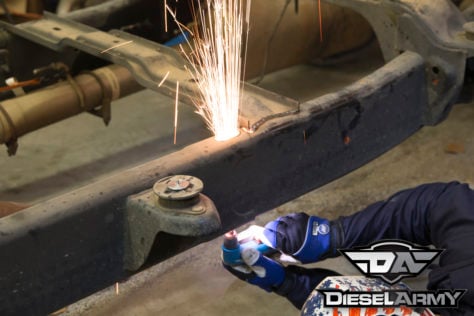
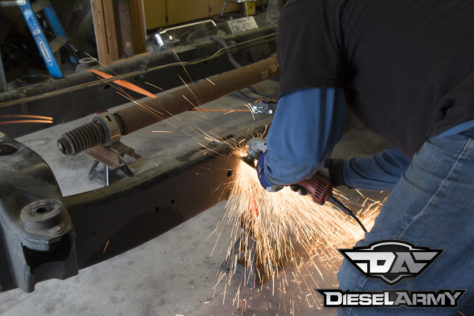
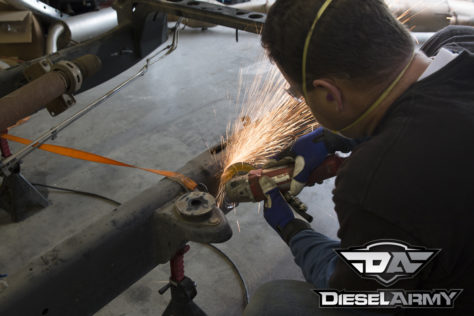
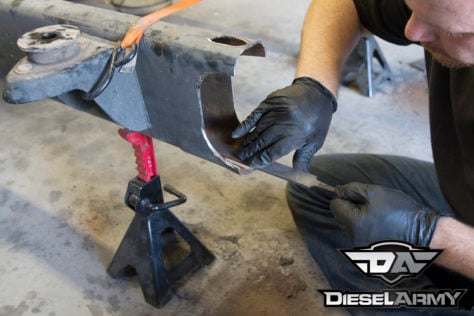
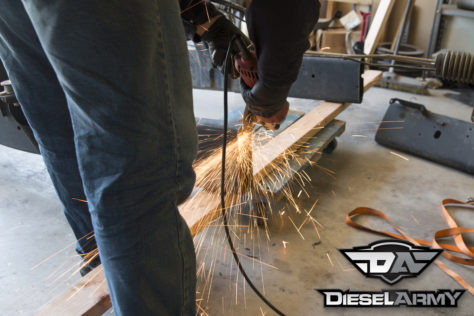
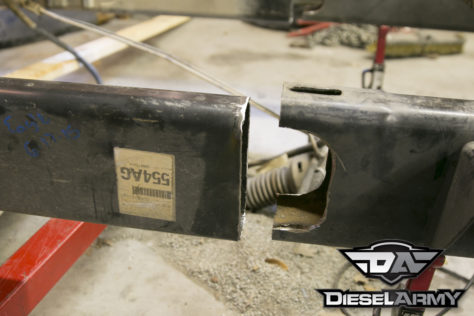
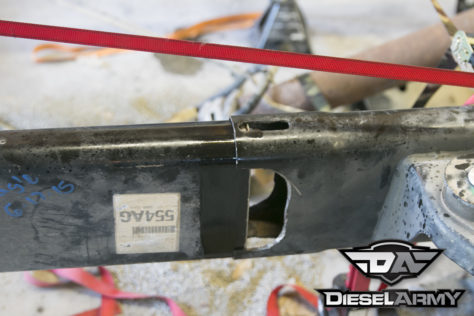
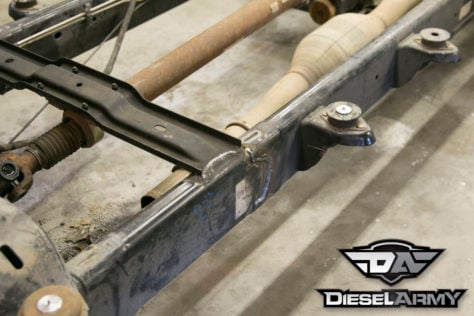
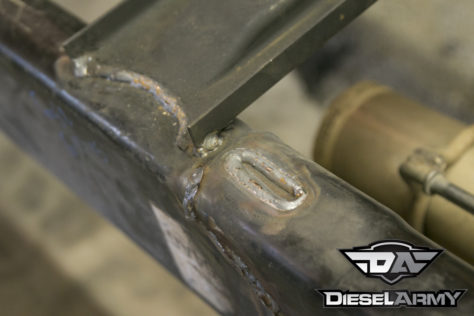
Lucky for us, the Mega Cab frames have a factory slip joint between the rear two cab mounts. This is the perfect joint for the splice. We simply used our Miller plasma cutter to cut the weld slots and C-channel. Then, we cut the rear portion of the frame into numerous small pieces to make the removal process easier.
If you don’t own a plasma cutter, a Sawzall with a good metal blade can make short work of the frame (which is what the junkyard used on the first frame we bought). Then, use a hole saw to cut the weld slot, and a cut-off wheel or Sawzall to finish.

Having the smallest point we could, we measured everything.
Joining Mega Cab Frame Sections
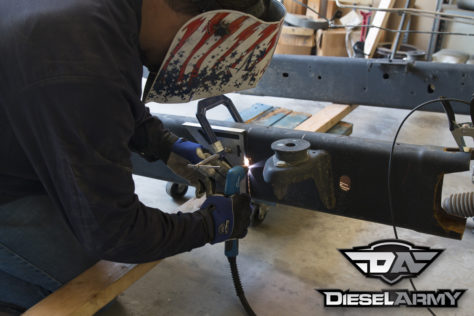
With the two frames cut to size, there are two options. The male portion of the factory frame insert is tapered, which makes joining the frame much easier and quicker. Cutting the corners of the new frame and bending the sides in would give us this type of taper. While it may take an hour or two, it would make the installation go much easier and smoother. The second option is to leave the frame the way it is and force the sections together. We opted to leave the frame alone and just fight with the two sections.


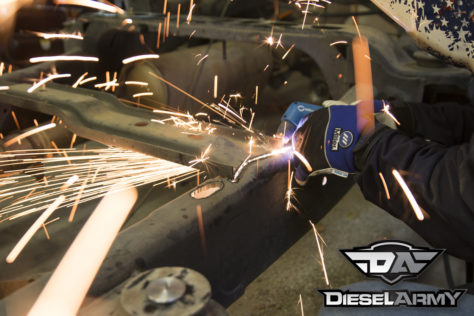
Instead of trying to remove the old shortbed frame section as one, we cut it up into pieces that were easier to handle.
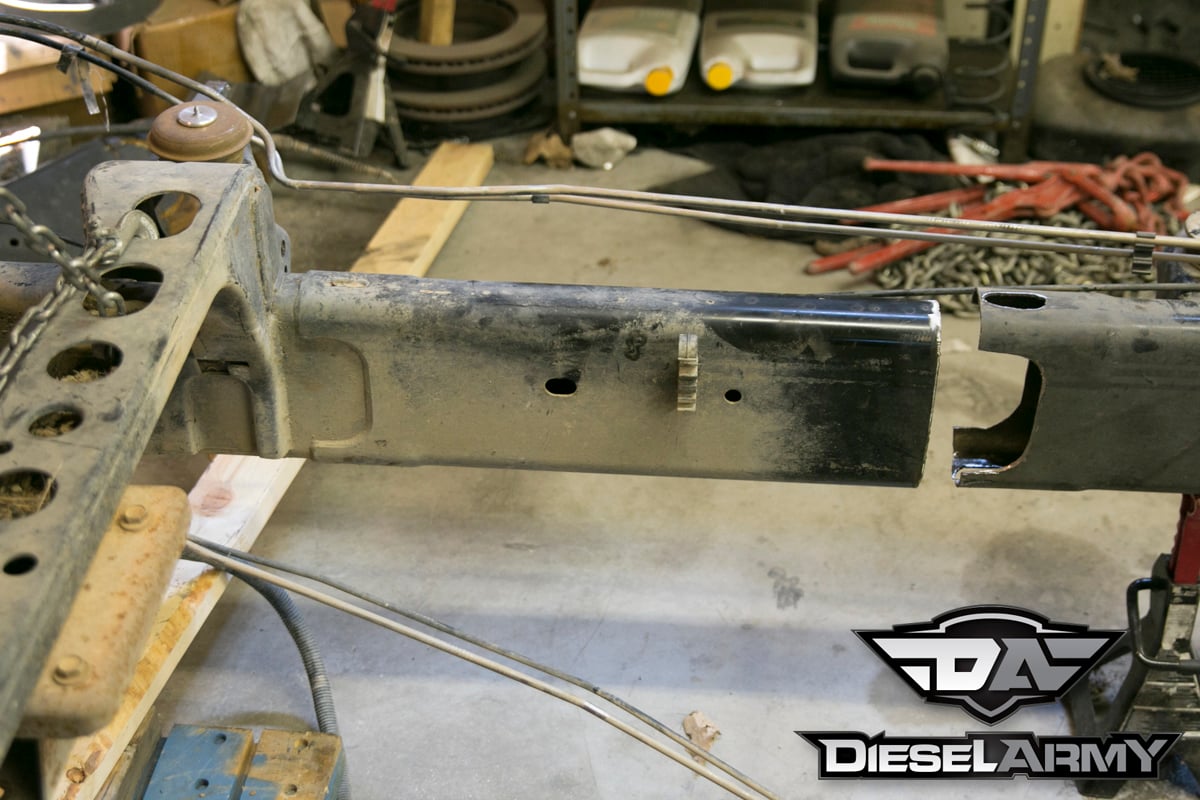
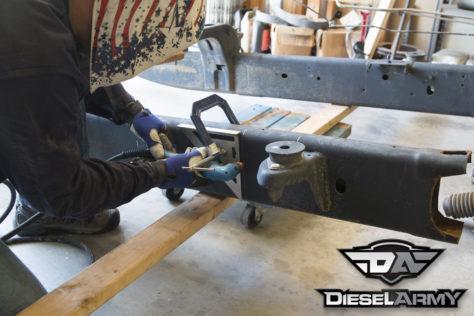
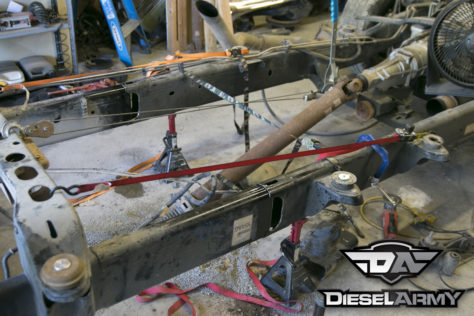
The easiest way for us to join the two frame sections was to install the rear axle using an engine hoist to hold the front portion of the frame to line it up, then used two Come-Alongs to slowly pull the frame sections together. By using two, we kept the frame sections straight and reduced the amount of bind.

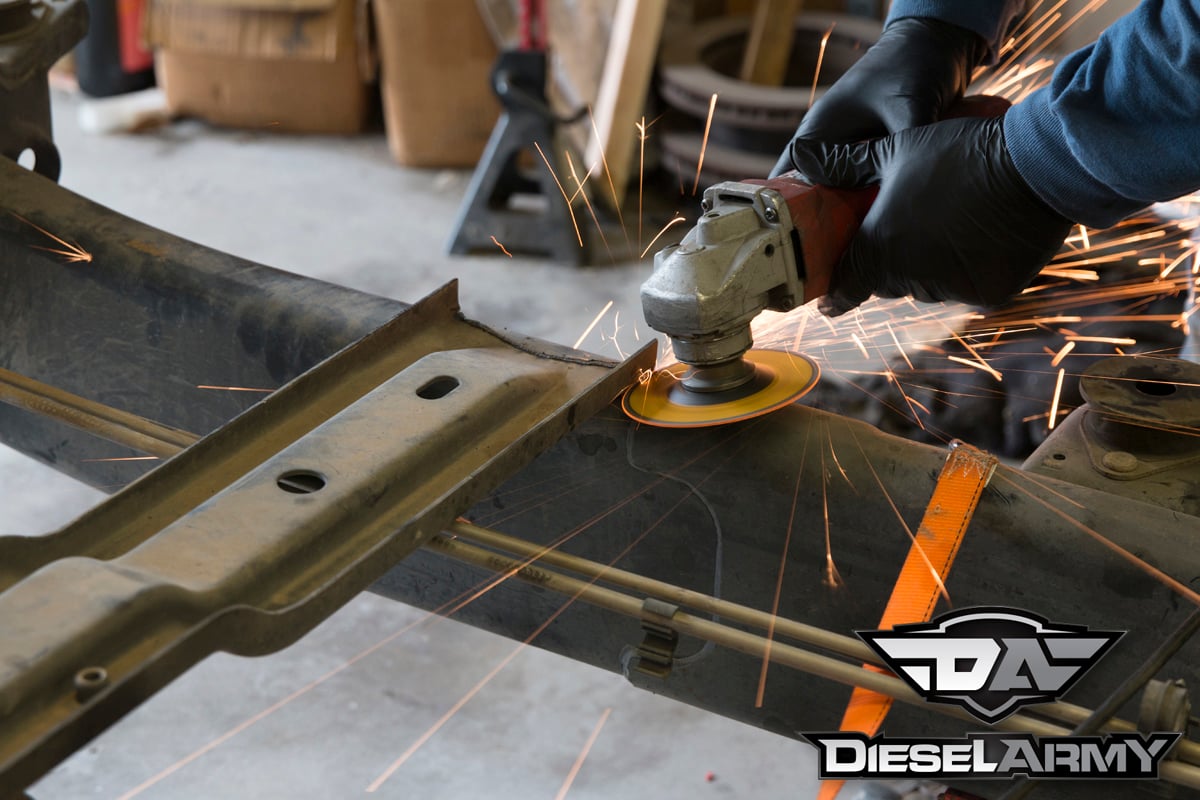
To ensure the female portion of the frame was ready to accept the new insert, all of the edges were filed down to ensure nothing was protruding into the cavity.
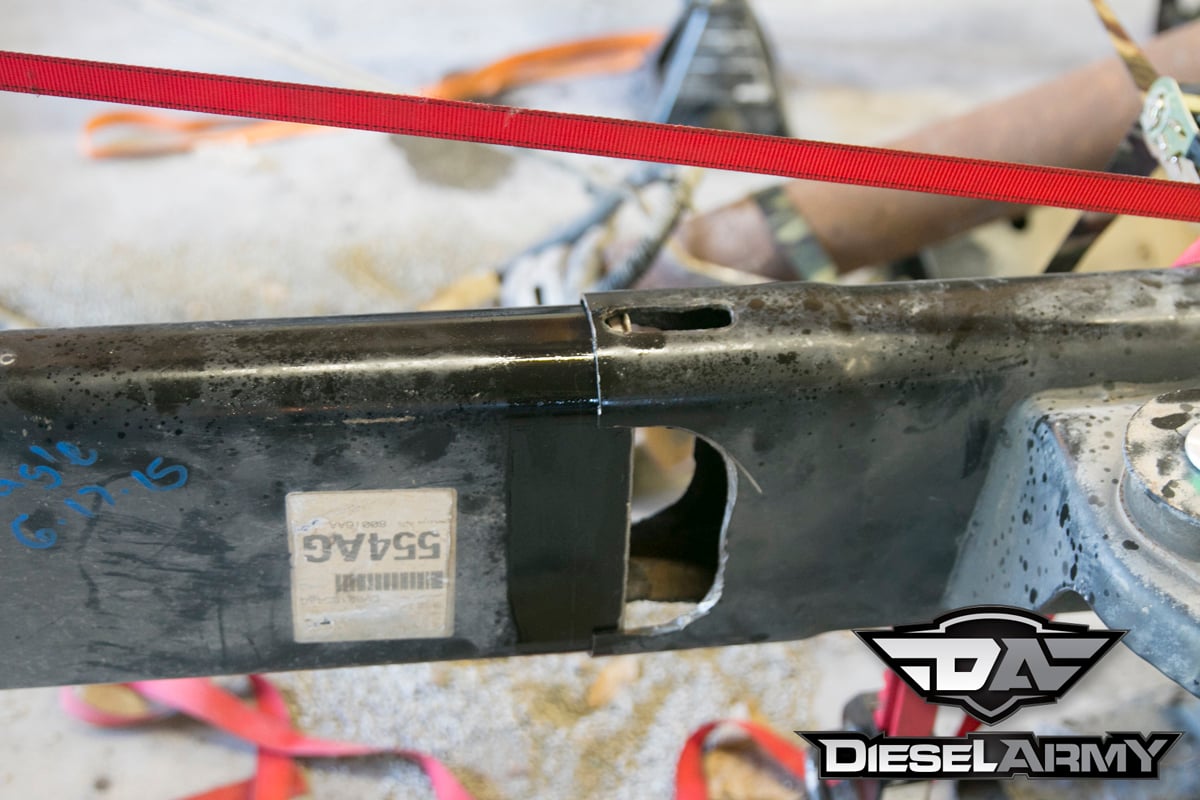
To help the frame sections slide together, we used Royal Purple’s Maxfilm to reduce friction, a little heat on the female section of the joint, and a sledgehammer (only tapping it to create vibration and movement) to slide the pieces together.
One thing we did fight with slightly was keeping the frame sections parallel. Initially, the frame sections started to pitch down because we had removed the braces holding the frame up. After picking the frame up and re-installing the jack stands, we got everything square again.
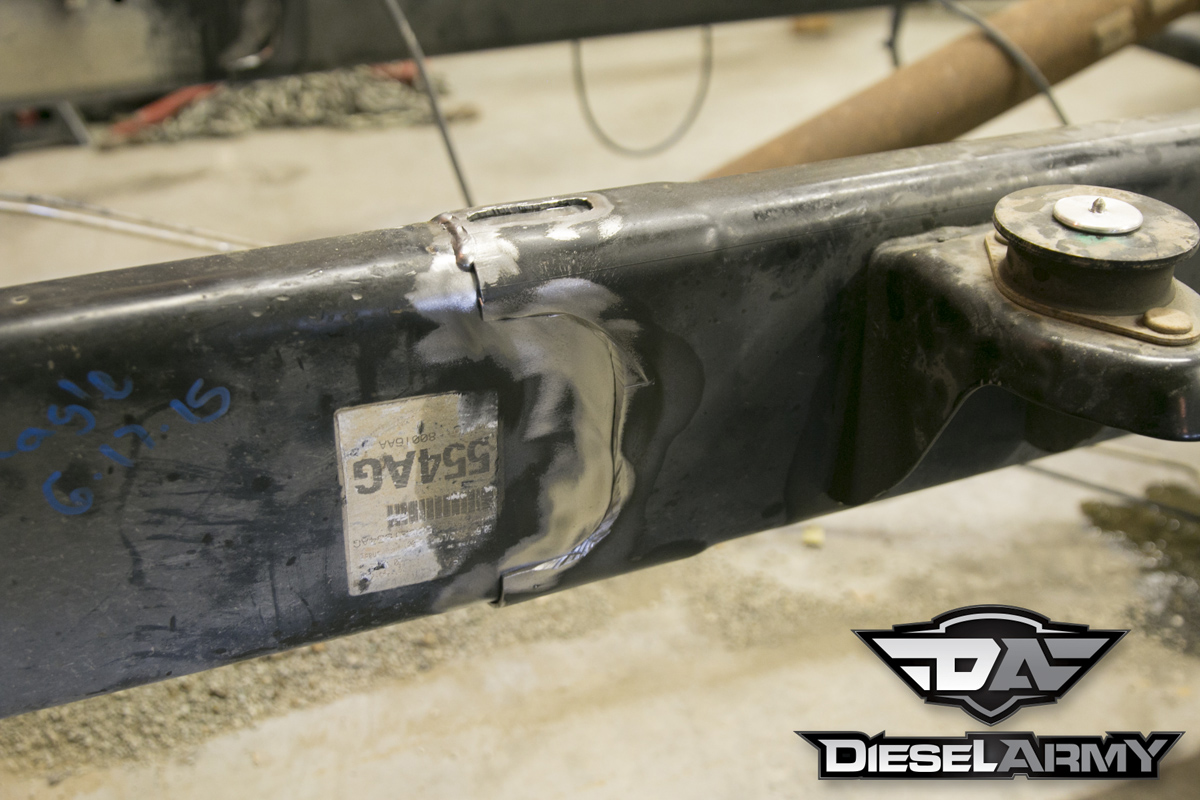
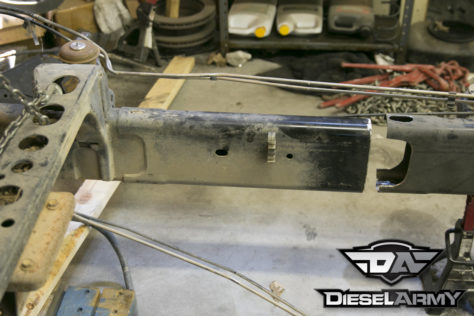
Initially, we slid each end in about a 1/4-inch at a time. At the end, we were moving the frame sections about 1/16-inch.
Once the frame was in place, we made several measurements with a standard tape measure to ensure the frame was spot on. We figure our measurements were plus or minus 1/64 or 0.0156-inch.
Normally, we would have tack-welded the frame and set the cab back on to make sure everything was lined up properly before fully welding the frame back together, but with the cab at Diesel Dynamics, we could not confirm placement. We simply went off of our measurements and welded it when we got the original measurements.

Odds and Ends
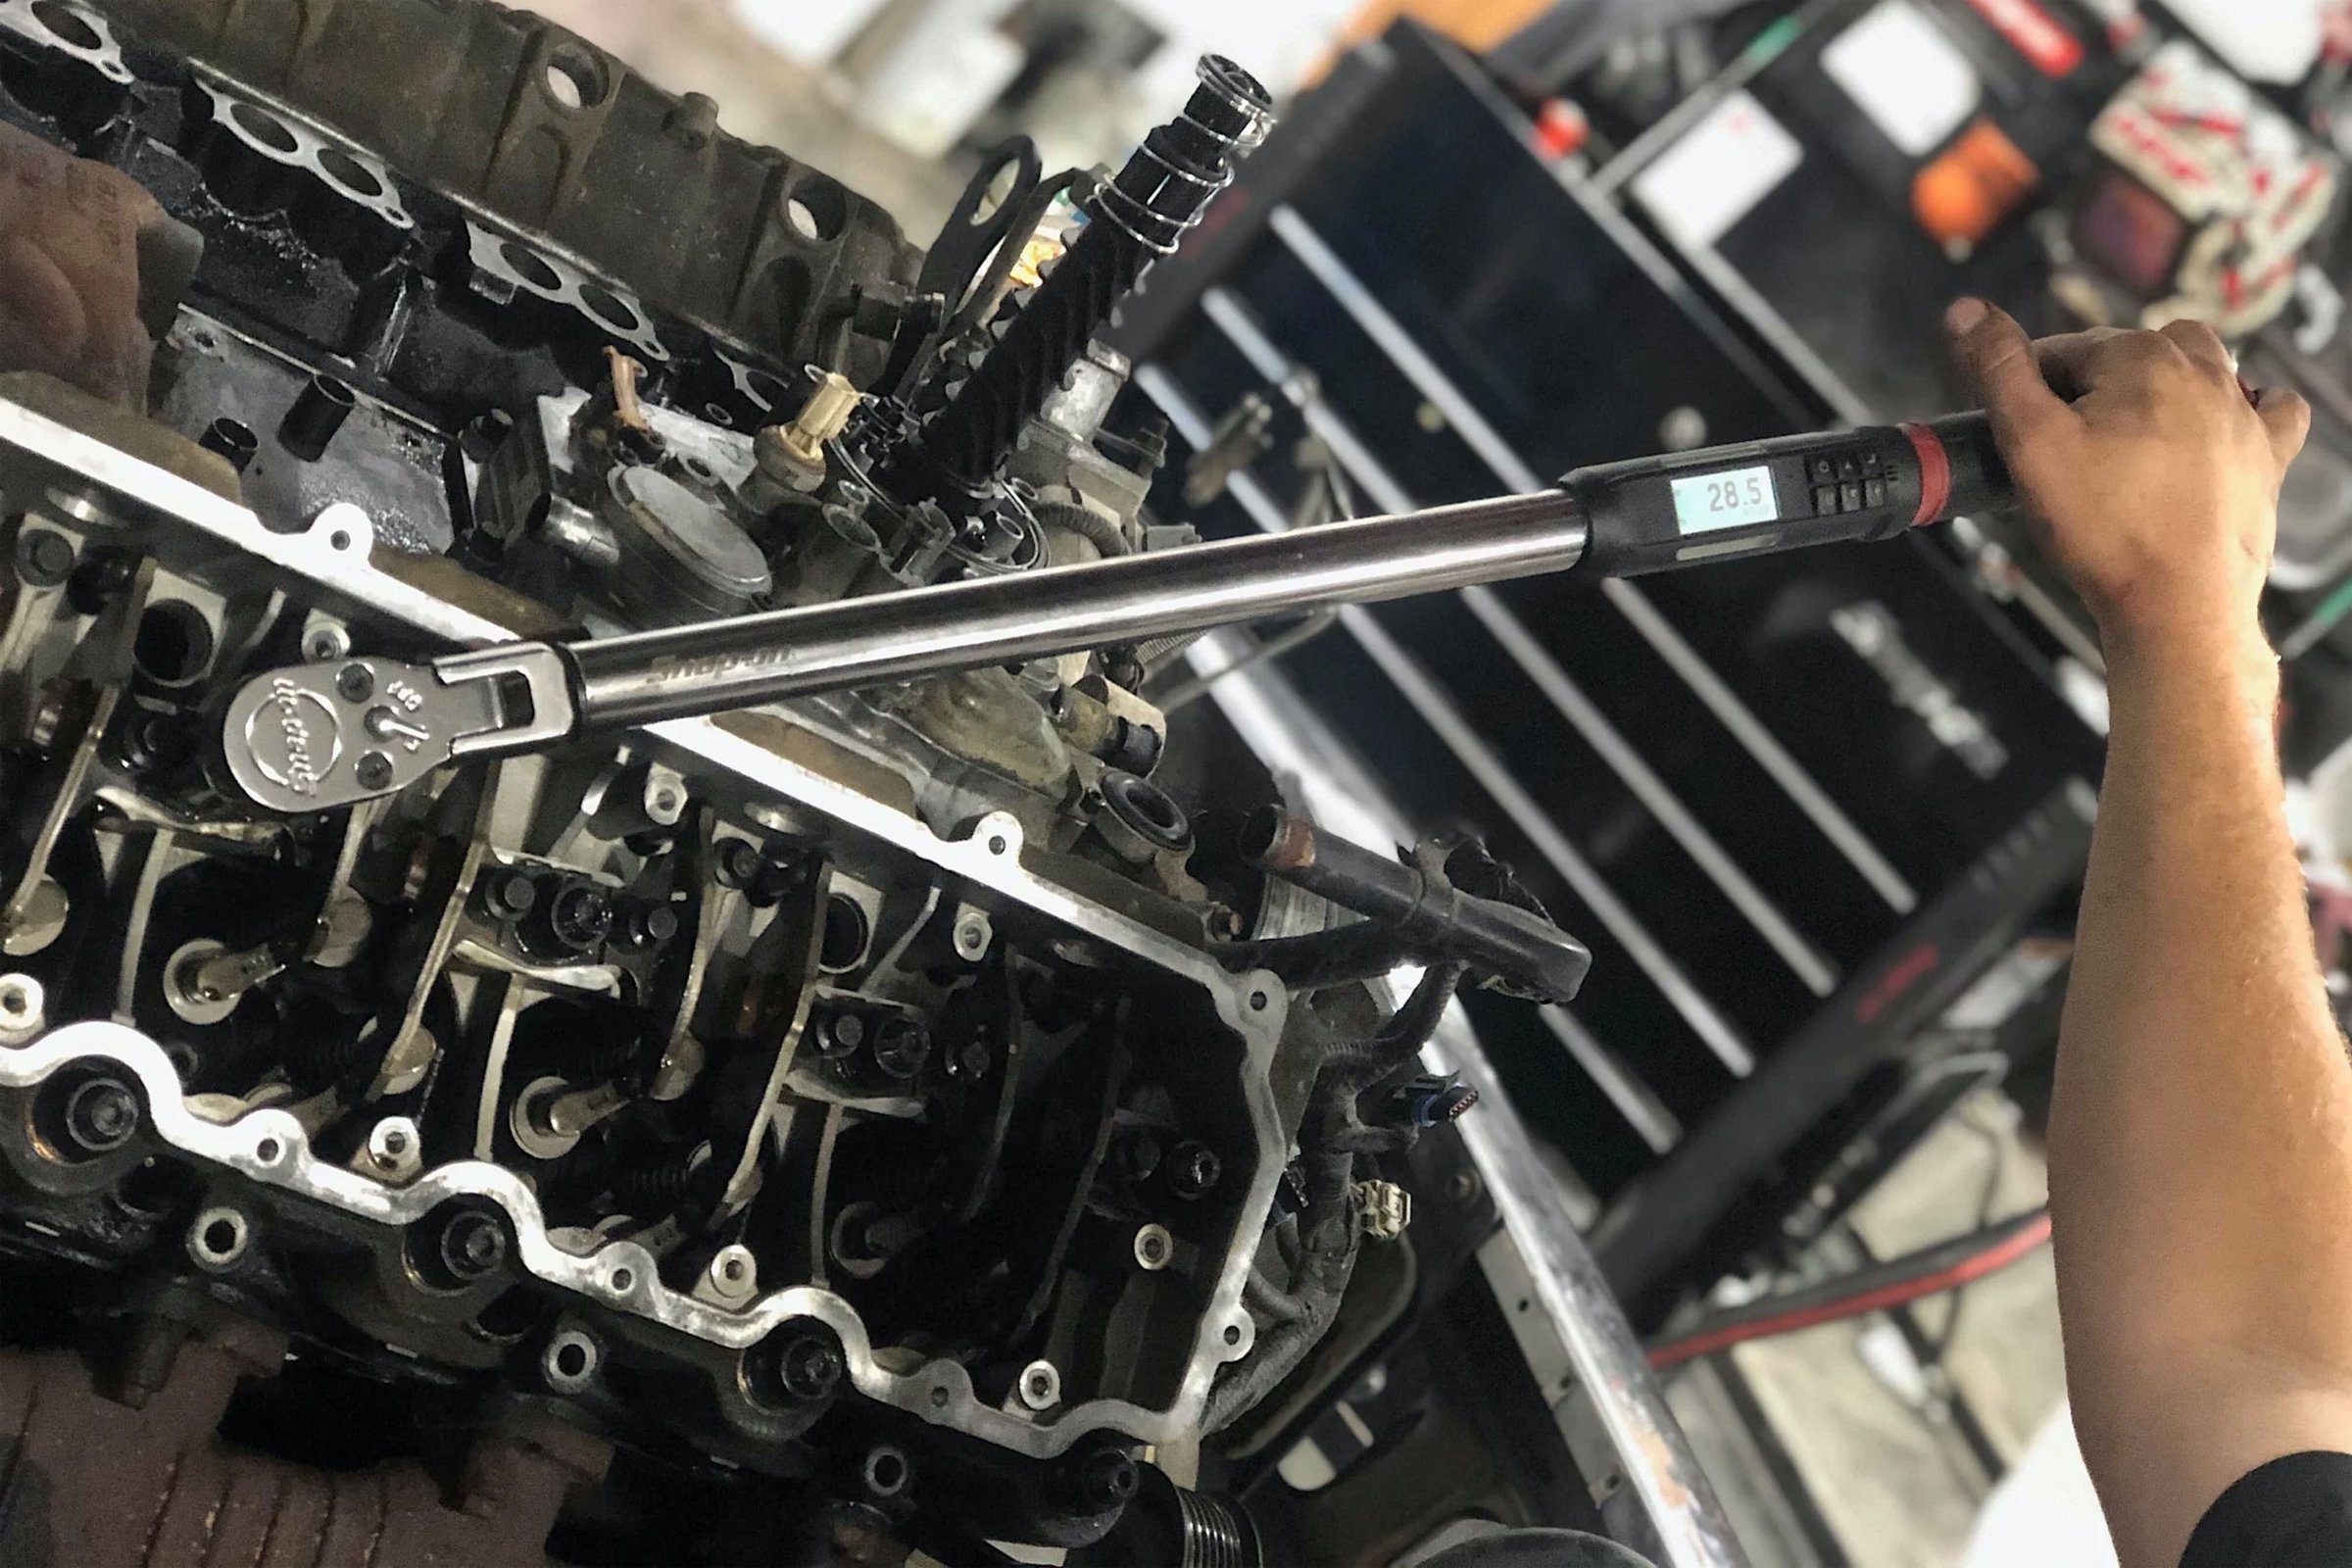
Once the frames were joined, we had a 2006 Dodge Mega Cab two-wheel front frame, and a 2003 Dodge Quad Cab two-wheel drive longbed rear frame. To this point, after about 15 hours, all we had done was cut and weld. As long as you are comfortable with welding and cutting, this project is actually pretty easy and straightforward.
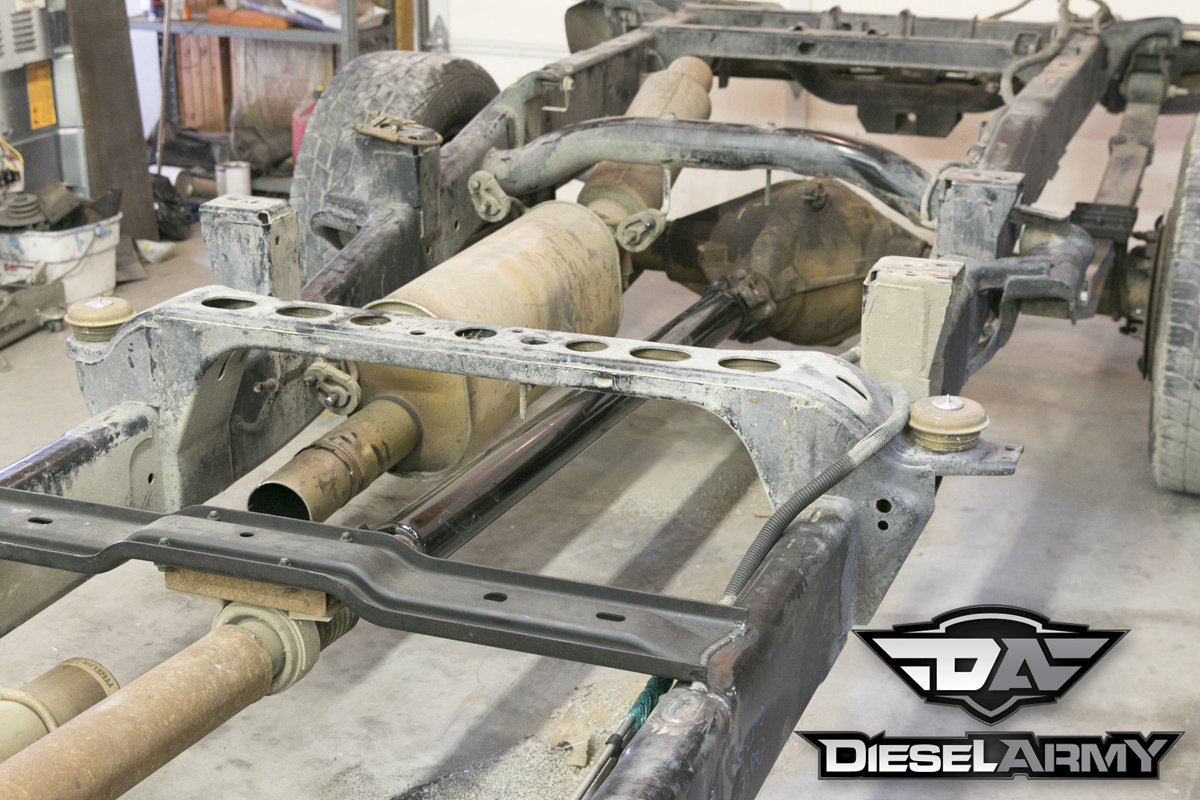
The Mega Cab shortbed uses a two-piece drive shaft. We removed the rear section and had a new one made 20 inches longer.
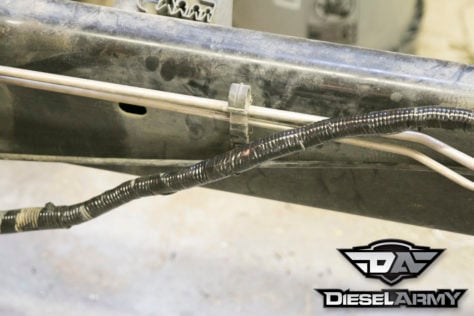
The most time-consuming aspect is hooking everything else back up. We had to weld in the driveshaft carriage bearing brace and measure for a new driveshaft (20 inches longer). Then extend the exhaust (again 20 inches) and wiring (length varies). For the wiring, we opted to cut each wire individually and extend it to the appropriate length, which varied depending on if the wiring went all the way to the taillights, or to the fuel tank. Either way, we went wire by wire to ensure wires were not crossed or mixed up. We also tried to re-use wires off of the 2003 wiring harness that was left on the donor frame, but the colors didn’t match up.
With the wiring done, it was time to move over to some fluids. The brake line needed 20 inches. The options were to have a whole new brake line run, add a 20-inch section, or make a new, flexible axle brake line that was 20 inches longer. We didn’t want to add a bunch of joints into the brake system, so we took our flexible line down Stuart Hose in Fort Worth, Texas to have the line extended.
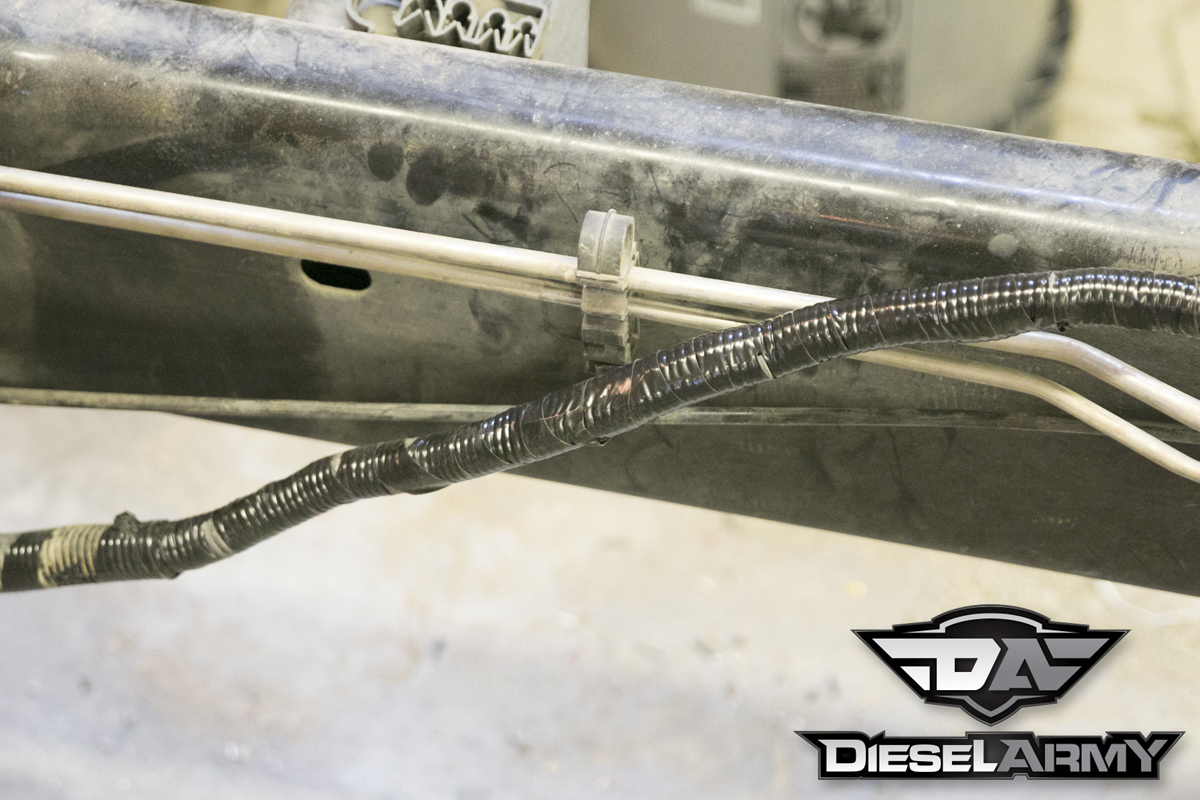
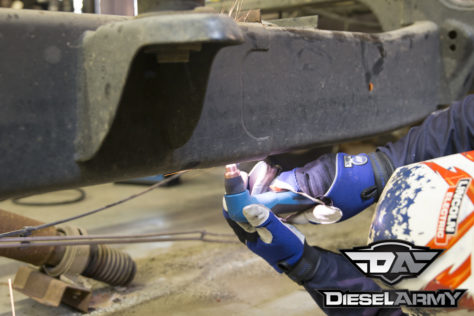
The factory placement of a bracket just after the fuel tank holds the steel brake line and flexible brake line in place. Instead of cutting the bracket off of our new donor frame (now welded to our Mega Cab frame), we cut the bracket off of the original shortbed frame and welded it to the new frame next to the fuel tank. This allowed us to fix everything to the frame without having to extend the steel brake line or potentially weaken the new frame section with holes or deep scratches from a cut-off wheel.
For fuel lines, we installed the long bed fuel tank and then ran the lines we picked up from the junkyard to the driver’s side of the frame. Once they were out in the open, and in a place we could access on the side of the road, we made cuts, then ran the original lines from the engine and cut them in the same place. A compression joint was used to join the two lines t complete the task. While we do have an extra joint in the fuel lines, we made sure that the joint is serviceable if something were to happen down the road (if we were going to upgrade our fuel pump, this would have been a great time as companies like AirDog offer all new hoses).
The final piece of the puzzle was the emergency brake line. Since we switched axles, we bought new emergency brake cables and ordered a custom brake cable to reconnect the system.

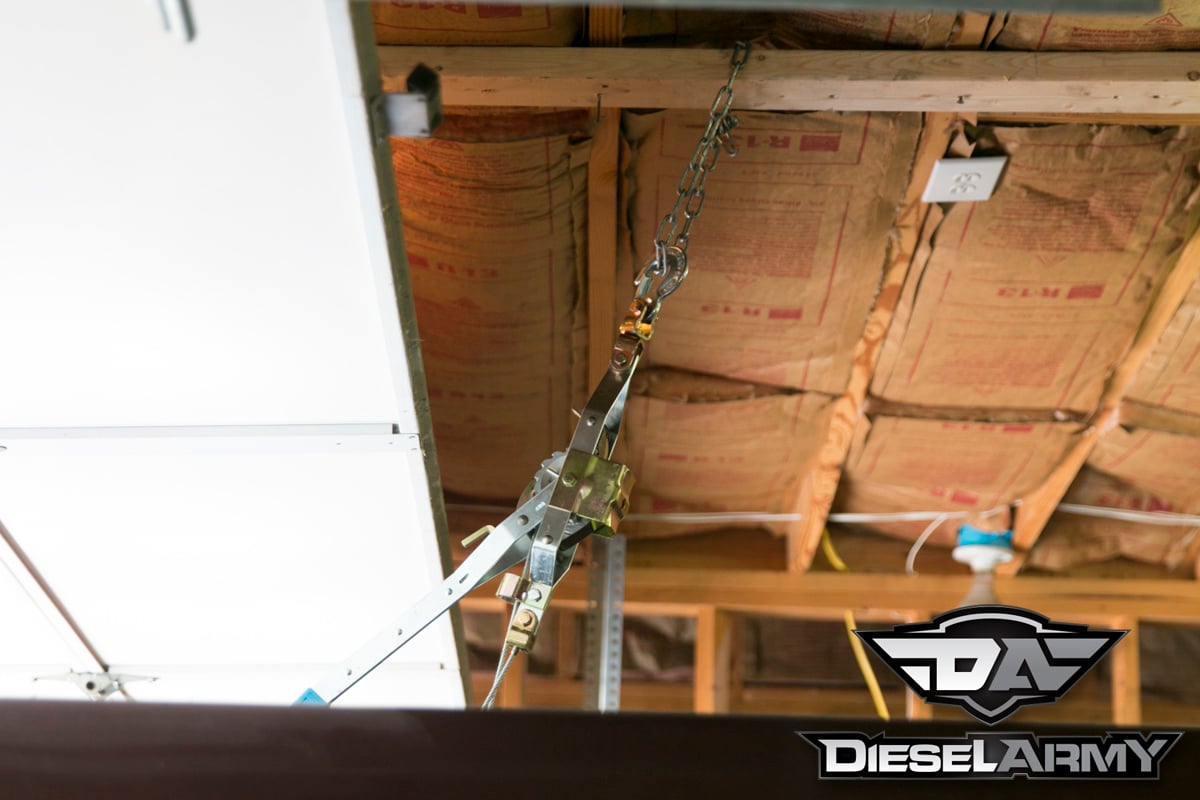
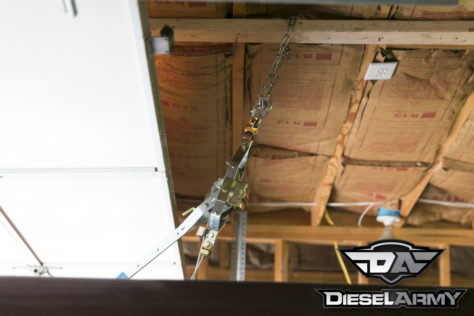
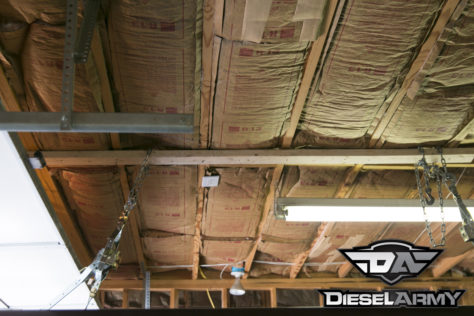
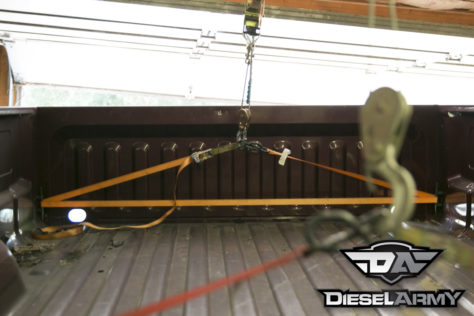
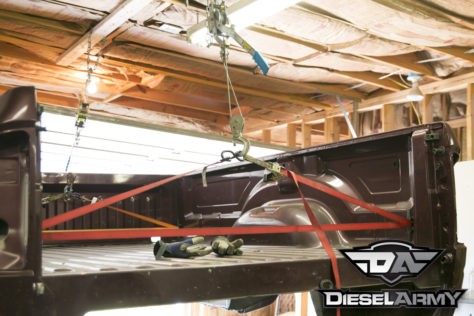
Without a lift or any way of picking up the bed, we simply screwed a 2×4 to the rafters in a number of places and then used two Come-Alongs to lift it.
Moment Of Truth
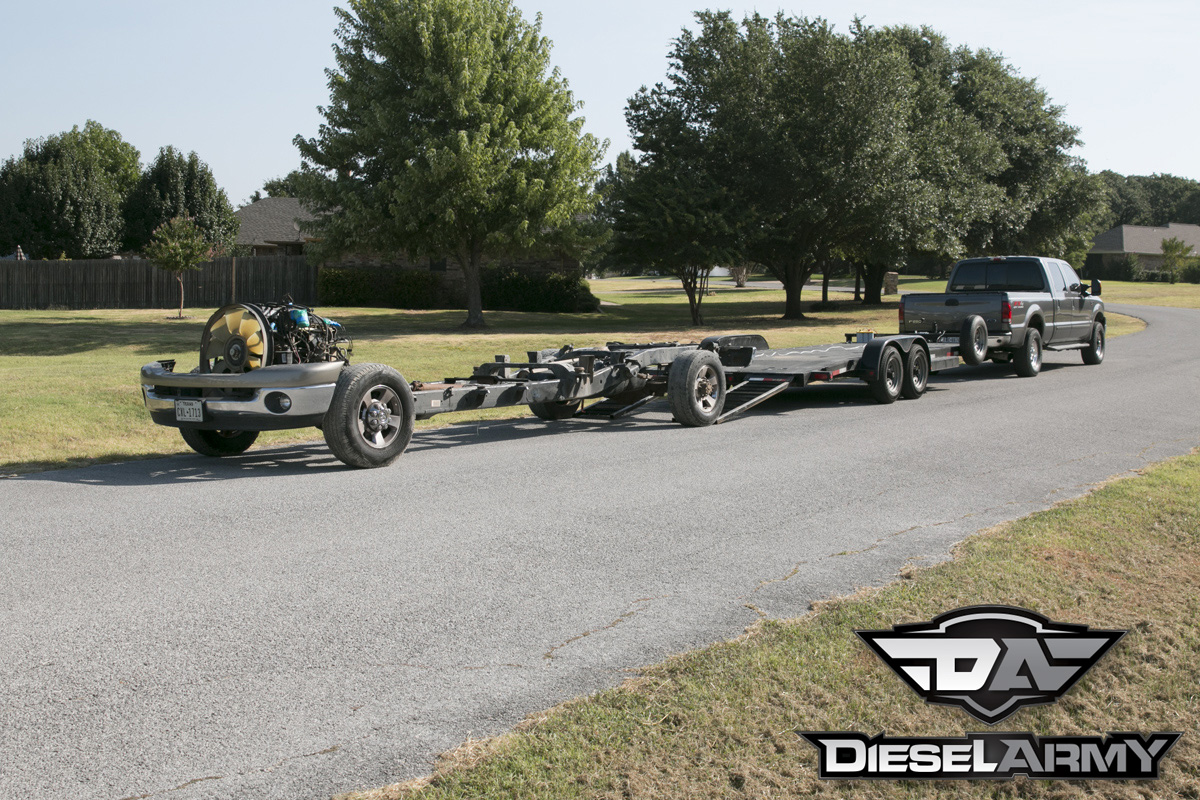
Once the bed was ready to go on, the chassis was loaded on the trailer, dropped off on the street, and reloaded in the other direction.
The final moment of truth came when it was time to reinstall the bed and the cab. We opted to install the bed first, which required pulling the truck out of the shop, dropping it off on the road and then reloading it with the engine forward, then backing the truck into the garage with the bed lifted up. (if the cab was done first, the truck would run and drive making this much easier).
We dropped the truck off at Diesel Dynamics where they set the cab back on the truck. Just as we had hoped, everything lined up perfectly and the cab went back on exactly as expected!
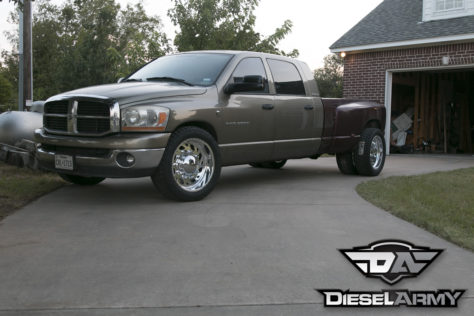
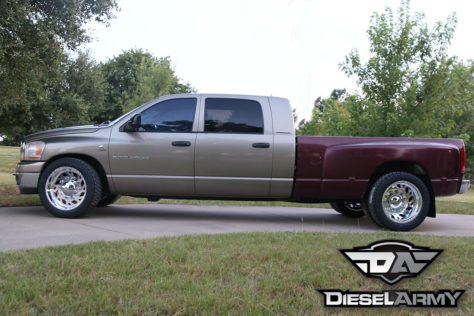
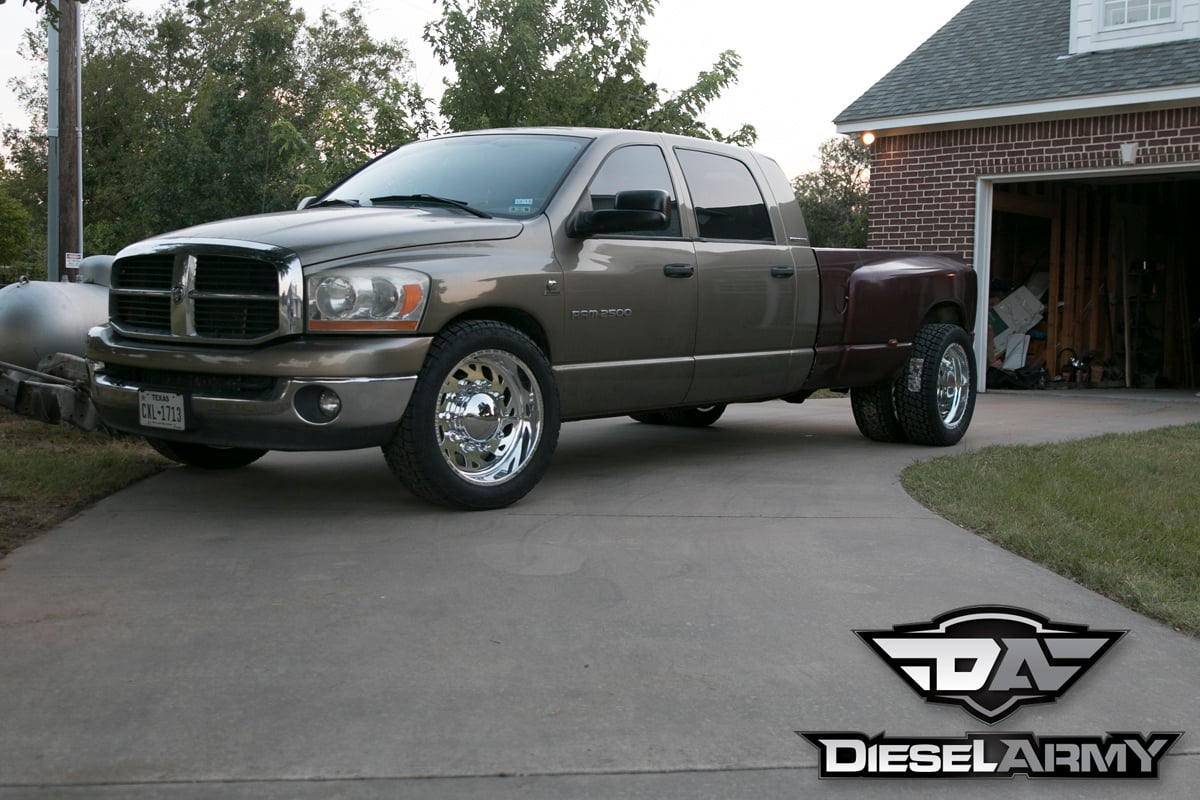
The gap between the bed and the cab was factory, the two frame sections were factory, and the body lines lined up. If you didn’t know better you would think that this truck came from the factory as a Mega Cab Long Bed dually!
The truck looks a little silly with single rear wheels, but we didn’t want to install the American Force Wheels before the work was done.

We know this conversion isn’t for everyone. It took roughly 40 hours and would cost somewhere in the neighborhood of $1,400 to $3,050. We ended up in the middle of that range because we had to buy two frames. If you have friends with lots of spare parts, you may be able to make a trade to get the price down. Either way, if you don’t factor in your time, this can be a very worthwhile modification. Not only will you have a very unique truck, but it will tow better, ride a little better, and be worth more money because Mega Cab Longed dually trucks are desirable vehicles.


With the amount of welding and splicing that this modification took, we would estimate this is a medium-skill level range. Unless you are extremely good about picking up every part you need beforehand, we would not suggest anyone do this to their only vehicle.
