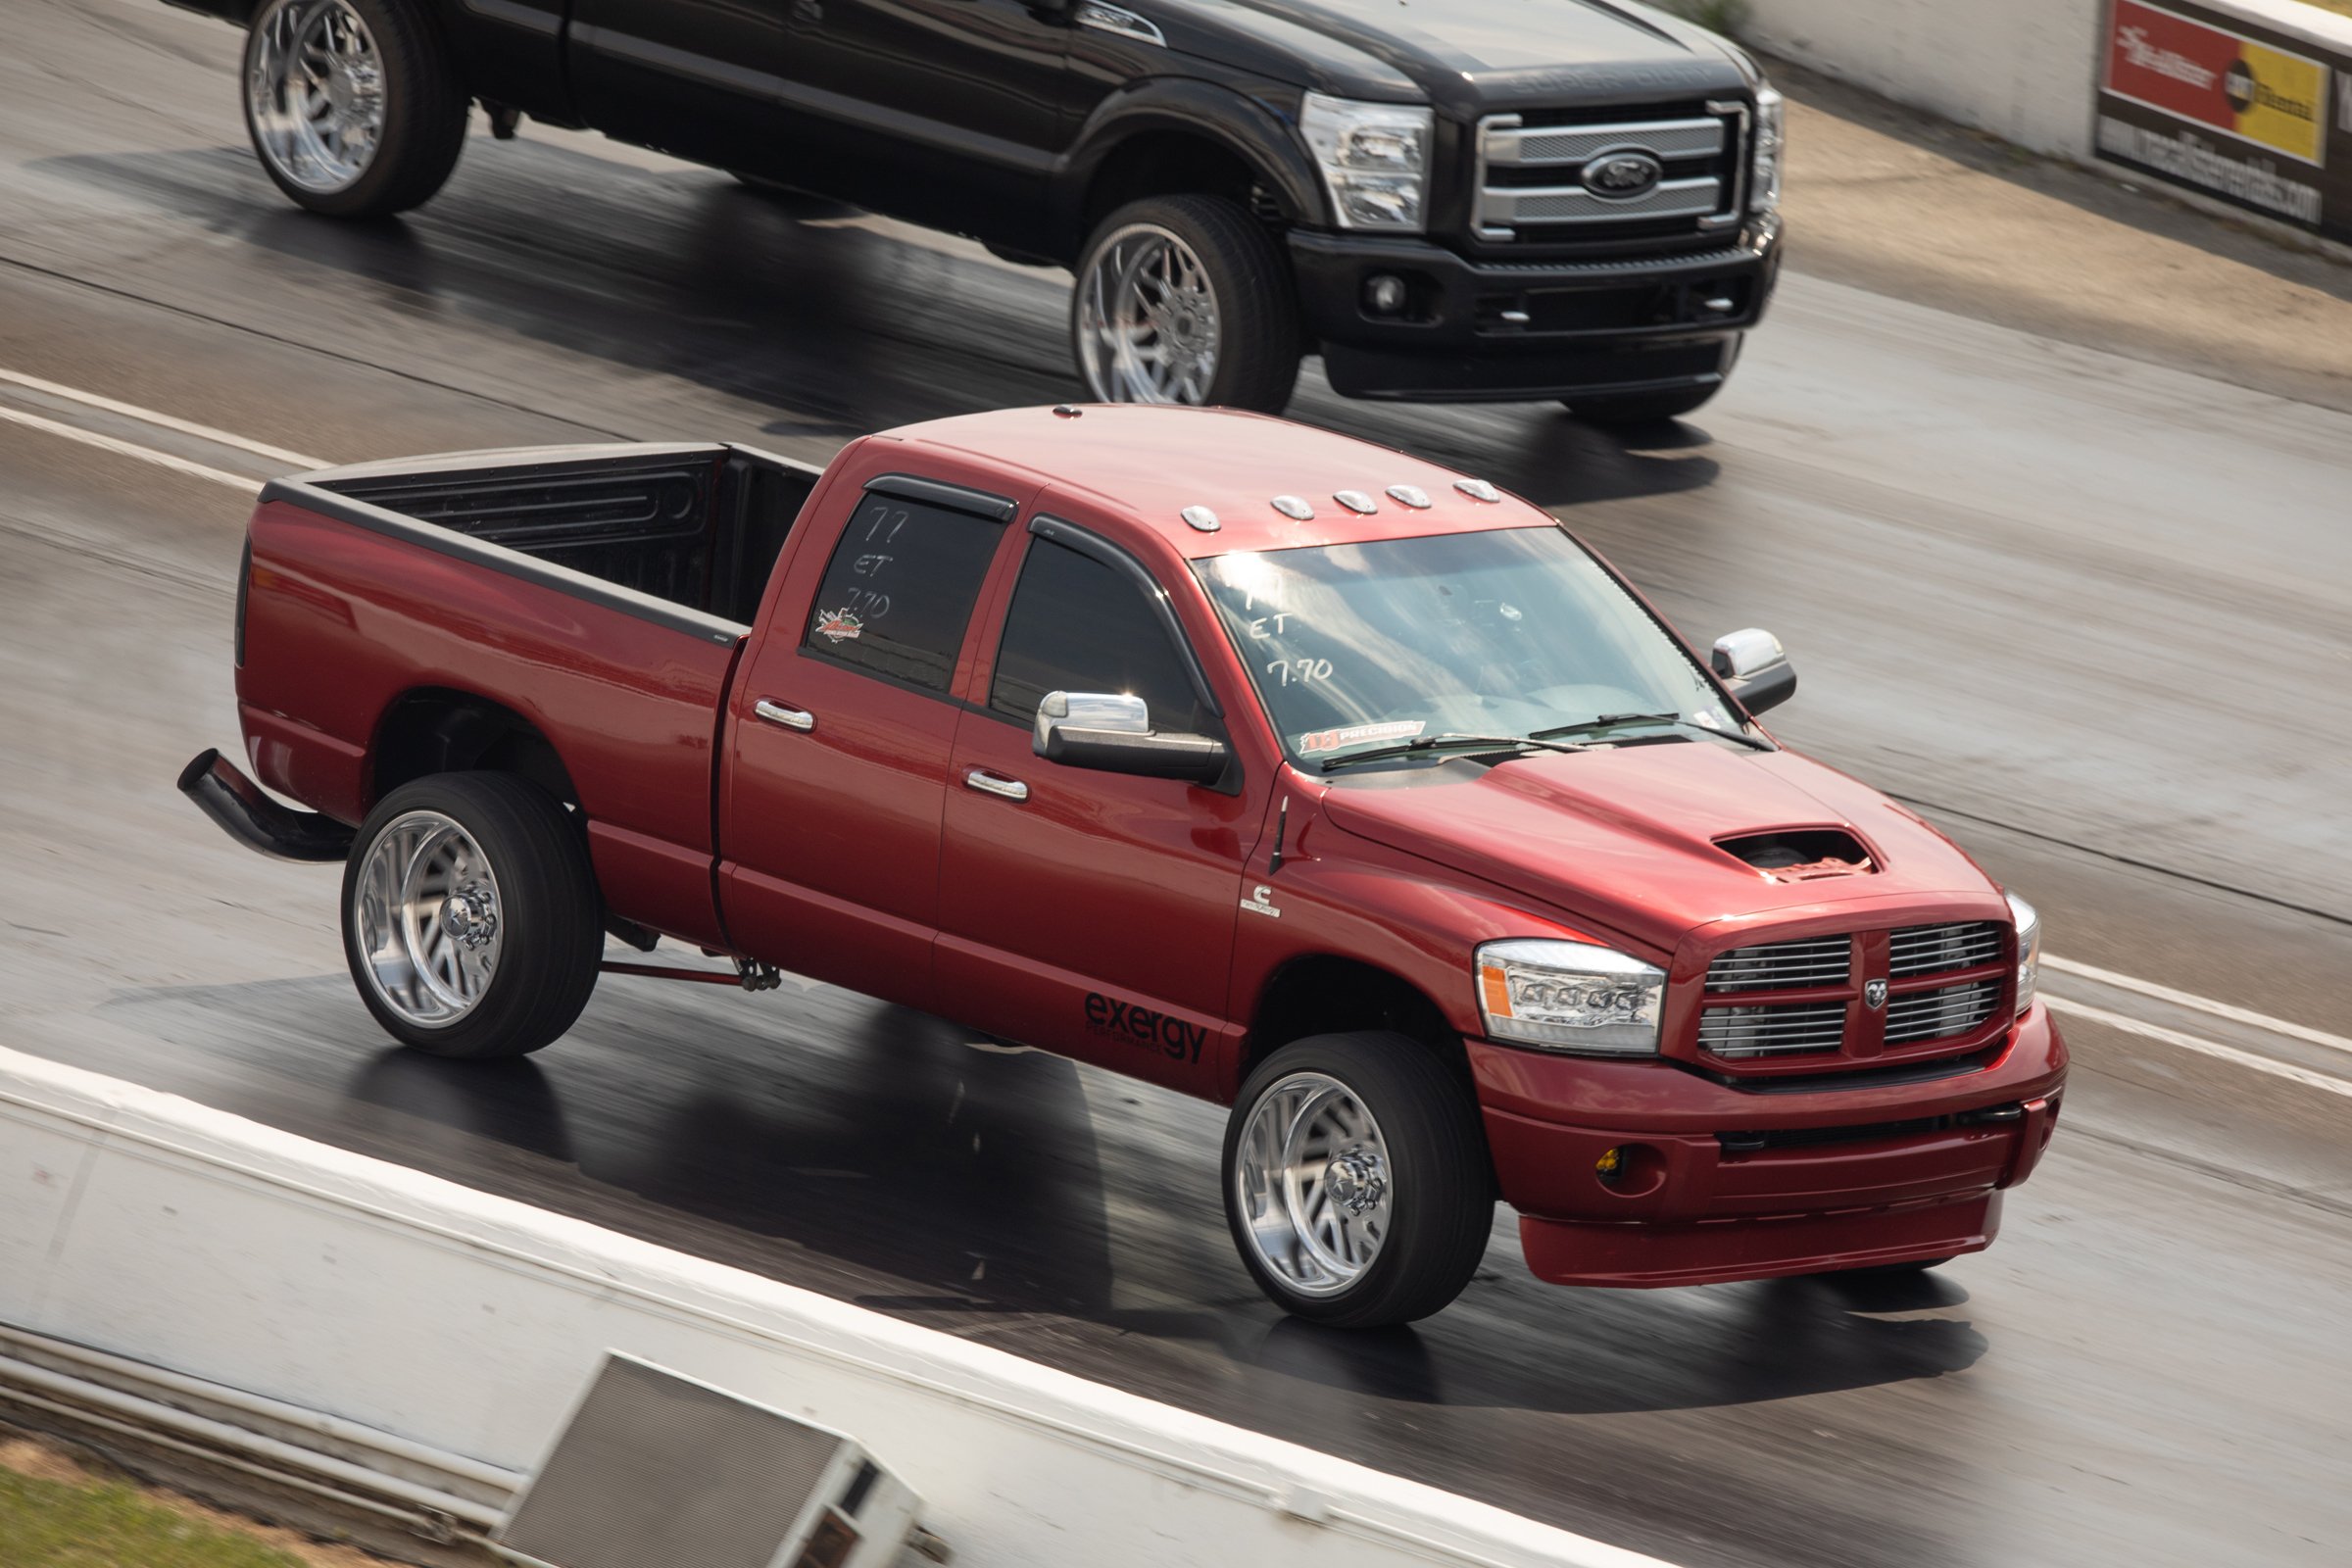
If you have been following along with Project WorkHorse, you know that we have been diligently making upgrades to create a truly reliable truck for towing and hauling. But WorkHorse is not all about work. I am not one to leave things looking “pedestrian”, hence the upgraded wheels and tires, fender flares, and tonneau cover.
However, once I added the new 20-inch rolling stock, I immediately realized that they stuck out from under the fender just a little. It was not a huge, measurable amount, but nonetheless, I felt I needed to remedy that situation. That’s when I added the EGR fender flares from RealTruck.com.

Before any primer or paint can be applied, a light sanding is needed. This will allow the primer to properly adhere to the part you’re painting. Like many of you, I do not have a paint booth or a large enough garage to work inside. The backyard worked just fine.
When I installed the flares, I was contemplating whether to leave them in the as-delivered black or paint-match them to the PW7 White that covers the rest of the truck. It was a tough call, but after a few days of seeing the installed flares in black, I started to realize they made the wheelwells look exponentially larger. It’s like the tires were now too small for the truck and the wheel openings almost reached the hood. It was settled, the flares needed to get painted.
But, like most of you, I do not have access to a paint booth, and having someone else paint match the flares would be an expensive endeavor. So, I did some research and found a company called Automotive Touchup.
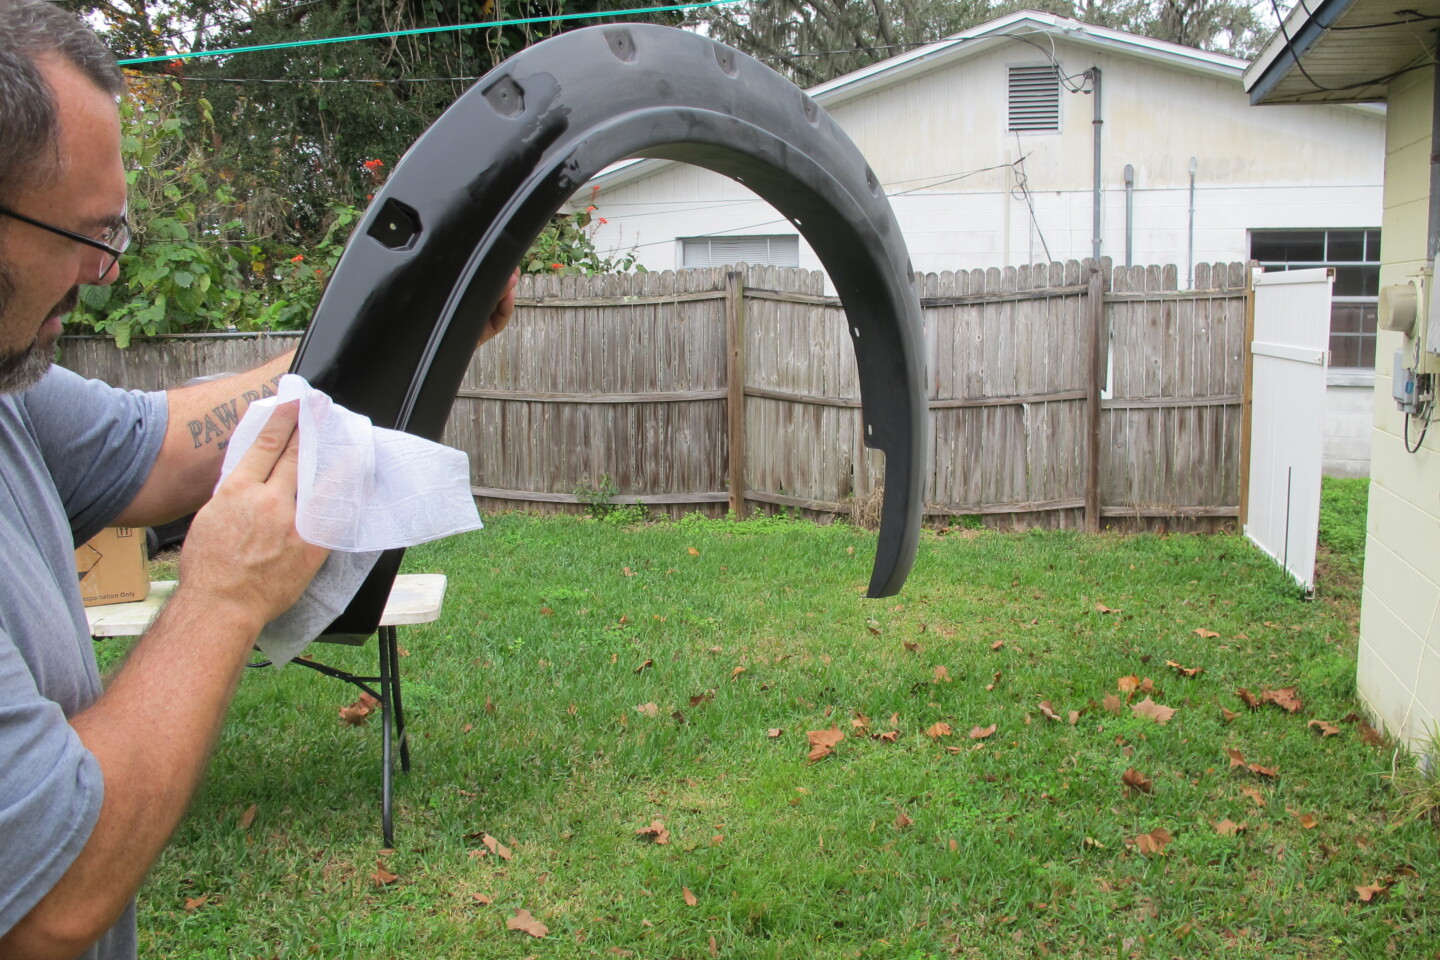
After a light sanding, a lint-free cleaning rag with cleaning solvent was used to prep the surface and make sure it was clean.
Automotive Touchup has a long history of mixing proprietary formulas for body shops and collision centers. It has grown to become the nation’s leading provider of specialty automotive aerosol spray paint cans, touch-up bottles, pens, and more. The New Orleans-based facility coordinates the formulation of 60,000 original OEM colors, and Automotive Touchup uses only the highest quality auto paint from the most credible names in the business.
That said, I would be painting four flares, so I decided I would need at least one can of primer, paint, and clearcoat for each flare. That would ensure enough paint for thorough coverage. So, I ordered four cans of each and a few paint prep pads. The pads are designed to wipe clean the surface being painted. They are saturated with a cleaning agent that will remove any grease and debris so the primer will adhere. This step cannot be skipped, as 95 percent of any quality paint job is the prep work.
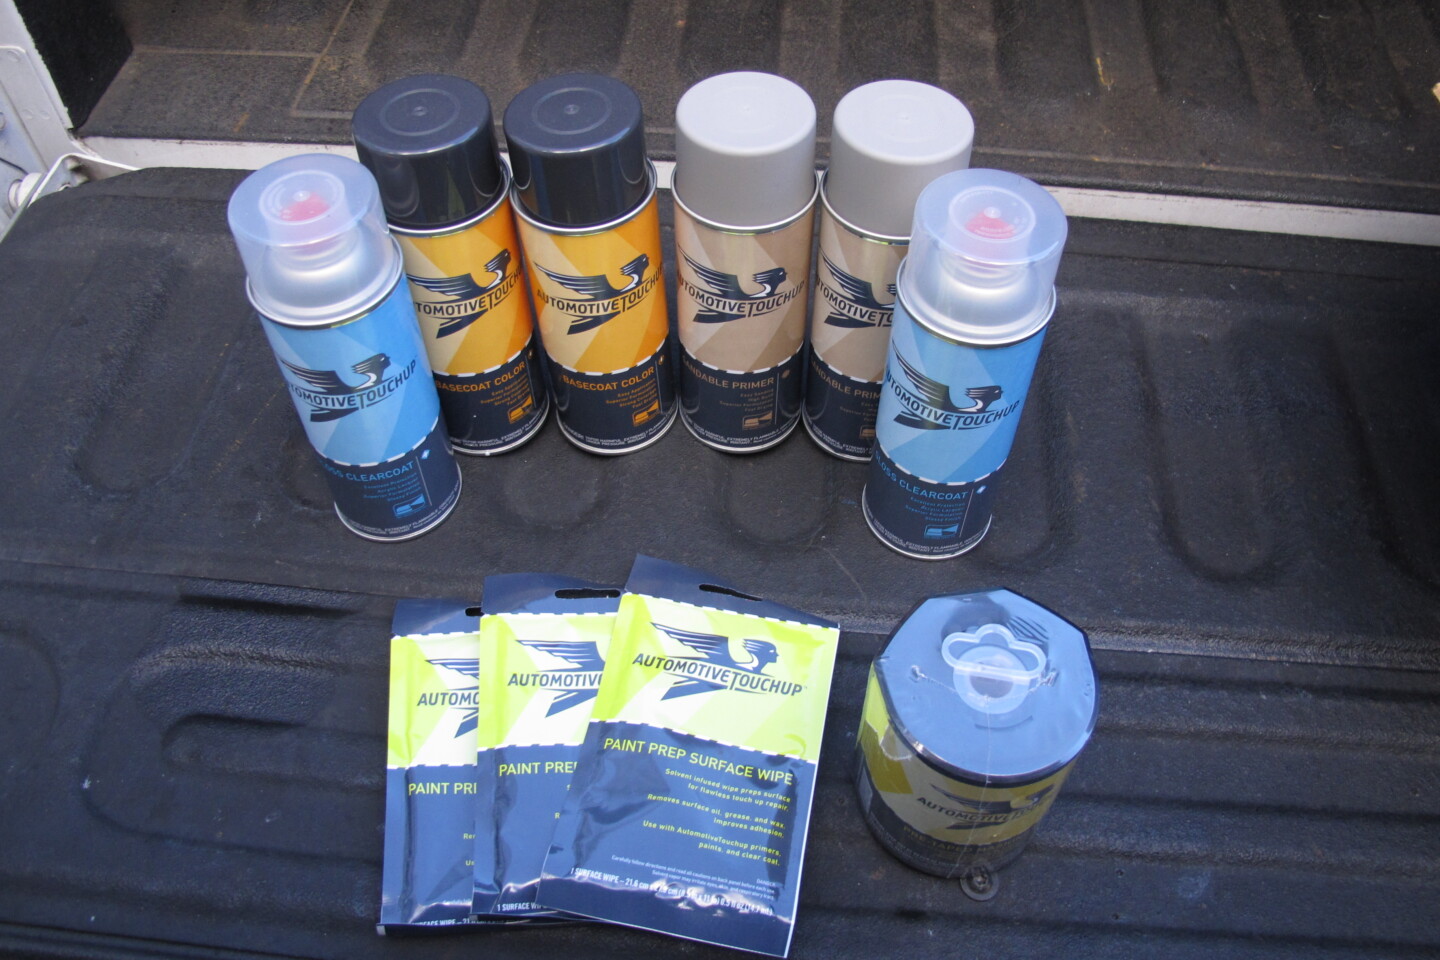
Although I do have spray guns and other painting equipment, I wanted to try Automotive Touchup’s aerosol cans and see how well they worked. They get a thumbs up from me.
The aerosol cans from Automotive Touchup are not a traditional spray can you find at a big box store. Automotive Touchup not only supplies OE-match colors, but the spray nozzle on the can is itself special. The nozzle is precision-engineered to deliver a fine, even, fan-shaped spray. I can honestly tell you that the fan pattern truly mimics a professional spray gun.
To say I was impressed with the spray coverage would be an understatement. Automotive Touchup has definitely gone the extra mile to ensure you get the best possible results from each can of spray paint, primer, or clear coat they sell. The quality with which the cans spray means you won’t need to take your parts to a body shop to paint match them.
When applying primer or paint, do not spray heavy coats that can run. spray multiple light coats. In fact, the image on the left is after the first coat of primer has been applied. The image on the right is after three coats of primer.
To begin, I removed the flares and then took out all of the bolts, and started to prep for painting. First up was to sand each flare to give the surface a “rough” finish for the primer to adhere. By a rough surface, I mean I used a red Scotch Brite pad and lightly sanded each flare just enough to remove the gloss finish.
Since each flare was removed from the truck, I would not need to mask off any outlying areas of the truck, so I was able to simply hang them from a cable suspended from the house to the garage behind my house. With each flare sanded and hung, I wiped them down with the cleaning cloth. Just as a guide, I used three cleaning pads for four flares.
Once hung and cleaned, I applied the primer. This will take some time, as you do not want to completely cover the parts with one thick coat. A thick coat will run and could also cause issues like incomplete drying. That is why you must apply several light coats to each part. The first coat will still allow the natural color of the part to show through the light dusting of primer. With each subsequent light coat, the natural color of the part will disappear until you have a nice coating of primer. Once the primer dries, it’s time to paint-match your parts.
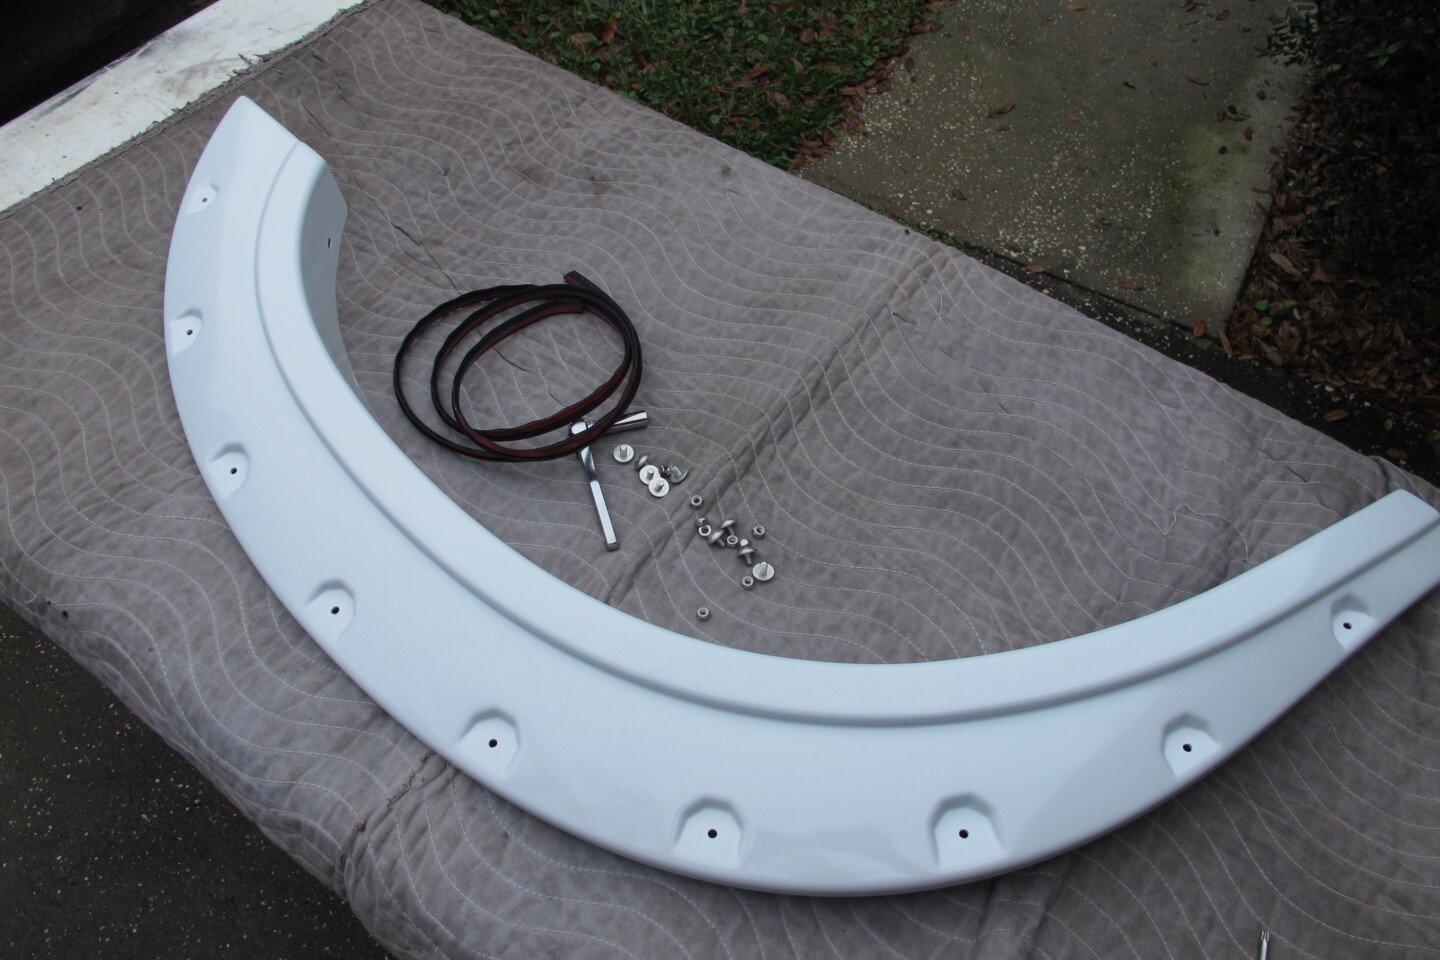
Once the final color had been applied and the clearcoat had dried overnight, it was time to reinstall the stainless bolts and flare seals.
After the primer had sufficiently dried — I waited roughly an hour — give it a light sanding to help the paint adhere to the primer. I used a green Scotch Brite pad this time. Automotive Touchup says to not use their prep pads on recently primed surfaces, so after I lightly sanded the flares, I used a simple tack rag to remove any sanding dust and dirt. Avoid handling the part without gloves to avoid getting any grease from your fingers on the part. This grease will keep the paint from adhering.
Just like with the primer, apply the paint evenly across the entire part and apply light coats until you have even coverage. If the paint does not appear glossy enough, do not worry. The application of the clearcoat will remedy that. Although I needed to wait for the primer to dry before sanding the primer for the color coat, once the color is applied, you have a limited amount of time to apply the clearcoat.
When you are trying to paint match, Automotive Touchup suggests you allow 30 minutes after the base coat color is applied to apply the clear coat. No sanding is required between the color and clearcoat application. Apply four to five wet (but not dripping) coats of clearcoat (waiting roughly 10 to 12 minutes between coats). Each coat should be dry to the touch (not tacky) before moving on to the next. Do not touch the freshly painted panel to test, or your fingerprint will be a permanent addition. The paint overlapped to the backside of the flare and that is where I tested for dryness.
The temperature and humidity will determine the actual drying time. Skipping the required dry time may result in a color mismatch, heavy orange peel texture, and/or a loss of gloss. If you do need to “buff out” any imperfections or dullness, wait at least one day to use any rubbing compound. You can remove orange peel and light texture, or dust embedded in the clearcoat film with 1,500/2,000 wet/dry sandpaper and then use rubbing compound to bring out the gloss. Automotive Touchup specifies to not wax freshly painted parts for 30 days.
When the painted and clearcoated flares had dried overnight — I had to quickly put them inside when the Florida rain unexpectedly started — I simply reinstalled the bolts and the flare-to-fender seals and reattached the flares to the truck.
The newly painted flares keep the look of the wheel openings in check and now, they do not look so large.
As soon as I had the flares reinstalled, I knew I made the right choice by painting them. Now, the truck has a finished and clean look as well as tire coverage. By color matching the flares to the truck, the wheels and tires now look appropriately sized for the truck as the wheel openings no longer appear to be oversized.
I know you might have some trepidations about handling any paintwork like this and trying to paint match parts, but if you take your time and use quality materials, you can do this yourself.
